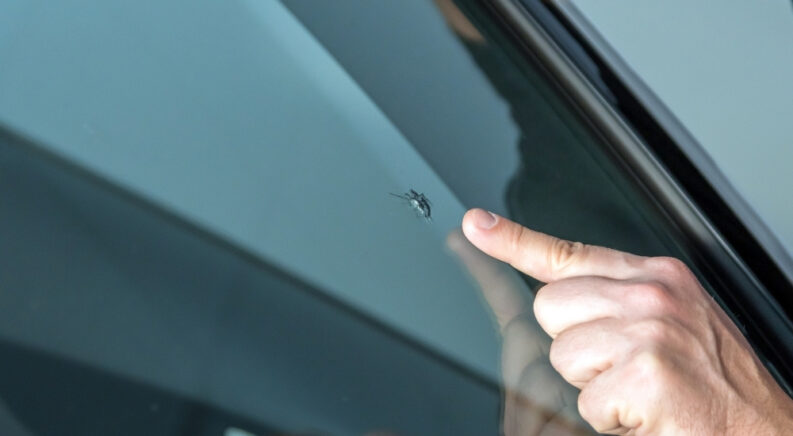
It happens to almost every driver eventually. You’re driving along, minding your own business when a rock or a piece of ice flies up and puts a chip in the windscreen. According to a 20-year data survey by Ultrabond, more than 30% of vehicles on the road have at least one windshield chip. They occur even more frequently in high-traffic areas, on rough roads, in bad weather, and when there are a lot of big-tire vehicles kicking up debris (think 18-wheelers or construction vehicles).
Although chips are usually harmless in and of themselves, they can become large cracks if left unattended. Even small chips may be a problem if they’re in the driver’s line of sight. The good news is that if they’re not near the edge of the windshield, small and medium chips can be repaired, and you can often do it yourself. I’ve done my own window chip repair, and the results have passed every state vehicle inspection they were subject to. I put together this DIY windshield chip repair guide so others can take this project on and get the best results.
Pros and Cons of DIY Windshield Repair
Why do your own windshield repair instead of taking the vehicle to an automotive glass professional? There are upsides to fixing a chip yourself, along with a few downsides. Here are each so you can decide if DIY repair is worth your while.
The Pros
While some car insurance companies and policies offer free glass chip repairs, others do not. If your insurance doesn’t cover the repair, AAA says the average professional cost is $60 to $100. A windshield repair kit costs as little as $15 to $20 with multiple uses, so doing it yourself can save a lot of money.
Even if your insurance does cover a repair, you may not be able to get an appointment right away, or it may be difficult to work one into your busy schedule. The longer you wait to get the chip fixed, the more likely it is to get filled with water or debris. This may make the chip unrepairable, cause it to spread, and/or make the windshield weaker. Going the DIY route allows you to fix the damage as soon as possible. It can often be done in half an hour or so.
DIY repairs done right will keep the glass structurally sound, help prevent future damage, and help the windshield last longer. They’re especially effective on bulls-eye, star, and flower-shaped chips as large as three inches across.
The Cons
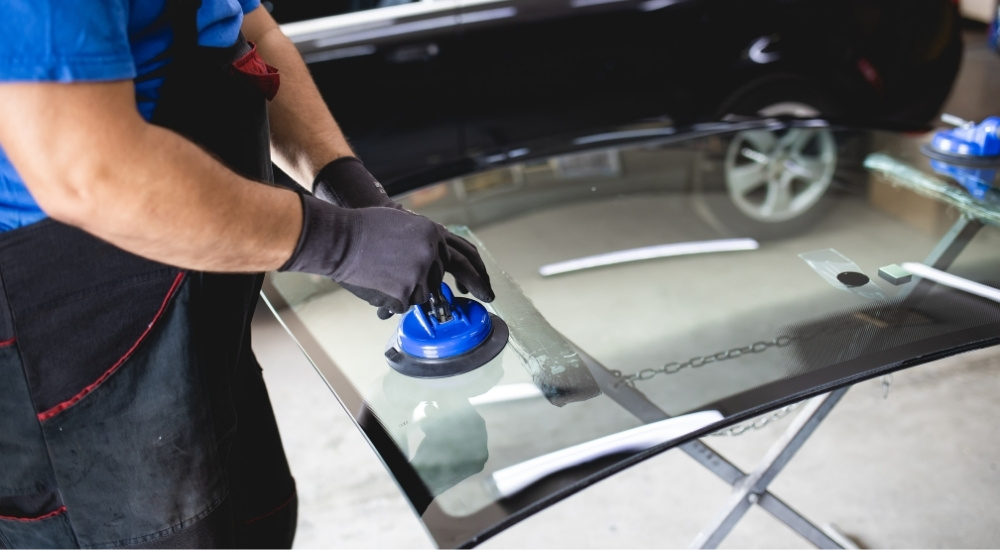
Although repairing small chips is relatively simple, bigger ones may be more challenging, if not impossible, for DIYers. Furthermore, doing the repair incorrectly can make things worse and lead to an expensive windshield replacement. The technicians at a glass repair shop have lots of training and experience to do the best possible job.
You must be careful what kit you buy as some include lower-quality materials that won’t be effective. Getting them from a reputable auto parts shop will minimize this risk. If you buy online, do some research first. For this reason and the shipping time, I would only buy kits online to keep on hand in case you need them later.
Many DIY kits do not include a warranty. If they do, it’s not as good as what most professional shops provide. A pro repair offers the surest guarantee in case the repair doesn’t hold.
What You Need for DIY Window Chip Repairs
The most common way to repair a windshield chip is to get a kit that injects a clear epoxy or acrylic resin into the windshield. This resin fills the small cracks and crevices before hardening to form a solid bond. It’s the method repair shops use, and it works for DIYers, too. Some kits use an adhesive patch and pedestal, which let the resin flow into the chip using gravity. However, I prefer those that have a special bridge tool with a piston injector. These hold the chip open and apply pressure so the resin can get in faster and fill more thoroughly.
Here’s what you will need, whether the supplies are included in the kit or purchased separately:
- A small bottle of clear resin
- A bridge tool or injector and pedestal
- Clear curing strips
- A razor blade or utility knife
- Rubbing alcohol or glass cleaner
- Microfiber cloth
- Optional: curing light; pin, needle, or deck screw
How to Repair a Car Window Chip
- Park your vehicle in the garage or a shaded area.
- Clean the glass surrounding the chip using the cleaner and cloth, then let it dry thoroughly. Be careful of any sharp edges.
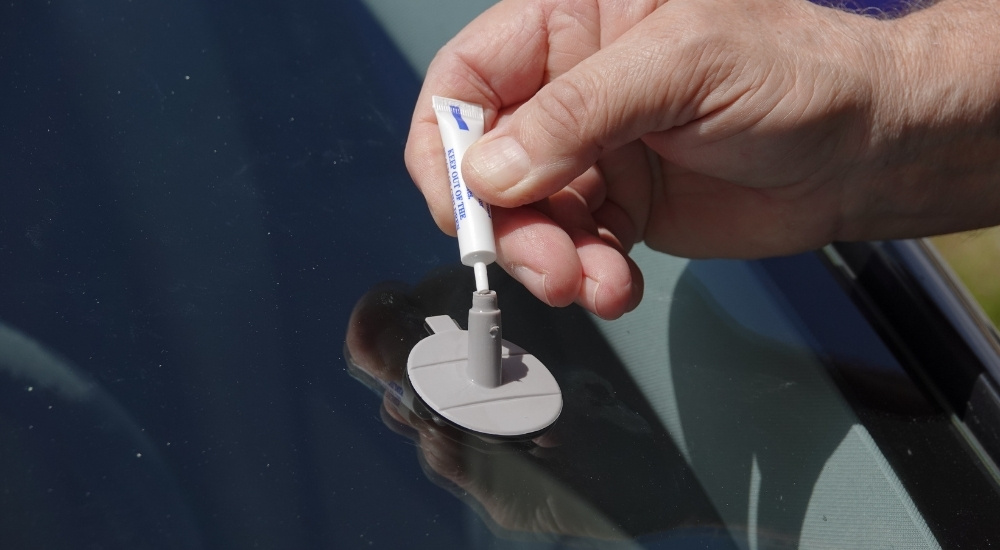
- Attach the patch and pedestal or bridge tool to the windshield following the kit instructions, making sure the opening is over the chip’s center (i.e., the point of impact). Some chips may require using a pin, needle, or screw to gently probe the impact area and create an opening for resin to flow.
- Place a few drops of resin in your piston or plunger. For the bridge method, twist the piston finger-tight. For the pedestal, attach the injector to the top opening, drive the plunger down, then slowly draw it back up. This creates a vacuum to draw air away from the chip.
- Wait for the recommended time (anywhere from one to ten minutes) for the resin to work its way into the chip. Consider gently knocking on or gently pressing on the repair area from inside the car to help remove air bubbles.
- Check the repair from inside the car. If it doesn’t look complete, remove the plunger/injector, add another drop or two of resin, and repeat steps four and five.
- Once the chip is filled, remove the bridge or pedestal. For the latter, you’ll likely need the razor blade to scrape away the pedestal adhesive patch.
- Place another drop or two of resin directly on the chip, then immediately cover the area with a curing strip. Use the razor blade like a squeegee to remove any air bubbles.
- Move the vehicle into direct sunlight or aim a curing light at the strip for the recommended time, usually 15-20 minutes.
- Remove the curing strip. Use the blade to remove excess resin by scraping horizontally. This direction helps prevent scratching.
Other Windshield Repair Tips
The best conditions for windshield chip repair are on a clear day in warm temperatures. If you must do the repairs in colder conditions, use a hair dryer or heat lamp to preheat the glass. Conversely, in hot conditions, the resin may cure before it finishes filling. Don’t do repairs in the evening since moisture from dew may get into the chip.
Although you can drive a vehicle immediately after completing a glass repair, be careful for the first 24 hours as the windshield is more sensitive during this time. For the same reason, you should also wait at least 24 hours before washing the windshield or adding protectants like Rain-X.
Remember the recommended resin curing time is based on ideal conditions. If the weather is cool or cloudy and you don’t have a curing lamp, it will take longer. Err on the side of caution. If the resin doesn’t harden fully, it could lead to permanent windshield damage.
Even with the best DIY repairs or even professional repairs, some light marks or scarring will likely remain. This is normal and does not affect the windshield’s performance.
Fixing Your Automotive Glass
A chipped windshield is more than an annoyance. It can cause visibility issues now and lead to bigger problems later. Addressing window chips immediately is always the best, most affordable option, and sometimes, that means at-home repairs. By using the right tools and methods, many people can do a windshield chip repair at home that lasts for years.