
Looking over a vehicle regularly for signs of potential problems may seem like a hassle, but it pays off in the long run. By identifying small issues and getting them fixed, drivers can greatly reduce the chance of a breakdown or major damage. This saves significant time and money, helping your vehicle last longer and spending more time on the road.
While many dealerships and service shops conduct multipoint inspections, either as a standalone or value-added courtesy service, not all do. What they look at during these inspections varies, too. Unlike state inspections, there is no standardized checklist. For these reasons, knowing how to do a DIY multipoint inspection is a good idea. Checking components myself has bailed me out before, and I want others to get the same benefit. In this guide, I’ll explain what a multipoint inspection is, when to do it, and what items you should examine.
What Is a Multipoint Vehicle Inspection?
This bumper-to-bumper inspection involves visually inspecting and testing various components, hardware, safety systems, and fluids to assess their condition. A multipoint vehicle inspection differs from an annual state inspection, which focuses mainly on safety items and legal requirements. It also differs from diagnostic testing, which involves digitally scanning the on-board computer and systems for error codes.
When Should I Do a Multipoint Inspection?
If someone drives an average amount which is 13,476 miles annually, according to the most recent Federal Highway Administration data, they should do a multi-point inspection at least once a year. More frequent inspections may be needed for high-mileage and frequently driven cars. A common rule of thumb is to do a multipoint inspection after every oil change. Other good times for a multipoint inspection include when someone is considering buying a used vehicle or about to go on a road trip. Most vehicle manuals also have a maintenance schedule with recommendations of when to check certain components.
What to Check in a Multipoint Vehicle Inspection
There are five main sections of a vehicle to go through during a DIY inspection and several items to examine for each. I’ll go over them below using bullet points for convenience. Readers can even download this as a checklist for their next inspection.
Note that for some of these items, you may need a few basic shop tools. These include a jack and/or ramps to elevate the vehicle and a lugnut wrench to remove the tires, giving you easier access to the suspension and undercarriage.
Engine Bay
- Check the levels of all fluids, including engine oil, transmission fluid, brake fluid, coolant, power steering fluid, and windshield washer fluid. Inspect each fluid for discoloration, debris particles, and air bubbles.
- Look at the drive belts for cracks or wear (usually presenting as excessive shine), and give them a gentle tug to see if they are too loose or tight.
- Examine all hoses and lines for leaks caused by cracks, splits, or loose connections.
- Test the alternator and battery voltage using a multimeter. On the battery, look for signs of corrosion or sulfate buildup on the terminals.
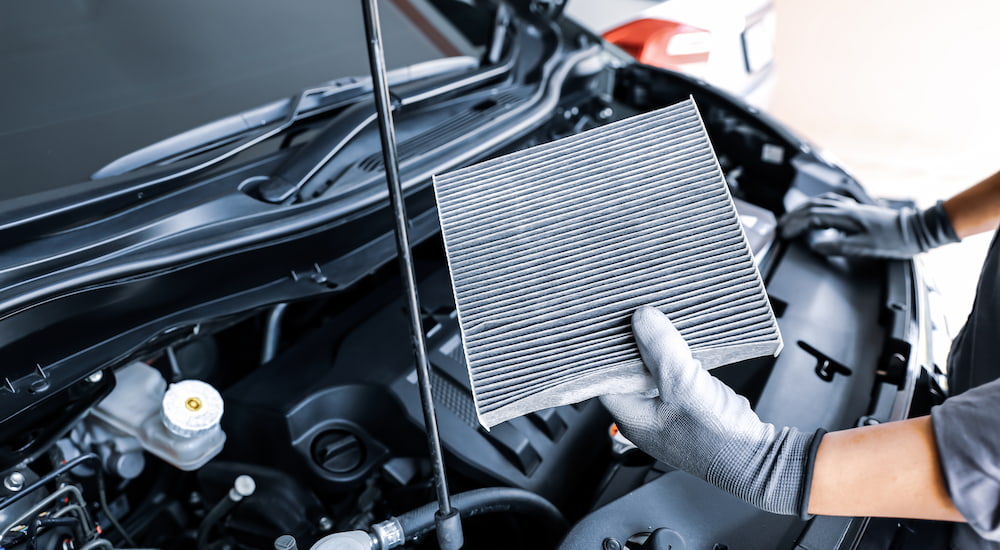
- Pull the air filter from the box and inspect it for debris buildup or clogging.
- See if there are any cracks or holes in the radiator and if the cap is tight.
Suspension
- Look at the brake pads at each wheel to see if they have enough material. Pads typically have a wear bar and/or “squealer” indicator.
- Check the brake rotors and calipers for warping, rust, debris, stickiness, and other signs of trouble.
- Inspect the struts, shocks, springs, ball joints, control arms, idler arms, tie rod ends, and bushings for obvious breakage or wear.
- Examine each tire to see if it has sufficient tread and is properly inflated. Like the brake pads, tires usually have a wear bar to indicate when they need to be changed.
- If the vehicle has a spare tire, confirm it’s inflated and safe to use.
- Check the wheels for rust and corrosion.
- Check to see if the wheels are aligned. Signs of misalignment include uneven tire wear, an off-center steering wheel, and the vehicle pulling to the left or right when driving.
Drivetrain
- Check the exhaust pipes and muffler for rust, holes, excessive noise, or loose hardware.
- Scan the brake and fuel lines to see if they have leaks.
- Visually check the transmission for problems such as leaks and confirm that it shifts into all gears normally.
- Examine the driveshaft, CV joints, and U-joints to see if they are loose or damaged. If your car has a manual transmission, you will also need to check the clutch.
- Check the rear differential for leaks if your car has one (FWD vehicles do not).
- Look for leaks in the transfer case if your vehicle has one (they’re on all cars with AWD and 4WD).
- Make sure the fuel filter isn’t clogged.
- Test the steering wheel for signs of sloppiness or sticking, which can indicate issues with the power steering pump, steering rack, or gearbox.
Exterior
- Test the windshield wipers to see if they leave streaks and look for any obvious cracks or looseness in the silicone material.
- Check all lights to confirm the bulbs work, including the headlights, daytime running lights, tail lights, brake lights, and hazard lights. (Some vehicles may also have fog lights, side markers, license plate lights, puddle lights, and blind spot lights.)
- Inspect the light housings for scratches and haziness.
- Check for any chips or cracks in the windshields and windows.
- Check for dents, large paint chips, deep scratches, rust, or structural issues on the body.
Interior
- Remove the cabin air filter and look for excessive dirt and clogs.
- Check all the seat belts to confirm they buckle securely, catch properly, and have no frays or other damage.
- Shake out the floor mats and check for rips, holes, stains, fraying, slippage, or other damage.
- Test the HVAC system to confirm the AC, heater, and vents all work correctly.
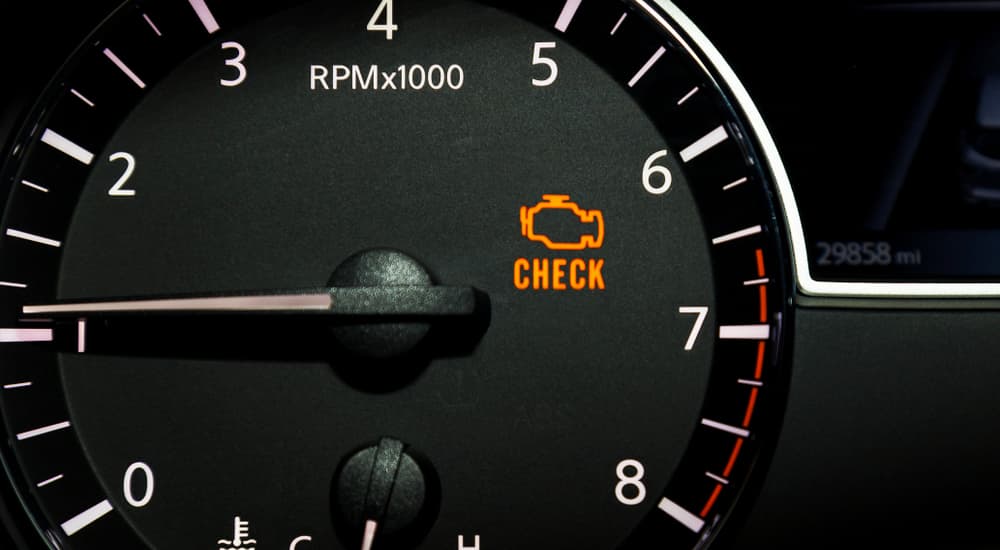
- Check to see if any dashboard warning lights are on, and then check the vehicle manual or use an OBD II scanner to determine what they mean.
- Make sure the emergency brake engages correctly.
- Confirm that the buttons and levers for the turn signals, windshield wipers, hazard lights, etc., are working.
What Should I Do if I Find a Problem?
There’s a decent chance that a multipoint inspection will reveal a problem. I’ve read estimates that up to 70% of these inspections uncover at least one issue. Fortunately, they’re usually minor, which is the purpose of doing the inspection.
Some fixes, such as replacing wiper blades and headlight bulbs or topping off low fluids, are tasks that someone with basic mechanical skills can do themselves. Other DIY guides are available at CheckEngine to walk you through certain tasks. If you don’t feel comfortable with the repair or don’t have the equipment—for example, few people have home equipment to mount and balance tires—schedule an appointment with a mechanic. Although occasionally an urgent problem is found during a multipoint inspection, what’s more likely is that you can choose a day and time that’s convenient.
Look Out for Your Vehicle
I’ve said it before, and I’ll say it once more: preventative vehicle maintenance is the best maintenance. A DIY multipoint inspection is the best way to find and deal with small problems before they become big problems affecting vehicle performance and safety. It doesn’t cost any money to do the inspection yourself, and you can do it in your garage, driveway, yard, or (in my case) apartment parking lot. Stay on top of maintenance with regular multipoint inspections and enjoy the peace of mind that comes with them.