Many vehicles these days are getting increasingly complex to the point where even basic maintenance requires special tools. Not so with the Silverado. This powerful truck is highly capable and powerful, yet still mechanically simple and quite easy to perform basic maintenance on. While a rocket scientist will scratch their head in distress when asked to perform an oil change on some new cars, not even a mechanic’s general knowledge is required for the sort of rugged truck you can pick up at a pre-owned Silverado dealer. Even for those who have never turned a wrench before, this should be an easy operation.
What Tools Will You Need?
The tools required for an oil change are simple, and some can be substituted for other items if your garage is not yet equipped to do any sort of automotive maintenance. First of all, a jack may be required to lift the vehicle’s front high enough off the ground so that it can be sat down on stable supports. This will allow you to have the space necessary to drain the old oil and replace the drain plug.
A jack of some type should come with the vehicle, though a 3-ton automotive jack would be ideal. A more convenient method would be using maintenance ramps. With said ramps, all you will have to do is drive the vehicle gingerly up the ramps and put it in park with the emergency brake activated, and the truck would be safe to work on. However, you may be able to fit under your truck without needing a jack or ramps – especially if your truck has a lift or larger than factory tires.
If using a jack, jack stands are invaluable for safety. Jacks are great for lifting vehicles, but they are not designed to hold them up. When working underneath a vehicle, always use jack stands to support the vehicle’s weight.
Once the bottom of your truck is accessible, an oil drip pan will be needed to drain the oil out of the truck without harming the surface you are working on. Drip pans range from simple to elaborate, with some including flat trays and large vessels that allow oil in but not out.
A socket wrench will be needed to work on the vehicle, and while an oil filter wrench is not particularly required, it does make removing and replacing the oil filter much easier. Finally, keep some cleaning cloths handy to wipe up any spills that may occur.

What Parts Will You Need?
Only two parts are required to do a complete oil change: the oil itself and a new oil filter. For the amount of oil needed to complete an oil change, check the owner’s manual, as it will depend on which engine you have in your Silverado. The oil filter keeps contaminants from building up in the oil and harming the fluid’s ability to lubricate the engine and dissipate heat. While it is not completely critical to change the filter when the oil is changed, it is certainly a good idea and will help lengthen the life of the engine and all its internal components.
When it comes to which type of oil to buy and put in the engine, again refer to the owner’s manual. Different types of automotive oil are designated with short numerical codes, which refer to the temperature range that the oil best operates in and also its general level of viscosity. You will also have to decide between synthetic, non-synthetic, and synthetic blend oil. GM recommends full-synthetic dexos1 approved products for gasoline engines and dexosD oil for diesel engines.
The 2021 Chevy Silverado Requires:
- 2.7L I4 engine – 6.0 quarts of SAE 5W-30
- 4.3L V6 engine – 6.0 quarts of SAE 5W-30
- 5.3L V8 engine – 8.0 quarts of SAE 0W-20
- 6.2L V8 engine – 8.0 quarts of SAE 0W-20
- Duramax diesel – 7.0 quarts of SAE 0W-20
Where to Get Started
If using a jack, make sure to use the jack points shown in the owner’s manual. Jacking from other points, especially on the body and not the frame, could cause damage to the vehicle and be unsafe. In addition, if using a jack, place jack stands under the truck on the points designated by the owner’s manual. A jack with at least two tons of lifting capacity is required to lift the front of the Silverado safely. Once you can access the bottom of the truck, the work begins.
Open the hood, and lift out the dipstick, and then the oil filler cap. Place these in a clean location, and then prepare to get under the Silverado. In preparation, gather your drain pan, the oil filter wrench, cleaning cloths, a socket wrench, and the new oil filter. Once you have gathered these items, slide under your truck. If possible, use some cardboard to make being under the vehicle more comfortable.
Once underneath the Silverado, find the currently installed oil filter and the drain plug. The oil filter will generally be the same size and shape as the one you are replacing it with, so it should be quick to find. Meanwhile, the drain plug will be near the very bottom of the engine.
Position the oil drip pan underneath the drain plug, taking into account that the oil in the engine will come out of the drain plug with some force at first, with the weight of all the oil behind it. It will travel a foot or two horizontally before falling off to a trickle. Because of this, it is best to put the drain pan in a location where it is both underneath the drain plug and stretching beyond it in the direction the oil will travel when unleashed. Since you can tell how much oil is in the engine from the owner’s manual, you will know how voluminous of an oil drain pan you will need.
Using the socket wrench, remove the oil drain plug, and pull it out quickly, setting it in a clean location. Let the oil drain out completely (it will take a couple of minutes), and look over both the gasket and the threads for damage. If either has obvious signs of damage, they need to be replaced. Finally, remove the oil filter using the oil filter wrench, dumping the oil inside of it into the oil drip pan.

Finishing the Job
Install the new oil filter with your hand, and then reinstall the oil drain plug with your socket wrench. Do not overtighten either. Using a wrench to tighten the filter can damage it, and overtightening the drain plug can strip the engine oil pan threads. You may be tempted to crank down on it, but the plug only has to be snug.
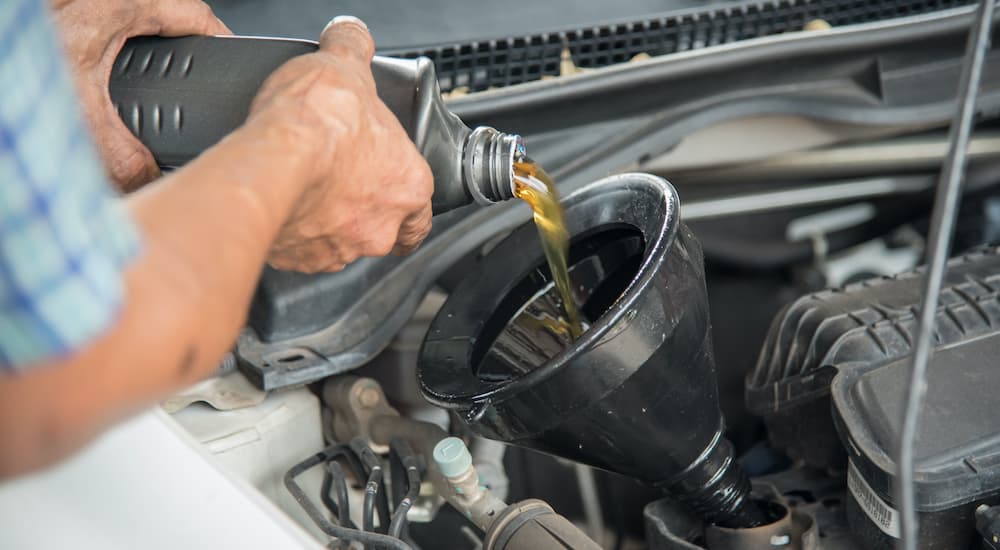
You are now ready to get out from under the Silverado. Add the appropriate amount of oil, as shown in the owner’s manual, through the oil filler on the top of the engine. Check oil level via the dipstick as you do so, and when the appropriate amount of oil is installed, replace the oil fill cap you removed, reinstall the dipstick, and close the hood. When you are all set, remember to dispose of the old oil properly – most auto parts stores will take old oil at no charge.
Take Care of Your Silverado
Changing the oil is both an easy, beginner-friendly process and a critically important maintenance requirement for the long-term lifespan of your truck’s engine. Without regular engine oil changes through the years, even a robust Chevy V8 will give up the ghost over time. Fresh oil keeps the engine running smoothly though consistent lubrication, leading to a much longer lifespan than an engine that is improperly taken care of or not maintained at all.
The operation is an easy one, requiring only simple tools and basic due diligence. While it is true that the easiest way to get this done would be to have the dealer complete the procedure, for those who want to do it themselves, it is a worthwhile exercise and can help you become more comfortable with doing their own automotive maintenance.

