
Gasoline isn’t the only motor fluid that powers your car and helps it run smoothly. If gas is at the top of a ‘most essential fluids list,’ motor oil is second in line. Motor oil is an incredibly efficient lubricant that is intended to keep all of the intricate pieces of your engine running smoothly. Unfortunately, motor oil isn’t indestructible, and over time can develop grime that can be hazardous to the health of your vehicle. Through regular oil changes, you can ensure the life-long well-being of your car and avoid some of the long-term damages caused by old grimy oil. That said, you don’t have to rely on a mechanic or dealership to swap out your motor oil. While a trained mechanic might do the job quickly, some shops tend to overcharge for something as simple as an oil change. In this article, we’ll show you how you can perform your own oil change, from the comfort of your home garage.
Basic Motor Oil Knowledge
As mentioned above, motor oil is a lubricant, that courses through your engine, giving its various components greater mobility. Motor oil comes in four different variations, fully synthetic motor oil, synthetic blend motor oil, conventional motor oil, and high mileage motor oil. Each of these motor oil types is designed to serve a particular purpose and is optimal in certain types of cars.
For instance, full synthetic motor oil works great in performance vehicles, due to its high viscosity, resistance to sludge build-up, and oxidation resistance. Synthetic blend motor oil offers up a variation that utilizes the best parts of full synthetic oil, with conventional oil prices. While not as efficient as full synthetic oil, it is an excellent replacement for conventional oil users. Conventional motor oil is the standard and used in a wide majority of vehicles. Lastly, high-mileage motor oil is exactly what the name implies; it is a motor oil replacement for vehicles with more than 75,000 miles. This type of oil is designed to minimize oil leakage and reduces smoke and emissions levels.
All that said, no matter what kind of motor oil you use for your vehicle, grime build up is an inevitability. Grime build up hinders the effectiveness of motor oil and can put excess strain on your engine, cutting into fuel efficiency. In the long term, old grimy oil can cause wear and tear on your engine’s components, which can lead to some pretty costly repairs. Fortunately, by swapping out your motor oil every 5,000 miles or so, you can avoid these short term and long term issues.
Preparation Steps
There are plenty of benefits to changing your own motor oil. For starters, it is pretty simple and requires simple tools. It is also a great way to save money for car maintenance that you might not be able to do out of your home.
Before you get started, you’ll want to pick up the necessary supplies. We recommend that you pick up a socket or box end wrench, an oil filter wrench, an oil drain pan, a funnel, latex gloves, a jack, jack stands, oil, an oil filter, and a replacement drain plug washer.
Once you’ve gathered together all of your supplies, it’s time to prepare your vehicle for the oil change process. For starters, your engine should be warm, not hot. If the engine is too cold changing the oil can be quite the challenge, and if the engine is hot, you can risk burns.
After your vehicle has reached an ideal temperature, lift your car up using the car jack, and support the weight using jack stands. Once your vehicle is raised, inspect the undercarriage and check to see if your car has an undercover or not. These undercovers are intended to protect undercarriage components from debris and improve your vehicles aerodynamics, but sometimes have to be removed to access your engine’s oil drain plug and oil filter.
That said, some undercovers are designed with a hatch giving you easier access. If you have a cover that doesn’t have an access hatch, remove it using, the appropriate tools. Now that you have access to the oil filter and the drain plug, you can begin to replace the oil on your car.
Locate and Drain
Once your undercover is removed, locate the drain plug and oil filter. In most vehicles, the plug and filter are separated, which means you’ll have to drain one component at a time. Once you’ve located your oil plug and oil filter, shift the drain pan beneath the plug. With your pan appropriately positioned, remove the oil filter cap to quicken the draining process.
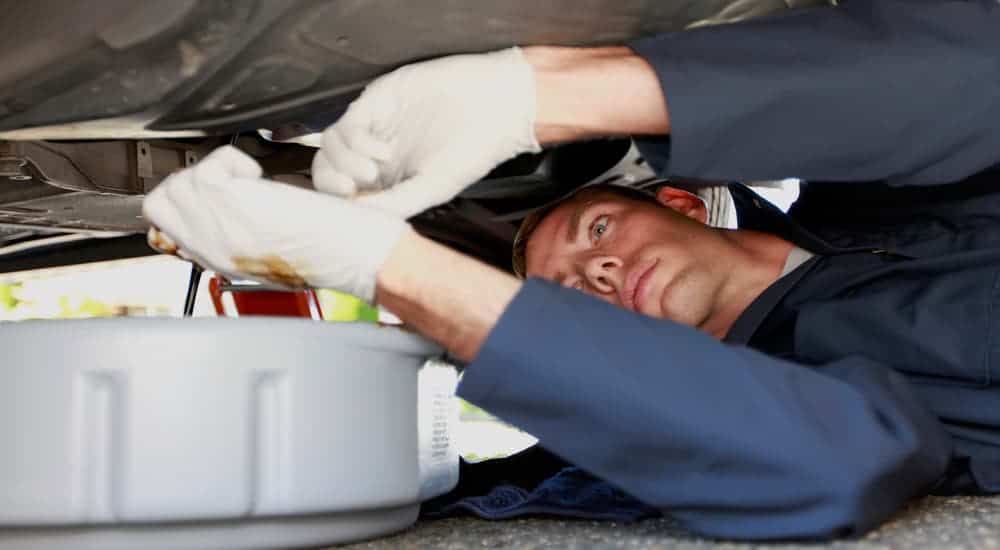
Now comes the messy part. Dawn your latex gloves, and remove the oil drain plug using your box end wrench. Be sure to keep your hands out of the way of the path of the oil stream. Even if you let the engine cool, there is no telling how warm the motor oil will be.
As the old oil drains into the pan, inspect the oil drain plug and clean it off of any debris or grime. You may need to replace the drain plug washer, although some vehicles come with a permanent O-ring, which won’t require replacement. Once the motor oil is drained from the engine, retighten the drain plug using your wrench, and move on to the oil filter.
The Final Steps
Once the draining process is complete, move on to replace the filter. This is possibly the messiest step of the oil change process, as there is no way to avoid spillage while installing the new filter. For this reason, it is worthwhile to have some rags or wipes handy to get rid of excess oil.
Installing the new filter can be a challenge with your latex gloves on, so if you have to remove them to get a solid grip on the filter piece. Once installed the new filter may feel loose; however, don’t reach for a filter wrench, you can risk tightening it more than what is recommended.
With the old oil drained, and the new filter installed grab your new oil and pour in one quart less than what is recommended. After you’ve poured in the new oil, reseal the oil cap, and let the engine run for 30 seconds to allow the new oil course through the engine.
After those 30 seconds are up, you can lower your vehicle, and check your oil levels. It’s likely that you’ll need to add more oil into your engine, and as long as you pay attention to the levels recommended by your dipstick, you should be in the clear.
After you’ve checked your motor oil levels, and have cleaned everything up, you’re done! Now you can pat yourself on the back, and enjoy the fact that you didn’t have to rely on a mechanic to have your oil changed.
Benefits of Changing Your Own Oil
Whether you’re doing it to save maintenance costs or want to DIY all of your car servicing needs, changing your own oil can be a great introduction to self-maintenance. While the process can seem daunting at first, you may find that over time things become easier and easier. Oil changes are essential, and by learning how to do them yourself, you can be self-sufficient in your car maintenance needs.