
Your paint getting nicked is an inevitable part of owning a vehicle. From rocks and branches kicked up on the road to hail, wild animals, bouncing basketballs, and collisions, many hazards can damage your car’s finish. Regardless of how they happened, though, it’s important to address these blemishes at your earliest convenience. Even minor cosmetic scratches can eventually lead to peeling and cracked paint and, consequently, rusted metal, which is far more expensive and time-consuming to repair. Paint blemishes also hurt the resale and trade-in value of a car if you ever want to go that route.
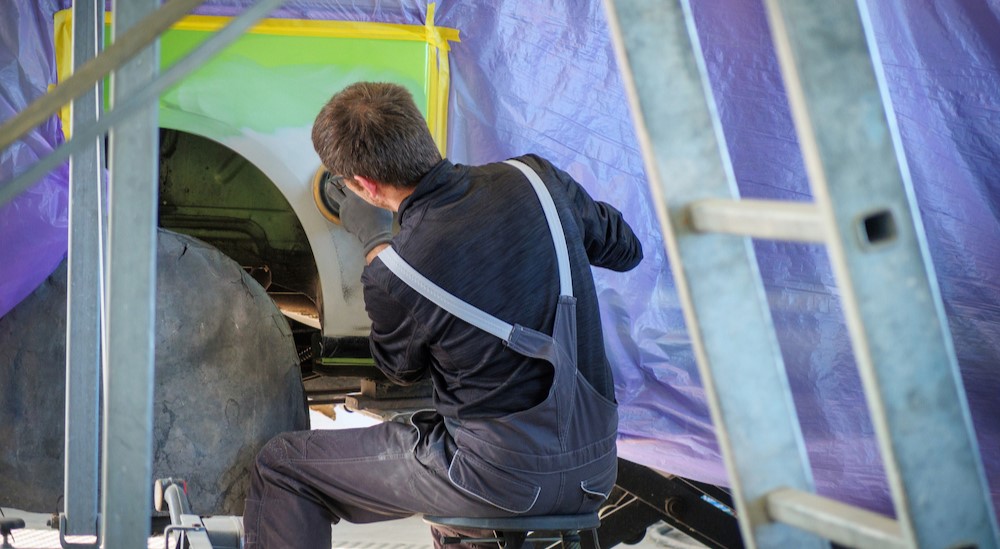
Bringing the vehicle to a professional paint and auto body shop is the surest way to get a high-quality paint touch-up. However, this can be expensive. Even a minor paint touch-up job often costs more than $100, and more extensive damage can easily set you back $500 or more. Not to mention, you’ll usually be without your vehicle anywhere from one to three days during the week, depending on how busy the shop is, which is difficult for the average working person to plan around.
The good news is that, with a little know-how and patience, you can do paint touch-ups in your garage for a fraction of the cost, and you can do it on the weekend or at any other convenient time. Use this touch-up paint guide to restore scratched, chipped, rusted, or faded paint so that your vehicle looks great again.
Methods for Touching-Up Your Vehicle’s Paint
The first question is how to fix paint blemishes. Many companies and dealerships sell paint touch-up pens for fixing minor scratches. While this is the quickest way to repair car paint, it has some drawbacks. First, most pens can only be used on superficial damage. If the scratch has penetrated the primer, then the paint won’t stick and will eventually peel or flake away.
Second—and speaking from experience—touch-up pens are very tricky to use. Unless you’re skilled, a paint pen can often make the finish look worse. You won’t always be able to find touch-up pens that match the factory color, and the paint is prone to globbing. Finally, the included brushes are not the recommended way to apply a protective clear coat, as they are prone to streaking and roughness. (The paint should be sprayed on for a smooth result.)
Instead, you should use a more detailed approach that involves cleaning the affected area, sanding it smooth, and then applying primer, paint, and clearcoat. It does require a little more work than a touch-up pen, but the results are much better—and trust me, it’s not as hard as it sounds.
What Supplies Do You Need for a Paint Touch-Up?
Before you start your paint touch-up project, you’ll need to gather the right tools and materials. Some good paint touch-up kits are available, with Dr. Colorchip being the most notable. Whether you’re buying a kit or getting the materials separately, make sure you have the following paint touch-up items:
- Soap and water — Look for special car wash soap that will be easy on the existing finish.
- Sponge — Don’t use scouring pads or steel wool, as they will cause further scratches.
- Dry sandpaper — Fine 220-grit works in most cases, but get coarser sandpaper (100- or 60-grit) if rust has formed.
- Wet sandpaper — Look for ultra-fine grits between 1500 and 3000.
- Water buckets — One for washing the vehicle and one for the wet sandpaper.
- Microfiber cloths — This material is absorbent and soft for wiping surfaces dry.
- Color-matched spray paint — Check the owner’s manual or do an internet search for the official paint code.
- Automotive spray primer — White or gray should work equally well.
- Automotive spray clear coat — This adds shine and protects the paint.
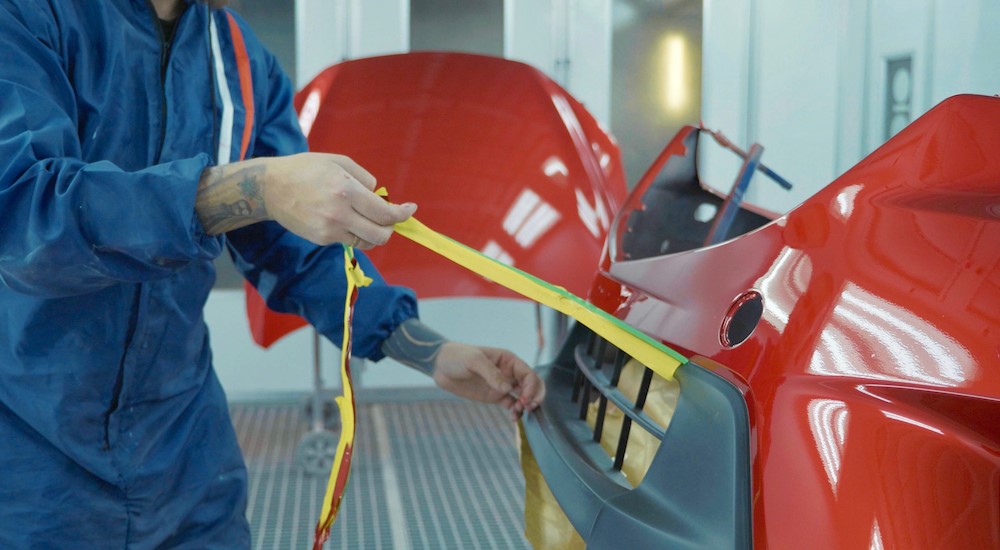
- Newspapers or plastic film and masking tape — Use this to protect other vehicle surfaces from overspray.
When applying the paint, you want an ambient temperature of at least 70 degrees Fahrenheit and a humidity of 50% or lower. Cooler temperatures can cause the paint to thicken and not stick as easily. As for higher humidity, the added moisture and condensation may lead to uneven finishes or bubbling. You should also do your touch-up work in a garage or covered area if possible to minimize the chances of rain and debris affecting the project. Also, make sure the area is well-ventilated for safety reasons.
A Step-by-Step Guide to Touching-Up Your Car’s Paint
Now that you have the materials, here’s how to get your car exterior scratch- and chip-free:
- Mask off the surrounding body panels, windows, etc.
- Submerge your sandpaper in water.
- Wash the affected area to remove all dirt, dust, oils, grease, and other contaminants.
- Sand the scratched or chipped area until you have a bare metal spot. If you’re using coarse sandpaper to remove rust, re-sand it afterward with fine sandpaper. (Note: If you are fixing a car paint chip, do not sand down the edges. These edges make it easier for the new primer and paint to set in place without running.)
- Rinse the area and dry it thoroughly.
- Apply the spray primer using a slow back-and-forth motion. Hold the can the recommended distance from the surface (usually 6 to 8 inches). Follow the manufacturer’s instructions for drying.
- Wet-sand the primer to smooth out the surface, then wipe away any debris with a clean cloth.
- Once the primer is dry, apply your color-matched paint using the same technique. Let the first coat dry for about 15 minutes, then apply a second coat (and a third coat if needed).
- Allow the final paint coat to dry. Some paints dry in as little as 30 minutes, while others may need to dry overnight; follow the instructions on the can.
- Apply 2-3 coats of clear coat following the same process as the paint. Let it dry for the recommended amount of time.
- (Optional) Gently wet-sand the area to help it match the rest of the paint more closely. Use a series of progressively fine sandpapers from 1500- to 3000-grit.
- Wash the area once more, following the same process as in step three.
How Soon After a Paint Touch-Up Can I Drive My Car?
In almost all cases, you can drive the car once the final clear coat is dry and cured. If you take the vehicle out before curing is completed, though, the paint and clear coat may wash away, streak, peel, or develop water spots. Depending on the paint, you may also need to wait anywhere from one day to a few weeks before waxing or polishing the repainted area. Doing so too soon can dull the paint or even remove it.
DIY or Professional? The Choice Is Yours
For someone who is reasonably skilled or wants a fun project, doing automotive paint touch-ups yourself is an affordable and rewarding solution. If you’re not confident in your skills or have a major paint issue, you may want to visit a shop, as their professional technicians can deliver reliable results.
Another option is to try the DIY route first and then bring the vehicle to a shop if you mess something up or aren’t happy with the outcome. For a redo touch-up, you’ll want to book an appointment as soon as possible; the longer the initial touch-up paint has cured, the harder and more expensive it will be to fix.