There’s nothing like a fresh coat of paint to breathe new life into your ride–or is there? While expensive paint jobs were once the only option for those looking to refresh their car, truck, or SUV, vinyl wraps have become an increasingly popular alternative in recent years. A vinyl car wrap offers a number of benefits over a traditional paint job. It can be easily removed, customized in a wide range of colors and designs like gradients and matte finishes, and is often more affordable than a fresh coat of paint. This affordability largely comes down to whether you choose to go the DIY route or call in the professionals. As long as you have enough time, patience, and attention to detail, the project should be well within the wheelhouse of the average home mechanic. Just how much money can you save with a vinyl wrap? How does it compare to an old-fashioned paint job? What car wrap brands are considered the cream of the crop? We’ll tackle all those questions and look at some of the equipment you’ll need to get the job done in our guide to vinyl car wraps.
That’s a Wrap
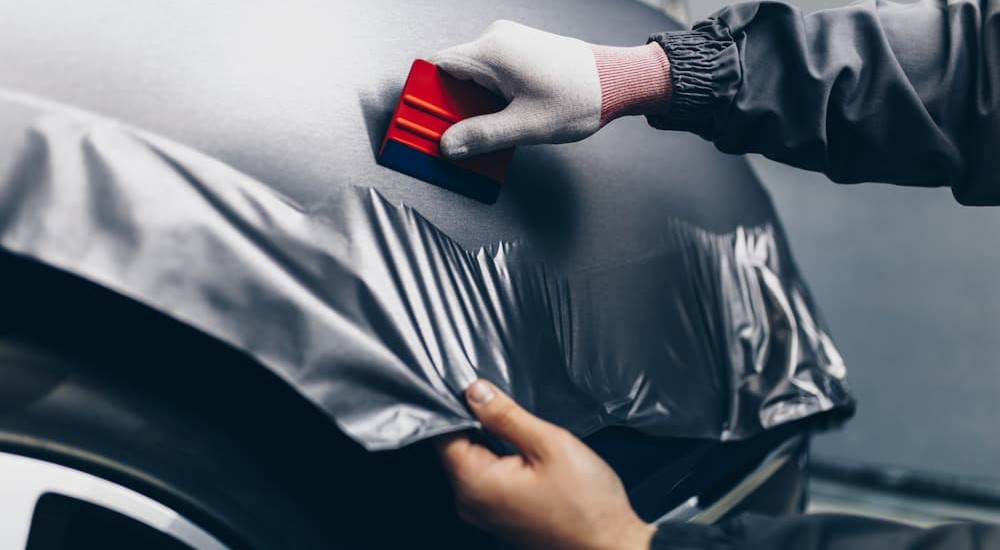
Car wraps are simply adhesive vinyl coverings that are applied to a vehicle using a heat gun, a squeegee, and a whole lot of patience. While early vinyl car wraps tended to be a standard array of colors, today’s offerings run the gamut from gloss and matte to metallic, reflective, chrome, pearlescent, and even color-changing. These vinyl wraps are particularly popular amongst businesses that can turn their fleet vehicles into rolling billboards, complete with graphics, contact information, and eye-catching details.
How does a vinyl wrap compare to paint in terms of cost and convenience? It all depends on what route you want to take. A roll of vinyl wrap large enough to cover the average vehicle only costs between $300 and $1,000. However, if you opt for professional installation, a vinyl wrap can end up costing just as much as a paint job, typically running anywhere from $2,800 for a hatchback all the way up to $5,000 for a large SUV or pickup. This doesn’t factor in the cost of removing a previous wrap, which can set you back another $500. When you consider that a car wrap only lasts three to five years compared to paint, which, if well cared for, can last the life of a vehicle, it might be hard to understand why vinyl wraps have become so popular.
One reason would be time. A proper paint job can take a week to ten days to complete, while a wrap can be applied by a trained professional in just a few hours. There’s also the DIY appeal. A full paint job is usually outside the comfort zone of the typical home mechanic. In addition to requiring an experienced hand, a paint job also calls for a garage full of expensive equipment. The same isn’t true of the vinyl approach, which, aside from the wrap itself, will only cost a driver around $100 in tools and equipment. We’ll detail your car wrap shopping list as we dive into the tools you’ll need to get the job done.
Tools
Painting a vehicle requires a long list of specialty tools and equipment. From spray guns and sanders to air compressors, buffers, paint, primer, and personal protective equipment like respirators and safety glasses, repainting your car, truck, or SUV can quickly turn into an expensive proposition. This sort of investment might make sense if you’re opening up your own automotive paint shop, but it’s hard to justify the cost for a single project when you consider that a new paint job is typically a once-in-a-decade project.
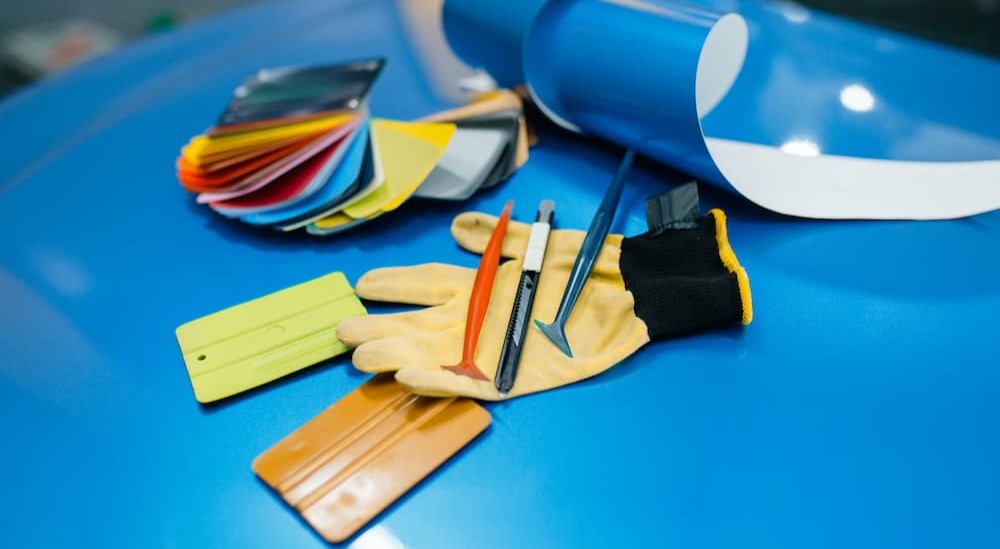
Wrapping a car is a pretty accessible undertaking by comparison. While drivers will have to invest in the wrap itself, the tools and equipment required to complete the job are relatively simple and cheap compared to painting. Let’s run down some of the equipment you’ll need to wrap a car and see just how affordable it can be.

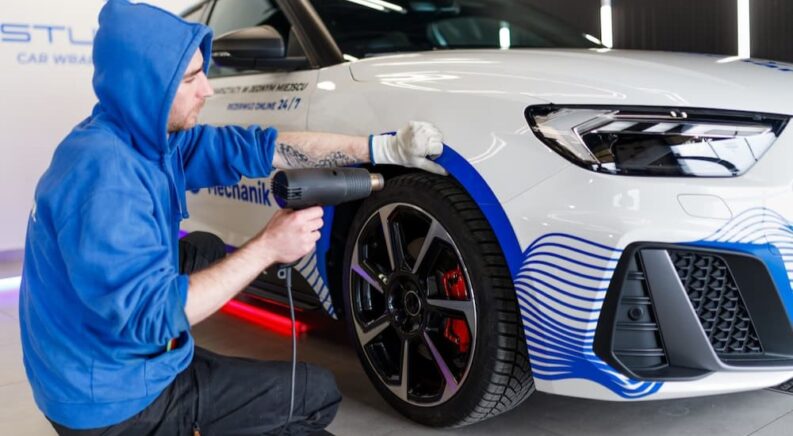
Heat gun: A good heat gun is essential to getting a tight, professional-looking fit. Used to smooth out wrinkles, alleviate bunching, and warm your preferred wrap to the correct temperature, a heat gun is the go-to tool for any wrapping project. A heat gun will usually represent the biggest purchase drivers will have to make when wrapping their vehicle, but that’s not saying much. While specialty heat guns marketed for car wrapping cost around $150, many experts recommend the typical off-the-shelf version that can be found at your local hardware or home improvement store for as little as $20 or $30.
Infrared thermometer: To adhere correctly, car wraps and the car panels themselves need to be heated to an exact temperature. Heat guns don’t tend to be too precise when it comes to temperature settings, and are often designed with little more than a “high” and “low” setting. That’s where infrared thermometers come in. This handheld tool allows drivers to precisely track the surface temperature of the wrap and panels, which can go a long way toward getting a good fit. Infrared thermometers can be had for just around $20 to $25, so there’s really no reason to cut corners.
Squeegee: Smoothing down your vinyl wrap is usually the most tedious part of the process, which is why a good squeegee is so important. That said, not any old squeegee will do. When wrapping a car, you’ll want to look for a felt-edge squeegee that can smooth out the bubbles and wrinkles and trace the vehicle’s curves without scratching or marring the wrap. These squeegees can be found online for around $2 to $5 apiece, but you might want to consider picking up a few different sizes unless you want to spend all day smoothing out larger areas like the hood and roof.
Masking Tape: Making tape is helpful for protecting your vehicle from scratches caused by cutting wrap away from tricky areas like the side mirrors and windows. It can also aid in the measuring process and help align graphics, racing stripes, and other details you might be trying to overlay on the wrap.
Measuring tape: Car wrap isn’t cheap, and buying more than you need is usually a waste. A good measuring tape can come in handy when selecting the right amount, but that standard steel tape measure in your toolbox might not be the right choice. A soft, pliable, and preferably magnetic measuring tape is better suited to the job, as it’s flexible enough to give a more precise reading. Some drivers choose to cover their vehicle with masking tape, which is then peeled off and measured on a flat surface. However, at a cost of around $10 for a flexible measuring tape, there’s no excuse for not going with the right tool for the job.
Gloves: Appearances are everything in a car wrap, and a good set of gloves can make all the difference if you’re trying to achieve professional results. Several wrap-specific gloves are available, designed with improved friction resistance and anti-static properties to ensure a smooth finish. They’ll also protect the wrap from getting snagged on a fingernail or marred by dirty hands, and are relatively cheap at $10 to $12.
Cutting blades: The right blade is crucial when wrapping a vehicle. Drivers should invest in two blades: a 30-degree blade with a metal frame and an enclosed blade for larger cuts, like the ones you’ll make when initially sizing each panel.
Cleaning solution: A little prep goes a long way when wrapping a vehicle. Giving your ride a thorough wash and applying a pre-cleaner will help remove oil, wax, silicone lubricants, or any other substances that might result in wrinkling or bunching when the wrap is applied. Wrap-specific cleaners and sealants should also be used to keep the wrap in pristine condition after completion, as standard car washing solutions might damage the vinyl.
Magnets: If you’re going the DIY route, a good set of wrap magnets can act as a helpful pair of hands. These magnets can help align the wrap and keep it stationary when applying the vinyl to larger sections. They can be removed as the wrap is applied and are designed with a non-marring surface that makes them a good alternative to your garden-variety magnets. Wrap magnets can be sourced for around $15 to $20 for a set of four.
Types of Wrap
Today’s vinyl car wraps come in two distinct varieties: cast and calendered. Both types are made from a PVC polymer but are very different in cost, quality, longevity, and ease of installation. Let’s take a closer look at each and see which is the right choice for your wrapping project.
Cast wraps are produced by pouring liquid polyvinyl chloride (PVC) onto a casting sheet. This sheet is then cooled and formed into a film, which makes cast vinyl a little more pliable when compared to calendered vinyl. Cast vinyl wrap is often seen as the gold standard due to this flexibility. Designed to be thinner than calendered vinyl wrap, cast wraps are much easier to work with and excel at conforming to tight curves. It also lasts longer, perhaps the most important consideration for those looking to avoid repeating the time-intensive process in the near future. Cast vinyl is also better at resisting discoloration to ultraviolet exposure and tends to shrink and lift less than calendered vinyl.
If you’re looking for a bargain and don’t mind a more troublesome installation, calendared vinyl might be the way to go. This type of vinyl wrap is also PVC-based but includes plasticizers and other additives. The wrap is pressed into a sheet rather than poured like cast vinyl. This sheet is then heated and rolled to the correct thickness, resulting in a thicker vinyl wrap, harder to work with and more susceptible to shrinkage. Calendered wrap works well on flat surfaces but often struggles to adhere to curves, which can result in wrinkles or bubbles. This trait can make calendered wrap a nonstarter for some vehicles, especially sports cars or those with an odd shape.

Recommended Wraps
It’s important to do some research when picking your vinyl wrap. The explosion in popularity of vinyl car wraps has led to many lower-quality brands entering the market. Many of these tend to be of the calendered variety and are typically produced by Chinese companies like Teckwrap and VinylFrog. However, popular budget brands like VVivid are also considered lower quality.
Who can you trust when sourcing your vinyl car wrap? Unsurprisingly, some of the best-reviewed products come from established brands like chemical company 3M and adhesives giant Avery Dennison. Some other companies also specialize in premium vinyl wraps, including Hexis, KPMF, and Orafol. Let’s take a quick look at each of these wrap manufacturers and see what each brings to the table.
3M’s and Avery Dennison’s products are generally considered the gold standard. Still, Hexis has made a name for itself with its unique designs, including fluorescent and glitter finishes. KPMF gets the nod for durability and has also been known to get a little wacky with neon and iridescent designs. Oracle trades on durability and quality with a line of vinyl wraps designed to look good over the long haul. It’s hard to go wrong with any of the brands mentioned above, but if you want to try a lesser-known brand, just beware of any deals that might seem too good to be true.
While we’ve covered the ins and outs of the vehicle wrapping process, we’ve danced around one little detail: is it a good idea to take the DIY approach? In the end, it all depends on your confidence level and patience. Anyone can learn to wrap a car as well as the pros, but it can be a steep, costly learning curve when you factor in the high price of today’s vinyl wraps. With enough research and YouTube videos under your belt, you’ll probably be able to achieve satisfactory results your first time out. However, if you’re looking for a flawless wrap lasting up to five years with little peeling, it might be worth investing in an expert. A good vinyl wrap can transform even the most boring model into a one-of-a-kind work of automotive art, but it can also be a finicky process that can lead to a lot of frustration. If you feel like taking on the task, just remember to go slow, pay plenty of attention to the details, and make good use of your infrared thermometer to ensure that the wrap and panels are at the right temperature to create a good bond. At least, unlike a DIY paint job, if you completely mess up, you can always peel off the vinyl wrap to return your vehicle to its original appearance or try again.

