While “plastic” might not be the first word that comes to mind when we think of our vehicles, they wouldn’t get far without a healthy dose of the stuff. From bumpers and insulation to the instrument panel and even the upholstery, various plastic compounds play an important role in the construction of the modern automobile. In fact, of the 30,000 individual parts that go into making a typical vehicle, over one-third are plastic.
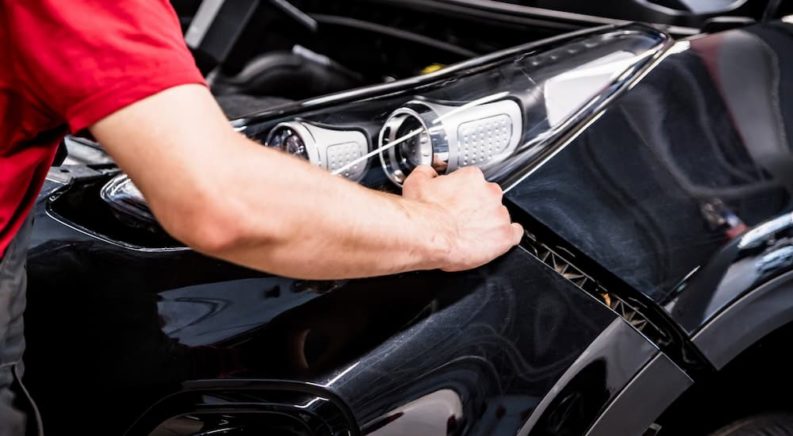
While we might hold an unconscious bias against this wonder material, it’s the perfect tool for the job as it’s affordable, corrosion-resistant, and perfect for reducing overall vehicle weight, but that doesn’t mean we have to like it. Just ask any driver who has ever struggled to replace a bumper, mud skirt, or hood shield only to realize that our vehicles are practically held together by tiny plastic bolts. Commonly known as retainer clips, these ingenious two-part components can be found throughout most of today’s vehicles. Let’s take a closer look at this unheralded, if frustrating, fastener, where it can be found, and get into some tips on installation and removal.
What Is a Retainer Clip?
Retainer clips work on a relatively simple principle and sort of function like a reusable rivet or drywall fastener: one part is placed into a pre-drilled hole until it’s flush with the surface, and then the second part is inserted into a hole in the middle of the first component. As the second part is screwed or pushed down, the stem of the first part expands on the other side of the whole, locking the assembly into place and providing a good hold without the use of any specialized tools.
As handy as they are, they can be a real pain when it comes to performing some simple repairs with their propensity to break at the slightest provocation. There are a few tips when it comes to getting them out in one piece, but their construction is, generally speaking, not rugged enough to withstand the force of an impatient vehicle owner who just wants to change their headlight assembly. To make matters worse, every auto manufacturer seems to want to use their own type of retainer clips or fasteners.
While most of these are functionally identical, they go about it in slightly different ways, making it difficult to offer any one-size-fits-all advice when it comes to installing or removing these retainer clips. Some need to be screwed in and some need to be pushed. Some include a handy inlaid slot for easy removal, while others will test your patience and sanity.
The good news is that retainer clips are almost never used to fasten down some of the more vital components in your vehicle, so getting it wrong isn’t the end of the world. More often than not, these retainer clips are found toward the front of the vehicle, specifically below the engine, above the front bumper, and in the wheel wells. Their primary function is to secure the molded plastic shields that protect your engine compartment from dirt, water, and other debris liable to get kicked up off the road and onto your engine components or any rust-prone metal. They’re also used liberally throughout a vehicle’s interior, where they’re responsible for holding down door panels, headliners, molding, and seatbacks. These retainer clips tend to be a little sleeker than those found outside the vehicle, designed to blend in with the interior, and are far less likely to be removed in the course of everyday driving.
Removing These Plastic Pieces
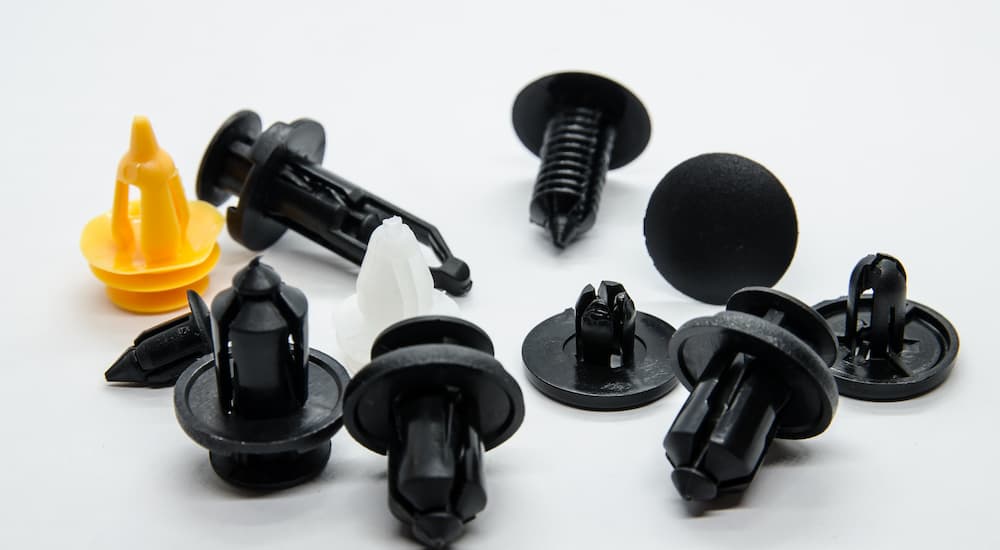
As we mentioned above, there are several different types of retainer clips commonly used on today’s vehicles. While these can largely be divided into two categories – push-in and screw-in – the variation doesn’t stop there. From closed bottom, open bottom, screw-type, or barbed “Christmas tree” style, it might start to seem like every automaker is out here trying to build a better mousetrap when it comes to retainer clips.
Regardless of which type of retainer clip you’re working with, the most important consideration when it comes to removing them is choosing the right tool. Aside from screw-in type retainer clips, which can be removed easily enough using a screwdriver, most feature a small notch that drivers can use to separate the two interlocking pieces. While it might be tempting to reach for a flathead screwdriver, utility knife, or any other small, flat metal object, doing so is a recipe for a damaged retainer clip. Even if it doesn’t break when initially removed, the force used can cause lasting damage, warping or weakening the clip to such a degree that it won’t provide the same sturdy hold it once did.
Enter the plastic fastener removal tool. Easily found online or at your local auto parts store for well under $10, this tool essentially looks like a screwdriver with a particularly long neck and angled, wrench-like head on the end. Think of it as a tiny crowbar designed solely to remove retainer clips. The plastic fastener removal tool easily slots in-between the two parts of the retainer clips, gently working them apart until they eventually separate. The tool’s design means there’s an even distribution of force during removal, which prevents cracks, warping, and other potential damage.
These are often used for the retainer clips found on the exterior of the vehicle, where potential cosmetic damage is less of an issue. When it comes to removing clips and plastic fasteners located in the vehicle’s interior, you might want to opt for a slightly different approach. Trim fastener and molding removal sets usually include four to five hardened nylon tools, which are perfect for removing the fasteners that secure your vehicle’s interior panels. The tool’s nylon plastic construction means they won’t chip or scratch delicate interior surfaces – an area where the fastener removal tool, being made of metal, might fall short.
For those who don’t feel like investing in the task-specific tools, there’s always the trusty old screwdriver method. While this approach is more prone to breakage, sometimes there’s simply no choice, just make sure not to rush the process, and you should be fine. The biggest tip we have when it comes to removing retainer clips is to use your hands whenever possible. Once you’ve effectively “popped” the two pieces apart, get a firm hold and complete the task by pulling the inset component out with your fingers instead of continuing to pry it with a screwdriver or another metal tool. It can be difficult to tell how much force you’re using when relying on a tool, but the feedback provided by using your fingers will go a long way in ensuring that the removal doesn’t end with broken plastic bits scattered throughout your garage.
Finding Replacement Parts
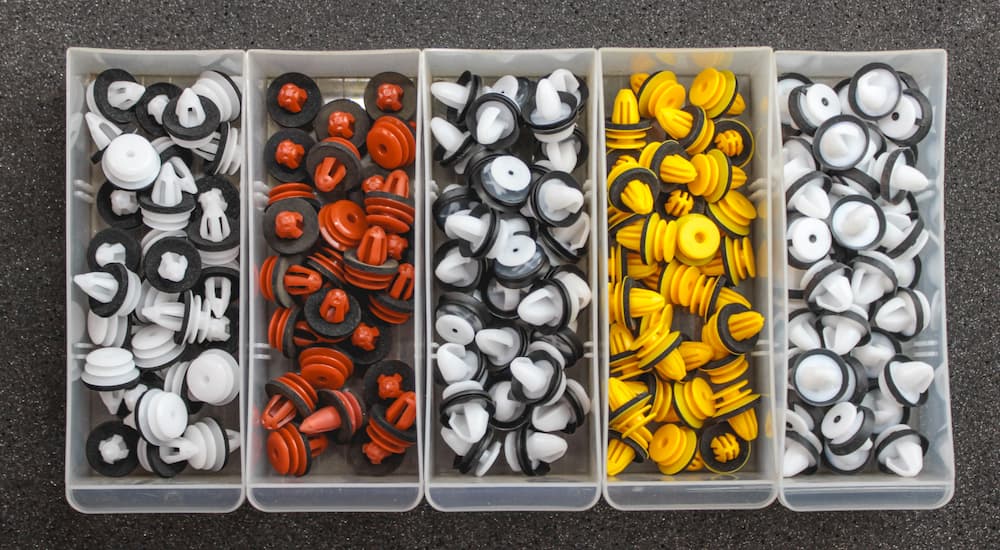
If something goes wrong and the retainer clips are damaged during removal, it’s not the end of the world. Replacements can be easily sourced online and usually come in a sort of variety box with a number of different styles designed to fit nearly any vehicle. These multi-brand packs not only help to ensure you have your bases covered but often come with a few handy tools like the ones described above that will make safe removal a lot easier.
If you’re looking for retainer clips specific to your own make and model, there are plenty on offer; simply search by brand until you find an appropriate replacement. Many automakers have their own proprietary clips that will fit most vehicles under their marquee, though there are some exceptions. Also, be sure to take note of where the clip came from, as each vehicle contains a variety of designs. Clips and fasteners located on the vehicle’s interior like the door panels, seat backs, or headliner will generally be a little more polished and low-profile than those hidden away under the hood or in the wheel wells and are often tinted to match the interior’s color scheme.
These replacement clips are very affordable, especially when ordered in bulk. For example, a 635-piece kit can typically be found for less than $20 and comes complete with every type of retainer clip, plastic rivet, and fastener you can imagine. Take the GOOACC 635-piece Car Push Retainer Clips & Auto Fasteners Assortment, for example. Available online for $19, the GOOACC kit includes 16 types of most common sizes of fastener clips found in Toyota, GM, Ford, Honda, Acura, and Chrysler vehicles. Make sure your own brand is included when shopping for these universal kits but be aware that when it comes to some higher-end and foreign makes, you might have to look elsewhere.
Now You Know How to Deal With Those Pesky Retainer Clips
Removing retainer clips might not seem like one of the more difficult tasks in the automotive world, but it can be surprisingly frustrating. While these components serve an important purpose in keeping everything from bumpers and splash guards to seat backs and headliners nice and secure, their fragility can send even the most experienced DIY mechanic for a loop. As is so often the case, it just comes down to using the right tool for the job.
Trim fastener and molding removal sets and plastic fastener removal tools might seem like a silly investment for the uninitiated, but once you’ve spent some time scraping your knuckles and cursing under your breath from the floor of your garage, you’ll start to see the value. Just remember, if worst comes to worst, there is no shortage of plastic retainer clip and fastener replacement kits out there, many of which come packaged with handy tools that’ll make the whole job a lot easier.