Motorcycles are relatively easy to maintain compared to their four-wheeled counterparts. Many of the most important parts are easily accessible, and the drivetrain is simple to understand compared to the inner workings of a car, truck, or SUV. For decades, riders have found a certain zen in performing their own maintenance and repairs, which allows them to save some cash while forging a closer connection between man and machine.
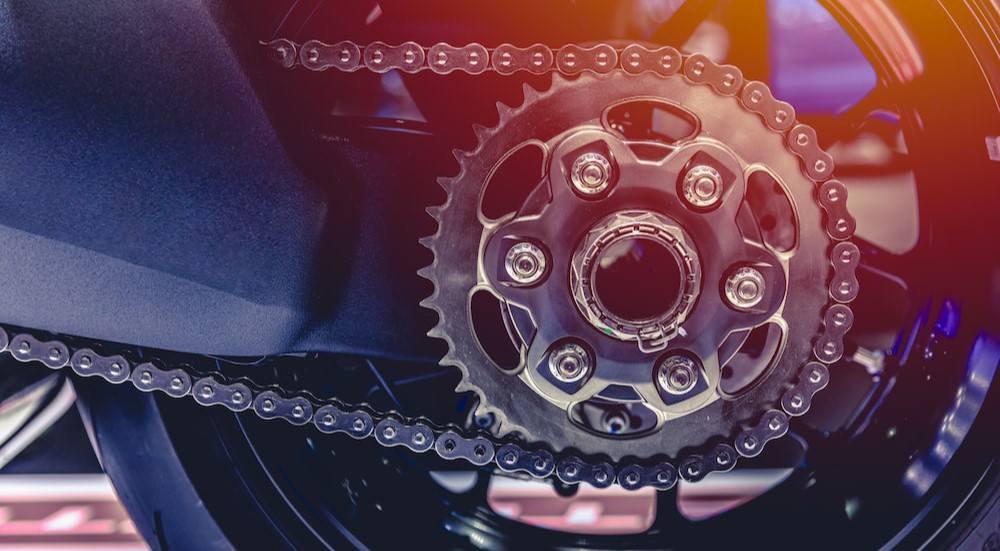
Tightening and replacing the chain is one common motorcycle maintenance task all riders will have to face at one point or another. As the part that’s solely responsible for transferring power from the engine to the rear wheel, the importance of a motorcycle chain can’t be understated. As you log some serious miles, the chain and sprockets are bound to wear out, sapping the bike of its true potential and creating some serious safety hazards. That’s why we’ve compiled a brief guide to tightening and replacing motorcycle chains, outlining some basic step-by-step procedures, discussing common signs of a failing chain, and outlining what you can expect to pay for a replacement.
When to Replace a Chain
There are a couple of telltale signs that a motorcycle chain needs to be replaced. Before we get into the step-by-step procedure, let’s take a quick look at some common symptoms of a chain that is on its way out. Failing to replace your chain in a timely manner can easily lead to sub-par performance and even some serious safety issues. A chain that’s too slack might jump off the sprockets, interrupting power delivery and potentially causing the rear wheel to jam. If you’ve never experienced a rear tire locking up mid-ride, trust us when we say that it’s a scenario that should be avoided at all costs. A broken chain is equally scary, leaving a rider with no power and forcing them to coast to safety under their own momentum. From mileage and tension to damage and stretch, knowing what to look for can help you avoid experiencing a chain that fails at the most inopportune time.
Tension: A well-tensioned chain is a healthy chain, effectively transferring power and pushing you down the road at a predictable speed. A little slack is normal, averaging around 1.2 to 1.6 inches for a street bike, and should allow you to move the chain up or down by a half an inch. (Slightly more slack is acceptable for motorcycles with greater suspension travel, such as adventure bikes or dual-sports.) As a chain starts to wear out, riders can buy themselves a little extra time by adjusting the tensioning bolts on the swingarm to move the rear wheel a little further away, but once that trick stops working, it’s probably well past time for a new chain. If you’re looking for a general guideline, try to check your chain tension every 500 miles or each time you top off the tank.
Stretch: Your chain might stretch a little bit when subjected to the forces that a modern motorcycle can produce. A little elongation is nothing to worry about, but once a chain is stretched by more than three percent, it can start to have some unfortunate downstream effects on the riding experience. Gauging how much a chain has stretched is actually pretty simple. A 12-link section of the chain should measure exactly 12 inches. If a ruler or measuring tape shows that the chain has stretched by more than 1/8 of an inch, it’s time for a new chain.
Damage: A broken chain obviously needs to be replaced, but the signs of damage are often a little more subtle than a full-on failure. If your chain is excessively rusty, corroded, or plagued by stiff links and kinks, don’t put off a replacement until it snaps off in the middle of a ride.
Mileage: Just because your chain doesn’t exhibit any obvious signs of wear doesn’t mean you should procrastinate on replacement. Experts recommend swapping out your motorcycle chain every 12,000 to 20,000 miles. If you’re the type of rider who enjoys a little more high-speed fun, or you find yourself frequently venturing off-road and putting your bike through a lot of wear and tear, consider an accelerated replacement schedule.

How to Replace a Chain
Replacing a motorcycle chain should be well within the wheelhouse of the average rider. The project involves minimal automotive know-how and really only requires one specialized piece of equipment in a chain tool. That said, your own bike might have some unique quirks when it comes to replacement. We’ve outlined a general guide for chain replacement, but always make sure to double-check your owners manual for any specific tips, tricks, or tolerances that need to be considered.
- Start by removing the front sprocket cover and examining the front sprocket bolt. Some designs might employ a large nut and locking washer, while others rely on a simple bolt. If the sprocket won’t budge, try hitting it with a healthy dose of WD-40 and waiting five minutes before tackling it with a socket wrench.
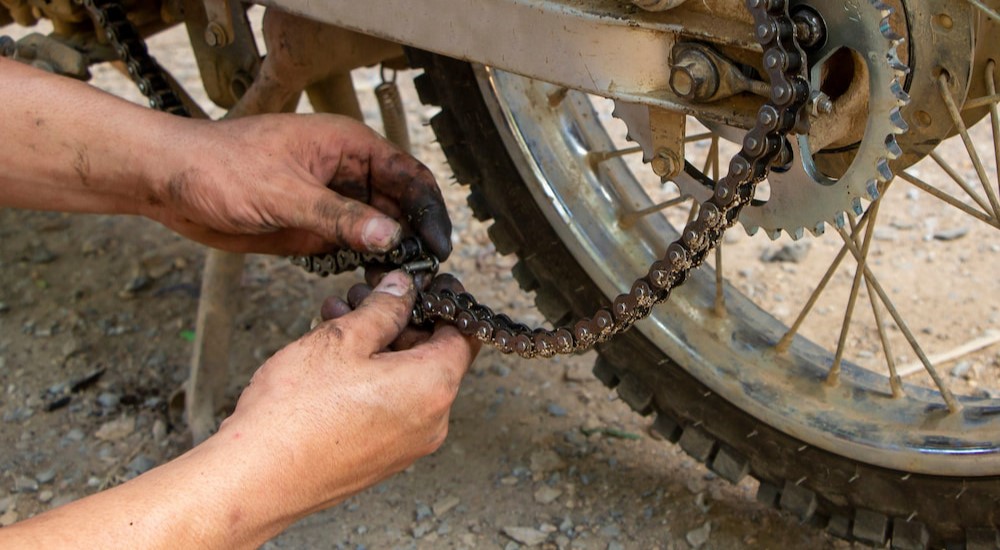
- Once the sprocket bolt has been removed, turn your attention to the chain. If the chain is designed with a master link, use a pair of pliers to remove the clip holding it in place. If not, reach for your chain tool and punch out the rivet the hard way.
- With the chain removed, elevate the rear wheel off the ground, secure the bike with a stand, and remove the rear wheel. If you have a rear drum brake, you will need to disconnect the rear drum brake linkage and the stay to free the wheel. On bikes with disc brakes, remove the brake caliper. With these components out of the way, the rear wheel and brake assembly should now be easy to remove.
- It is generally a good idea to replace your rear sprocket and drive sprocket at the same time as your chain. Sprockets are inexpensive, and this way, you start with all new parts that will last a long time, preventing you from repeating this job sooner just to replace a worn sprocket.
- Grab your new chain, but don’t throw it on the bike just yet. Double-check to make sure it’s the correct length by measuring against the old chain. If it looks a little bit too long, you can usually remove a few extra links to ensure the correct fit.
- Reinstall the bike’s rear wheel, axle, and brake assembly and move the rear wheel as far forward in the swing arm as it’ll go. Tighten down the axle nut to keep the rear wheel in position and install the new chain. You’ll want to start by sliding it over the rear sprockets, then loop it around the drive sprockets.
- When you’ve adjusted the chain to the correct size you can link the open ends using a chain tool. This affordable tool essentially rivets the chain together, providing a secure connection that’s designed to withstand the rigors of the road. Creating a solid rivet can take a lot of elbow grease, but it’s well worth the effort when you consider the performance and safety implications.
- With the chain installed, it’s time for a little fine tuning. Adjust the tension until the chain has around one inch of play. As you true up the rear wheel, make sure to keep the axle square and adjust both sides equally. Once everything is at the proper tension and the wheel is true, use a torque wrench to tighten the rear wheel axle nut, drive sprocket nut, and chain adjuster bolts to the proper tension as outlined in your owner’s manual.
- The last step in any chain replacement involves applying a healthy dose of lubricant. Your bike might call for a specific type of lubrication, or require a special application procedure, all of which should all be outlined in the manual.
How to Tighten
There’s no reason to fully replace a chain when a simple tightening will do the trick. If your chain isn’t near the end of its service life, doesn’t exhibit any obvious signs of wear, and is just a little bit loose, grab a torque wrench, alignment tool, and chain tensioning tool and get to work.
- Before launching into the project, get your bike on a stand and take a few measurements to gauge the chain tension. This can be done using a chain tensioning tool or simply breaking out a tape measure, pen, and paper. The ideal chain tension will usually be stamped on the swing arm, but can also be found in the owner’s manual.
- If you’re going the tape measure route, start by locating the middle point between the front and rear sprockets, then push the chain down as low as it will go and measure the distance between the bottom of the swing arm and a pin in the center of the chain. Next, push the chain as far up as it will go and take another measurement. Subtract the second number from the first and you’ll be left with your chain tension.
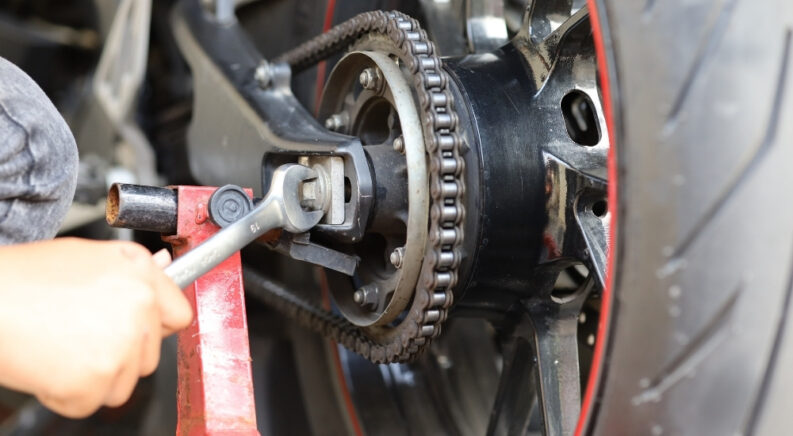
- Once you know how much slack is in your chain, you can decide whether or not to adjust the tension. Again, a chain tensioning tool makes this task pretty easy, but the old-fashioned approach works just as well. Use a wrench to loosen the axle nut and locate the bolt used to adjust the chain slack. Slowly adjust the bolt, taking time to check the tension as you go. A small adjustment can have a big impact on chain tension, so take it slow and hone in on the desired tension.
- Once you’ve achieved the desired tension, check the slack on last time, then tighten the axle nut down to the proper torque.
Cost
How much should a rider expect to pay for a new chain? It really all depends on what sort of gear your bike requires. Those who own a smaller, lighter motorcycle might be able to get away with a chain that costs as little as $20, but in the case of larger, more powerful bikes, that number could rise all the way to $200. This might seem like quite an investment for something as simple as a metal chain, but it can make all the difference in terms of performance and longevity. O-ring chains, for example, have a built-in lubrication feature that uses small rubber gaskets located between the side plates to keep the grease where it needs to be to work its best. While $200 is no small chunk of change O-ring chains also tend to last much longer than their unlubricated counterparts.
Of course, a new chain isn’t the only thing you’ll need to perform the replacement. In order to free the previous chain and install a new one, you’ll have to buy a specialized chain tool. A chain tool fits around the chain and uses a small pin to slowly push one of the rivets out of place. When it’s time to install a new chain, you simply need to reverse the procedure and work a small rivet into the chain to lock it into place. Some chains use a clip-style master link that can be installed and removed without a chain tool, but many riders are a bit dubious about their effectiveness and safety.
You might be tempted to go the DIY route and work the rivets out in a more impromptu fashion with some common hand tools like a screwdriver and mallet, but that might not be the wisest decision. Not only do you risk warping or damaging the chain and increasing the likelihood of a premature failure, it’s also a good way to wear through your tools in a hurry. There’s something to be said for using the right tool for the job, and at $40 to $80 bucks, a proper chain tool is a worthwhile purchase for any motorcycle owner.
Also, as mentioned above, replacing the sprockets at the same time as the chain is usually recommended. A new set of front and rear sprockets can run you anywhere between $50 to $250 depending on various factors, including their size, expected service life, and the type of material they’re made from. Don’t cheap out when it comes to sprockets, or any important motorcycle component, if you expect the best out of your bike.

What Else to Check
Installing a new chain provides the perfect excuse to give your drivetrain a once over and perform a few related upgrades. In addition to the sprockets, take the opportunity to inspect your chain sliders. Chain sliders are the only component that’s preventing your bike’s chain from cutting into the swingarm and are relatively cheap to replace at around $20. Older bikes, or those with a lot of miles on them, might also need a new set of cush drive rubber dampers. Located in the rear hub, these rubbery components help to mitigate the effect of sudden driveline forces that come with gear or throttle changes. Again, these are pretty affordable at just $40, have a noticeable effect on ride comfort and might as well be inspected while you have the wheel off.
Tightening and replacing motorcycle chains might sound like an intimidating project, but it’s one of the easier maintenance tasks a rider could hope to face. With a few simple tools, a little know-how, and some practice, every motorcycle owner should be able to spot the signs of a failing chain, adjust the tension, and replace the chain and sprockets when needed. Given how straightforward the tensioning and replacement procedure is, there’s really no excuse for heading out on a ride with a defective chain. You’re not only sacrificing performance, you’re also opening yourself up to some serious risks, jeopardizing your own safety and that of every other driver on the road. Just remember to check your chain tension every 500 miles, replace the chain every 12,000 to 20,000 miles, and keep an eye out for a chain that’s stretched more than three percent, and you’ll be riding with peace of mind every time you rev up the engine.

