
A good set of headlights is one of the most important safety features of a vehicle. According to a 2022 study in the Journal of Safety Research, vehicles with headlights that received a “Good” rating from the Insurance Institute for Highway Safety (IIHS) were in 19% fewer single-car crashes and 23% fewer pedestrian crashes at night than vehicles with “Poor” headlights; even “Marginal” headlights reduced the chances of being in a single-vehicle crash at night by 10%.
However, like your engine, transmission, and other vehicle components, your headlights require some care to perform their best. You don’t want to flick on your headlights one evening to discover you can barely see in front of your hood—or worse, not see at all. In this guide, I’ll go over the basics of headlight maintenance so you can maintain a good field of vision. With regular cleaning, defogging, bulb replacement, and other care, you can confidently drive at night, knowing you’ll see all obstacles and hazards in time.
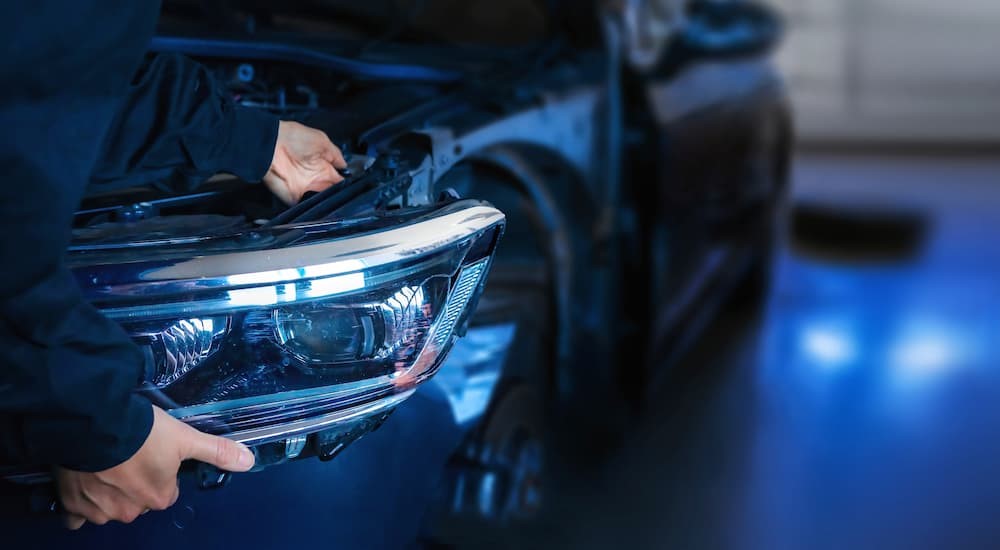
Headlight Cleaning
I’m sure everyone reading this has experienced a windshield covered with dust, dirt, snow, mud, streaks, and other things hindering visibility. It might not be as obvious, but the same thing happens to your headlights—and apart from a luxury car fad in the 1980s and 1990s, headlights don’t have wipers. As such, you need to clean them regularly to remove grime.
Most vehicle headlights are made from plastic, so using a plastic-approved cleaner and a microfiber cloth will remove day-to-day debris. Some parts stores sell special headlight cleaners that also remove light haze (more on this soon). You can often use the same wipes or sprays as on your windshield; I’ve found wiping the headlights off with the gas station squeegee as you fill up your tank will clear away a lot of debris. If you live up north, remember to clear snow off your headlights after a winter storm using a soft-bristle brush.
Defogging Your Headlights
Over time, headlight lenses can become foggy, hazy, and pitted due to debris, UV exposure, road chemicals, excess moisture, and other factors. This is especially common on older vehicles that employed less durable headlight materials. A 2018 study by AAA found that cloudy and discolored headlights lose 78% of their visibility on average compared to new headlights. Hazy headlights also make the remaining light less focused while increasing glare for other drivers.
The number-one way to eliminate fog and haze is to replace the headlight assembly—but this can be expensive. Depending on the type of vehicle and whether you’re buying an OEM or aftermarket assembly, they can cost anywhere from $30 to $4,000 with installation. Also worth noting is that aftermarket assemblies will only restore vision to between 83% and 90% of the new assembly.
There are a few DIY options for restoring headlights, though. Many auto parts stores and dealerships sell headlight restoration kits that include all the required tools plus detailed instructions. If you’re on a strict money or time budget, other options for a defogging agent are to use toothpaste, mix baking soda and water, or get a polishing compound such as Rain-X. The basic process is as follows:
- Clean and dry the lens surface.
- Apply your defogging agent liberally and let it set for a few minutes.
- Remove the agent by gently scrubbing the lens in circular motions with a soft-bristle brush.
- Use a clean microfiber cloth to buff the surface.
For more severe hazing, you may be able to sand and polish the headlights. Use fine-grade sandpaper to smooth the lens surface, wipe away any debris, clean the lenses with headlight polish, and then buff them dry. (Remember to tape off the surrounding areas so you don’t accidentally damage them!)
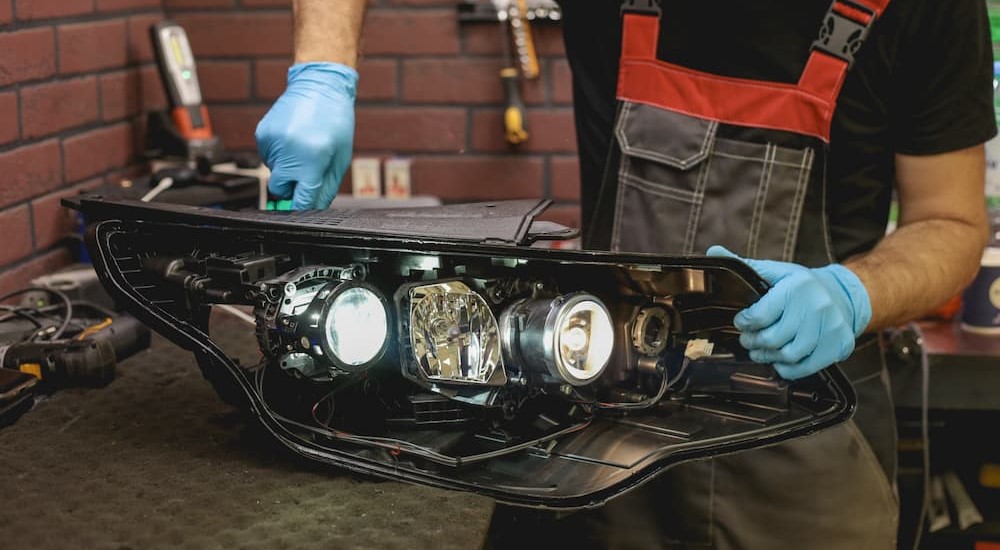
How to Replace Car Headlight Bulbs
It’s not just the headlights themselves that need care; the bulbs will get dimmer over time and eventually burn out. Even with more advanced lighting technology in recent years, no bulb will work forever. The exact lifespan depends on factors such as the bulb type and the frequency you use them. Here are some estimates of how long different car headlights usually last:
- Halogen bulbs: 14 months
- Xenon bulbs: 20 months
- HID bulbs: 23 months
- LED bulbs: 42 months
The good news is that headlight bulb replacement are one of the easiest things you can do yourself on a car. I’m not the most skilled mechanic, but I can typically change a bulb in about five minutes; some vehicles are more difficult, though. They’re a relatively inexpensive part, too, with a set of bulbs starting in the $10-15 range. (High-performance bulbs like LEDs will cost more.) Here’s how to change a headlight bulb on most vehicles:
- Open the hood and find where the headlight holder is located. (Note that, for some modern vehicles, you need to remove the wheel well covers to access the bulbs.)
- Release the clip or cap that secures the lightbulb wires and disconnect them.
- Carefully unlock or unscrew the lightbulb.
- Add the new bulb by reversing the removal process. Don’t touch the bulb glass with your bare hands, as dirt and oils can cause the glass to shatter when it gets hot. (You may want to wear latex gloves while you work for this reason.)
- If your vehicle has a separate bulb for the high beams, repeat the previous two steps for this bulb.
- Reconnect the wires and reattach the clip or cap.
- Repeat steps 2-6 for the other bulb.
- Close the hood (or reinstall the wheel well covers) and test the new bulbs to ensure they work.
Other Headlight Maintenance Tips
While cleaning, de-hazing, and bulb replacement are the three main things to know about headlight maintenance, there are some other points to keep in mind:
- Periodically check your vehicle in the driveway to confirm the headlights are functioning, how bright they are, and whether there is any dirt or haze. It’s better to discover a problem at home (and discover it early) than in the middle of a road trip.
- Always replace both headlight bulbs, even if only one has burned out. Since older bulbs have dimmed, only changing one will cause uneven lighting and distortion that may affect your field of vision.
- Get high-performance headlights if you can afford them. They are brighter and last longer than regular bulbs, meaning you’ll see more on the road and thus be safer. It also means you don’t have to replace them as often. AAA states that, at 55 mph, your headlights need a range of at least 500 ft for you to react to hazards in time.
- Look at the color temperature when you’re purchasing headlight bulbs. A warmer white (3000K) temperature is better for rain, fog, snow, and other foul weather. Cool white (5000K or 6500K) offers better visibility in good weather and provides more contrast and reflection.
- For advanced protection, consider using a headlight sealant, film, or other coating, especially after defogging. These products keep out moisture, make it harder for debris to stick, and resist hazing and scratches. Depending on the quality, headlight coatings can last anywhere from a month to a year.
Caring for your headlights and keeping your eyes out for potential issues will make you safer behind the wheel. This is especially vital for off-roaders and those who live in areas with extreme weather or fewer streetlights, as visibility assistance matters even more. Add vehicle headlight maintenance to your checklist and enjoy the visual clarity you depend on after the sun goes down.