Brake service is essential for keeping your vehicle running safely. You absolutely cannot underestimate how important your brakes are because if your brakes go then, you could end up in a very hazardous situation on the road while driving. That’s why it’s always imperative to have brake service done as frequently as your vehicle’s manual suggests. However, replacing your brake pads is not a difficult task, and doing it yourself can be a good way to save some money if you are mechanically inclined. Let’s walk through some of the basic steps needed to replace your brake pads and get you on your way.
Step 1: Loosen The Lug Nuts
To access your vehicle’s brakes, you will first have to take off the tires. Make sure the car is on a flat surface and in park (manual cars should be in gear, with the parking brake off). Be sure to place wheel chocks, bricks, cinder blocks, or some other wheel stopper in front of the tires to prevent the vehicle from rolling or moving in any way.
Most vehicles come with a lug wrench or tire iron tucked away in the bottom of the trunk or cabin, depending on the vehicle you have. Any lug wrench will do, unless you have locking lug nuts – those will require the special adaptor that came with them. If you’re unable to loosen the lug nuts with a wrench or tire iron, be sure to use an impact torque wrench to loosen the lug nuts on the wheels.
Do not take the nuts completely off, nor should you remove the wheel just yet. You basically want to loosen the nuts on the wheel while the vehicle is on the ground because the wheel isn’t moving anywhere, and it’s easier to loosen the nuts while the wheel is completely stationary.
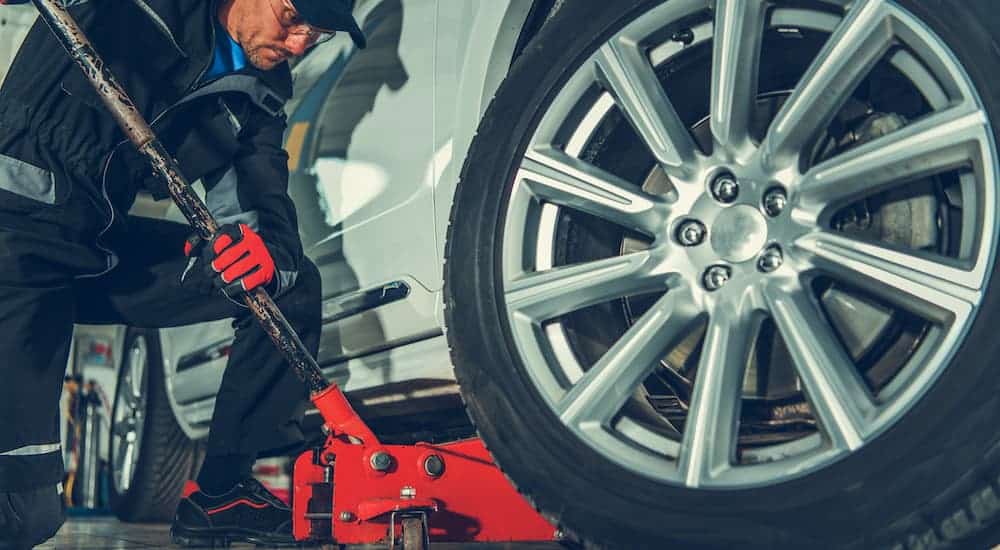
Step 2: Raise The Vehicle
Before you can replace the old brakes on your car, truck, SUV, or van, you need to get it off the ground. Assuming you don’t have a lift available, your best option is to get a floor jack rated for your vehicle’s weight. While it is possible to change your brake pads using the compact jack included with your vehicle, a basic floor jack is far more convenient and well worth the investment.
You’ll want to raise the vehicle on the side where you plan on replacing the brakes. Set a jack stand in place under one of the reinforced lift points, and then raise the vehicle to the correct height. Before proceeding, place a set of jack stands under the vehicle and check to make sure the vehicle is stable – a jack alone should never be trusted to support the weight of a car while you are working on it. Once this task is complete, you’re now free to remove the wheel and access the brakes.
Step 3: Remove The Wheel
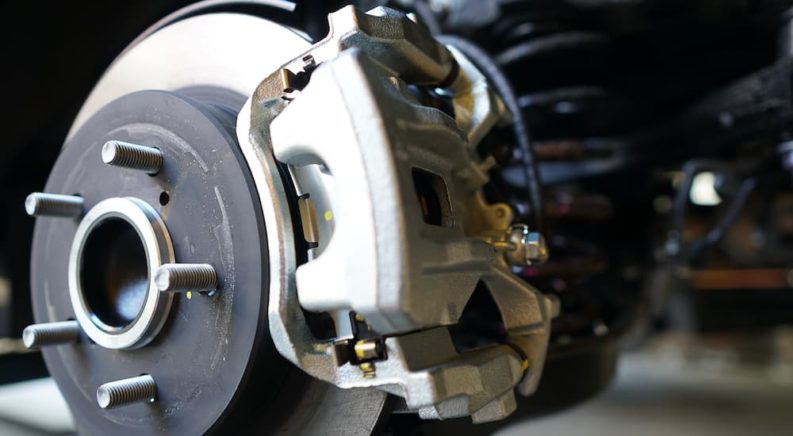
With the lug nuts loosened and the vehicle raised, it’s time to remove the lug nuts completely. Use a wrench, tire iron, or impact wrench to remove all of the nuts from the wheel. With the nuts off of the wheel, you can now remove the wheel from the rotor, giving you complete access to the brakes. Once this part of the task is complete, you’re now ready to start work on removing the actual brake pads.
Step 4: Unfasten The Caliper
Use a ratchet to loosen the bolts on the back of the brake caliper to separate the brake pads from the rotor. Once the bolts are unscrewed, the caliper should be loose around the rotor. Attempt to pull the caliper up and off of the rotor. The purpose for removing the caliper from the wheel is so you can get to the brake pads.
If there is resistance even after you remove the bolts on the caliper, then attempt to use a screwdriver or flat-head tool to push the caliper housing up and off of the brake pads. So long as you’re not replacing the actual caliper, leave it attached to the brake line, which feeds the caliper the brake fluid necessary for the pads to do their job. However, do not let the caliper hang from the brake line.
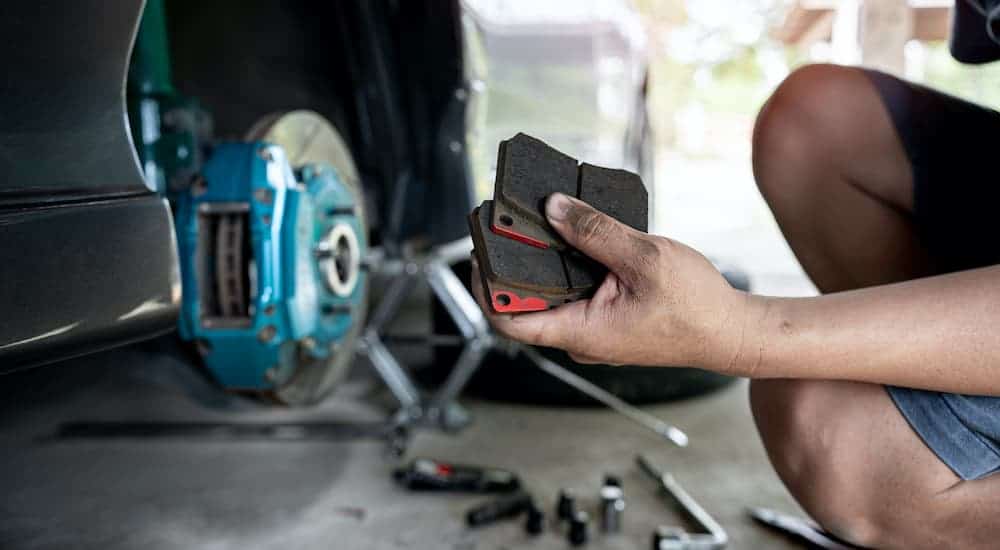
Step 5: Remove The Old Brake Pads
With the brake pads exposed now that the caliper housing is removed, you can begin the process of removing the old brake pads. Most brake pads should easily slide out of the pad assembly, but if they don’t, you may need to use a tool to apply pressure to pry the brake pads off the brake clips, especially if they’re rusted. If the pad’s friction material is already worn down, it may not be too difficult to loosen the pads from the assembly.
Keep in mind that if you don’t have to replace the rotor or the pad assembly, then there’s no reason to remove the entire pad and caliper assembly. All you’re doing is replacing the brake pads, and so that means you simply have to take the old pads and the old clips out while leaving the caliper assembly in place.
Step 6: Install The New Brake Pads
Because the caliper pistons tighten to compensate for brake pad wear, you will have to push the pistons back into the caliper to allow the new, unworn brake pads to fit. This is most easily accomplished with a tool specially designed for the job – especially since some types of calipers require the piston to be rotated as it is being compressed. Regardless of how you compress the piston, it is vital that you first unscrew the brake fluid reservoir cap under the hood.
Most new brake pads come with brake pad clips. You may need to remove the old brake pad clips from the caliper assembly that houses the pads. Install the new brake pad clips that come with the brake pad kit, and then attach the pads to the clips by inserting the pads into the assembly. Make sure both pads are fit snugly into the housing and that they don’t rattle or shake.
Step 7: Refasten The Caliper
Place the caliper back over the brake rotor, and refasten the caliper using the nuts in the back of the assembly to tighten the caliper over the assembly. Make sure that the pads aren’t touching the rotor and that there is proper space between the pads and the rotor. If the pad material makes contact with the rotors before you apply the brakes, there could be serious problems. Finally, make sure the brake line is still properly attached to the caliper. This is essential because it’s how your brakes operate when you depress the brake pedal.
Step 8: Test The Brakes
While some people might opt to put the wheel back on and then test the brakes, it’s wiser to test the brakes first and then reassemble the wheel. This way, if there are any issues with the pad alignment, the calipers, or the brake line, you can address it while the wheel is still disassembled.
Once the new pads are installed, and the caliper reassembled, gently press the brake pedal to see if the brakes work as intended. If the calipers squeeze the pads against the rotor and then release the pads when the brake pedal is released, then you have successfully installed the new brake pads. You will have to gently pump the brakes a few times to build up the hydraulic pressure.
Step 9: Reassemble The Wheel
Now that the pads are properly installed, the last step in the reassembly process is to put the wheel back on. The process is just the reverse of the same as the process to remove the wheel. Place the wheel on the rotor screws and then place the lug nuts onto the screws. Once the wheel is reassembled, remove the jack stands and use the jack to lower the vehicle. After the vehicle is back on the ground, properly tighten the lug nuts using either a lug wrench or a torque wrench. Remember to remove any wheel chocks before trying to drive away.
Step 10: Bed-In Your New Brakes
Most brake pads will come with a specific set of bed-in instructions. This is commonly a controlled pattern of low-speed driving and gentle braking used to make sure the brake pads are properly seated and ready for use. Harsh braking immediately after installing fresh pads can damage the pads and seriously reduce braking performance.
Congratulations. Once you’ve completed this final step, you’re all set to put your new brakes through the daily ins and outs of life.