Instead of searching for an “oil change near me,” maybe you want to try to change the oil in your vehicle yourself this time. It’s one of the things you can do on your own and something that helps your vehicle tremendously in the long run. Even if you don’t plan on changing the oil yourself in the near future, it’s good to know how to, even to just better understand how your vehicle works. A vehicle’s oil filter keeps dirt and particles out of the oil so that your engine stays lubricated, so changing your oil filter is important as well if you want your engine to run smoothly for many years to come. So let’s take a quick look at what you will need to know to successfully change your oil.
Draining the Old Oil
The first step is to find the oil filter on the engine block. Once you have located the filter, all you need is an oil pan, a new filter, and the new oil. Now you will want to drain the old oil and remove the filter.
It’s helpful to loosen the fill cap to help the oil drain faster, this is located at the top of the engine and is where you would check your oil. Make sure that your vehicle’s engine is off before loosening the cap. If your vehicle’s engine is hot, wait at least 30 minutes to start. If your engine is cold, let it warm up for 2-3 minutes, then shut it off.
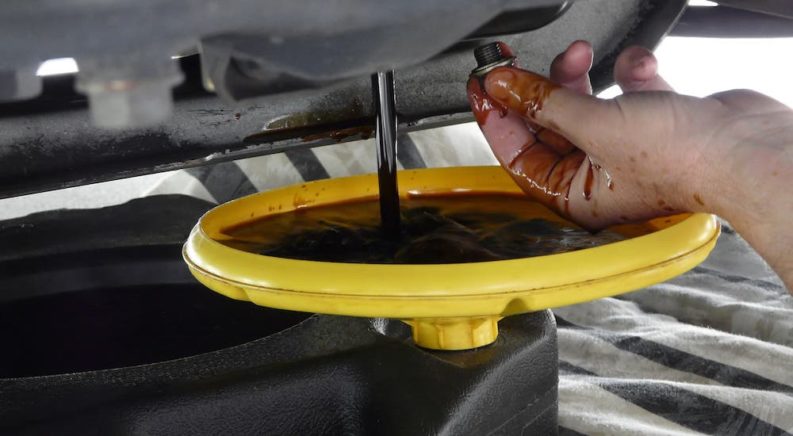
Now place your oil pan underneath the drain plug. The drain plug is a nut generally found beneath the engine block at the lowest point of the oil pan. But sometimes the drain plug can be found near the crankshaft, which is connected to the underside of the engine block and supplies power to the moving parts of the vehicle. Now remove the drain plug and drain the oil.
Replace the drain plug once the oil has drained and is not trickling out anymore. This can take up to 30 minutes. If your drain plug has a gasket, it’s good to replace the gasket each time you remove it for a tighter seal. Keep in mind that when you remove the drain plug, you will have to remove your hand quickly to avoid getting covered in oil.

Removing the Filter
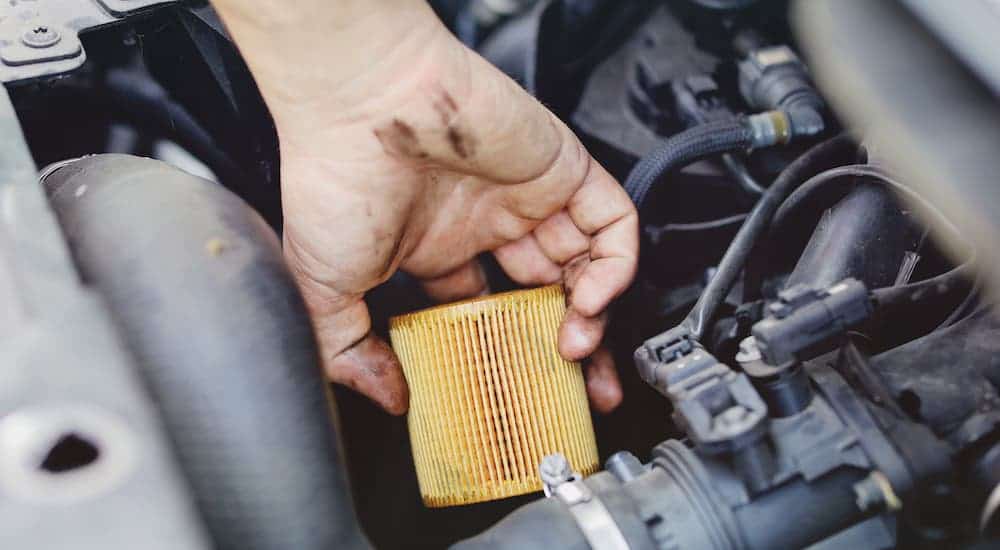
Once you have drained the oil, you will want to locate the oil filter and remove it. When removing it, it’s always a good idea to move the drain pan directly underneath the filter to catch any oil when you remove it. There can be up to a liter of oil in the filter, so using newspaper around the pan to catch any drops is a good idea.
To find the oil filter, look for a metal cylinder attached to the engine block. Be sure to clean the mounting surface on the engine with a rag. Also, make sure that the gasket from the old filter is not stuck to it. Watch out for hot oil, because even though you’ve drained the oil in the engine, the oil in the filter can still be hot. If you are having a hard time finding the oil filter, check the vehicle’s manual. The location varies depending on the vehicle.
Now screw off the oil filter by hand. You will want to turn it counterclockwise until it comes off completely. You might want to wear gloves for this as there will be oil leaking out when you remove the filter.
If the filter is too tight to remove by hand, use a filter wrench to remove it. A filter wrench can be found at your local auto parts store and is a wrench designed specifically to fit around oil filters. You can find them for your specific model of vehicle.
Now place the filter face down in the oil pan and let it drain for 24 hours. You will want all of the oil to drain before disposing of it. The filter can be thrown away in your garbage can, but the oil must be taken to be recycled. And that’s it – now you have successfully drained the oil and removed the old filter. This is the hard part, and now you just have to add more oil and replace the filter.
Replace the Filter and Add Oil

The first thing you will want to do is to lubricate the new oil filter with motor oil. You can dip your fingers in the new oil and cover the rubber ring around the base of the new oil filter. This will help it fit snuggly and reduce the chance of leaks on the engine block. Check to make sure the gasket from the old filter did not stick to the engine block before you put the new filter in.
Screw on the new filter by hand, turning it clockwise until you feel it make contact with the engine block. You will want to do this by hand as you do not want to apply too much pressure. If you use too much force, you may damage the threads, which can be expensive to fix. Wearing gloves is helpful when screwing on the new oil filter as it will give you more purchase. Now tighten the filter to ¼ to ¾ of a turn and give the filter another twist, no more than ¾ of a twist to finish tightening it. If you notice that the filter is leaking, give it another partial twist until the leak abates.
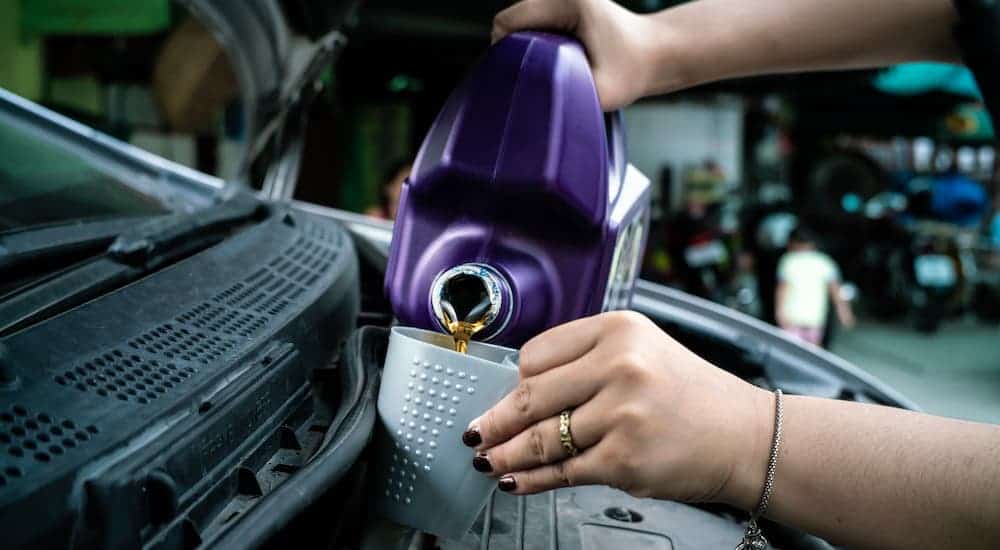
Now you can add the oil. You will want to check the owner’s manual for the recommended grade and amount of oil for your vehicle. Once you have the correct oil for your vehicle, remove the engine oil cap and place a funnel into the hole before pouring the recommended amount of oil into the funnel. It’s possible that some oil may not have drained out, so be careful not to overfill it. Once you have completed pouring in the specified amount of oil, don’t forget to replace the cap.
Finishing the Project
So now that you are done and have replaced the oil with new, clean oil, you will want to run the engine and check for leaks. Run the engine for a few minutes and then check the area around the drain plug and the filter. If you find a leak, turn the engine off and fix the leak. If there are no leaks, then turn the engine off and let it sit for a minute or two to let the oil drain down.
After waiting, check the oil level. You can do this by removing the dipstick and wiping it off, then replacing it. Remove it again to see if it indicates that it is full. If it is not full, add the balance of the oil as recommended in the owner’s manual.
That wasn’t so bad, was it? Changing your vehicle’s oil is a simple thing you can do at home to keep up with your vehicle’s maintenance. Of course, you can also bring it into any service center in your area to have a professional do it. Either way, it’s important to keep up with your vehicle’s oil changes as they can greatly extend your vehicle’s life.

