Cleaning any vehicle regularly is important, but it’s the same level as brushing your teeth or washing your hair for an off-roading vehicle. Your 4×4 accumulates a lot of grime and debris on the trails, especially if your idea of getting away is churning through mud bogs, storming ocean beaches, or weekend-long overlanding journeys. This grime can cause major issues if you just let Mother Nature take care of it.
Of course, when discussing the level of dirt, water, leaves, and animal droppings that off-roaders encounter, there’s more to post-trip cleanup than visiting the local car wash when you have the time. This guide looks at why frequently washing your off-roader is important, provides some basic 4×4 cleaning tips, and shows how to approach tasks like the undercarriage and wheels. I want everyone to get every off-road mile they can from their truck, SUV, or Jeep, including making sure it’s sparkling clean.
Why Cleaning After Each Trip is Important
Unlike street vehicles that can sometimes go a few weeks or even months between washes, depending on conditions, a serious off-road vehicle should be cleaned after every time you tackle harsh terrain. The one possible exception is a light green-laning outing. Anything approaching a serious off-road adventure, though, should come with a scrub-down for the following reasons:
- Sand, mud, small branches, and other debris can damage the paint if left unattended, making it an eyesore and causing body rust.
- Debris can also build up in hard-to-reach areas of the frame and chassis, causing rust and corrosion.
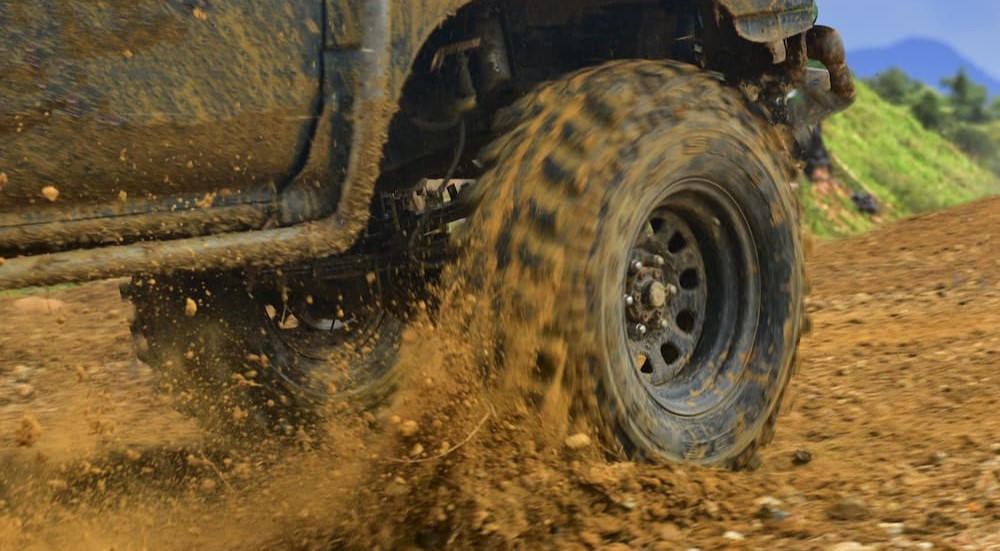
- When mud and dirt get caked on wheels, it alters the balance and alignment. This means handling problems, poor ride quality (such as vibrations), and uneven tire wear.
- Debris can enter the brakes, springs, engine hoses, and other components, increasing the risk of subpar performance and major part failures..
Wash the Vehicle as Soon as Possible
The longer grime sits on a vehicle, the more likely it is to cause damage and the harder it will be to clean. Immediate cleaning is especially vital if your 4×4 is exposed to salt water, as this will accelerate rust and corrosion. Even if you were just on the beach sand, traces of salt can get onto the vehicle and quickly eat through unprotected metal.
Pre-Soak Mud to Help Flush it Away
Mud will start to dry immediately, and thick, caked dirt is one of the toughest things to get off any surface. Pre-soaking mud loosens it and makes it easier to remove. Methods include spraying the mud with a garden hose from a distance or parking the vehicle above a lawn sprinkler.
Check the Drainage Holes
Dirt can often plug the drainage holes in the chassis, doors, and other components during off-roading or cleaning. Be sure to monitor these constantly and clear them so further water and debris can’t build up.
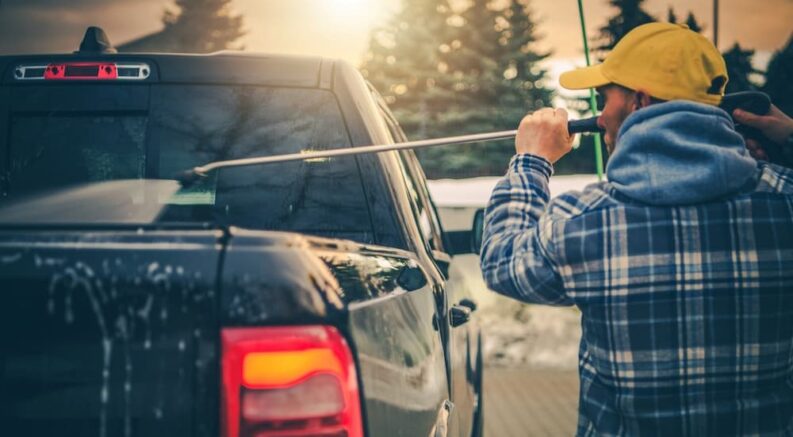
Consider a DIY Car Wash
I wouldn’t recommend going to a local full-service car wash. I’ve found the workers and/or the equipment aren’t prepared for off-road vehicle cleaning. However, a self-service car wash is a good option, especially if you don’t have a nearby hose or good water pressure at home. You can use the high-pressure hose to lift away stubborn dirt and mud, and you have control over the water pressure, soap, and brush type. Best of all, the dirt and grime you remove stays at the car wash, not in your driveway.
Cleaning the Undercarriage
You don’t see the chassis and suspension as you drive, but they’re arguably the most important areas to clean. Think of it like a house. If the foundation is compromised, it’s a matter of time before the rest of the building crumbles away.
You’ll need good access to the undercarriage to clean it. Even with a lift kit installed, you might have to put the vehicle on ramps or a garage lift. Using a garden hose or pressure washer, thoroughly wash the underside of your vehicle. Make sure to get every nook and crevice. If you’re using a high-pressure hose, spray from as far away as possible and at an angle to avoid damaging parts, especially seals. You should also insert the hose into the chassis rails and flush them until the water runs out clean. Move the hose back and forth to get the side walls.
Cleaning the Vehicle Body
Next, it’s time for the most visible part of your vehicle. Washing the vehicle by hand is best because you can identify scratches, windshield chips, dents, broken plastic parts, and other problems as you clean, letting you take care of them before they worsen or cause safety concerns. Use a vehicle shampoo (dish soap is too aggressive), a car wash sponge or mitt, and two buckets, one filled with shampoo and water and one with clean water only for rinsing your sponge.
First, rinse or wipe the body to remove loose dirt and soften dried mud. Then use your soapy sponge to clean, starting at the roof and working down to the bumpers. Rinse the sponge in the clean water bucket frequently to remove grit and dirt (and change the rinse water often). Be extra careful around stripes, decals, and other vinyl graphics.
Cleaning the Engine Bay
Like the undercarriage, debris can build up beneath the hood. However, you should never use a pressure washer on the engine. If you angle the spray, there’s too much risk of damaging the radiator fins and wiring. For safety reasons, you should also wait until the engine has completely cooled before cleaning this area.
Before washing the engine bay, use plastic to cover sensitive components like the battery, air filter, ignition coils, spark plugs, and distributor. Use a wet/dry power vacuum to remove larger debris like leaves and twigs. Once this is done, spray the engine bay with an engine shampoo or degreaser, then rinse it with a hose or water bucket from front to back. After removing the coverings, check the engine fluids to see if any debris has worked its way in.
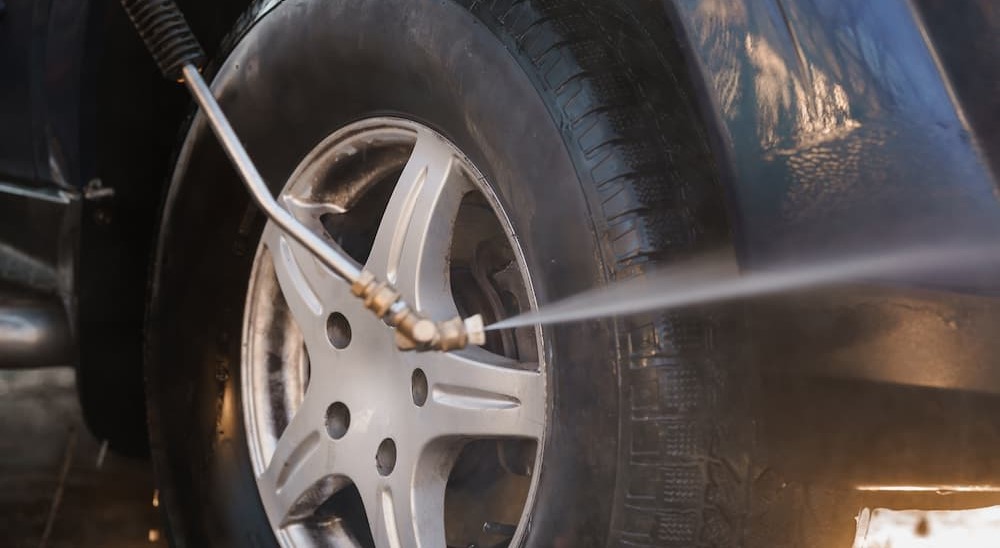
Cleaning Off-Road Wheels and Tires
Although cleaning the wheels and tires is similar to cleaning the body, it’s not quite the same. You’ll need a specialized sponge or wheel brush to avoid scuffing the wheels. Some companies also make soap formulated for these components. Start with a fresh, soapy water bucket, and remember to check the inside of the tires and wheels for grime.
Remember the Interior
The outside of the vehicle isn’t the only place that gets dirty. You’ve almost certainly tracked mud and debris into the cabin, too. Start by removing the floor mats and seat covers and shaking them out. If there’s still visible grime, use a vacuum for carpeted and cloth materials or soap and a sponge for plastic and vinyl. Let them dry while you work on the rest of the interior.
From there, wipe down all interior surfaces with a damp sponge or microfiber cloth. Vacuum the rest of the debris out of the seats and carpets. If there are stains on the seats, carpets, trim, or dash, you may need interior cleaning sprays. Finally, use an ammonia-free window or glass cleaner and a clean cloth to make the insides of the windows and windshield sparkle.
Tidy Up After Every Adventure
Veteran off-roaders know that regular 4×4 cleanings are part of the bargain they make. If you want to spend your weekends exploring everything the outdoors can offer, then you need to accept the dirty work (if you’ll pardon the pun) of scrubbing your steed down afterward. Bathing a vehicle can feel inconvenient, but it will mean a better-looking, better-running, and longer-lasting 4×4. Before long, you may enjoy the satisfaction of making your ride as good as new and ready for more exploits.