
Brakes are the most important system on your vehicle, yet in the grand scheme of things are one of the easier systems to do maintenance on. Unlike the engine or transmission, there are no parts buried in the vehicle, nor are there requirements to use large machinery to do in-depth service on them, so you don’t necessarily have to visit a brake shop when it is time for maintenance. This is especially true of the brake pads themselves, the surfaces that are clamped onto the brake rotor when the brake pedal is pressed.
All it takes to get to the brake pads is removing the wheel and disconnecting the brake caliper. This is easy to do yourself, but that also means that the cost of having a professional at a shop do the task is low as well. A brake job is easy, but the easiest way is to get it done at a shop. If you do decide to do it yourself, this is how to replace the front brake pads.
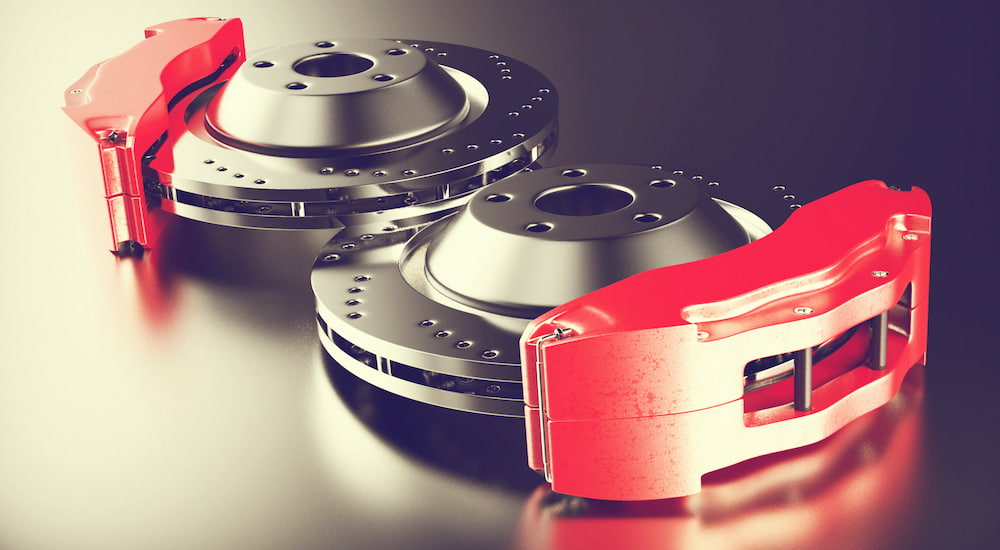
Remember that in many cases, the brake rotor will also need to be replaced or resurfaced to properly accept the new pads. Replacing rotors is relatively inexpensive and only requires a few more steps, so we encourage you to consider doing so when you replace your brake pads.
Tools
The tools required for a front brake pad replacement are pretty straightforward.
A pack of thick disposable gloves will both keep your hands clean and give them some basic measure of protection from the sharp metal edges you will be working with.
A jack and at least a pair of jack stands. A jack is used to lift the vehicle so you can get the front wheels off, while the jack stands support the vehicle while you work on it. Jacks are meant only for lifting and slowly lowering, NOT holding a vehicle’s weight.
Wheel chocks to make sure the vehicle does not roll when being jacked up. You can substitute large rocks or blocks of wood.
A ratchet set and wrenches, including the necessary tools to remove the wheels. Ideally, you will have a breaker bar or tire iron to help loosen and tighten the lug nuts on the wheels.
A C-clamp will be useful to retract the piston inside the caliper, as will be an adjustable wrench to handle removing the brake caliper itself.
Parts
Generally speaking, just the front pad kit will be enough. Such a kit, labeled on parts websites as the front brake pads, should include the pads themselves and any required hardware – just make sure that you get the right kit for your vehicle. There are a lot of options when it comes to brake pads, but any pad kit from a reputable manufacturer will be perfectly serviceable for street use. If you are planning on using your car for performance driving, then you will need to do your research and find a set of race-oriented brake pads.
Prep
Assemble all required tools and parts, and ensure you have everything you will need on hand. Clear out a clean work area and put chocks around the rear wheels of the vehicle. Make sure the vehicle is on a level surface.
Removal Steps
The first step is to jack up the front of the vehicle after the rear wheels are chocked, and the parking brake is set. Make sure to use the jack points specified in the owner’s manual. If you have a standard jack, lift one side of the vehicle at a time, using the jack stands to support its weight. If you have a floor jack, you can lift the entire front of the vehicle at once.
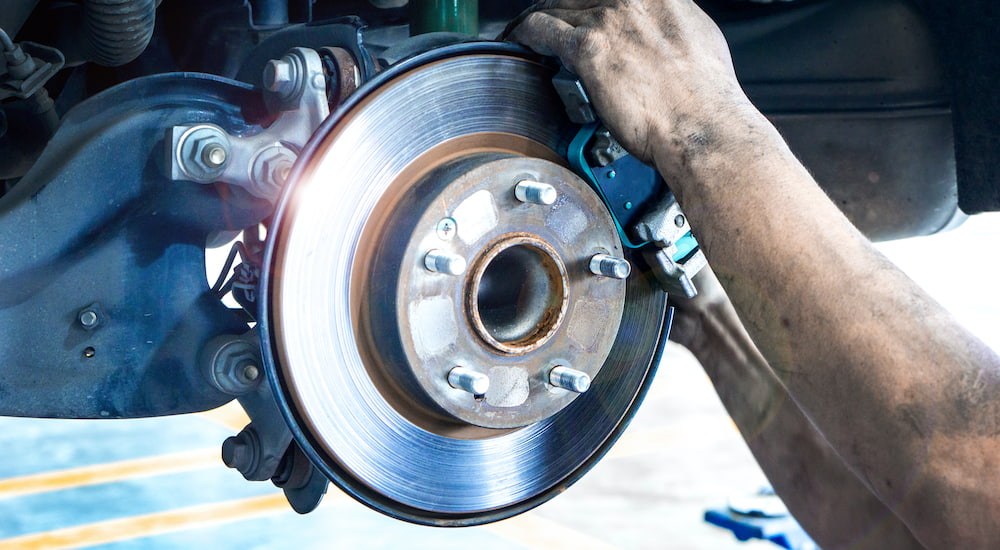
Once both sides of the front of the vehicle are securely held up by jack stands, undo the lug nuts and remove the wheels (if this is your first time, make sure to loosen the lug nuts before jacking the vehicle). After the wheels are off, the brake assemblies will be visible.
The first step is to remove the slider bolts, or slider pins, that hold the caliper closed. Remove the lower bolt on the backside of the caliper, and the caliper should now be able to swing open and up. Remove the slider bolts.
Once the slider bolts are removed, the brake pads themselves should be easy to slide out. Just like that, you are halfway done. Repeat this process on the other side once the new pads have been installed on this side.
Installing the New Pads
First of all, replace the retaining clips, lubricating them with the packet of grease that should have been supplied with the pad kit. These clips help keep your brake assembly working nominally.
Next, slide the new pads into the caliper. This corner now has the new pads on, and now all that is left is re-assembling the caliper itself. To do this, you will need to use the C-clamp.
Use the C-clamp to retract the piston or pistons in the caliper, clearing the way for the caliper to be closed up. If your vehicle has a brake master cylinder visible, check it to make sure the brake fluid levels do not overflow when you retract the pistons. If the fluid has been overfilled, the system could be damaged.
Once the piston or pistons have been retracted, reinstall the slider bolt and close the caliper up, tightening the bolt you removed back down and ensuring there are no leftover parts. Perform this procedure again on the other side of the vehicle.
Clean Up
Replace the vehicle’s wheels, first putting the wheel on and getting each lugnut finger tight. Once you have the wheels back on the ground, follow a star pattern while tightening the lug nuts. Do not simply go in a circle, as that can keep the lug nuts from being tightened properly. Reinstall both front wheels.
Use the jack to raise the vehicle slightly off of one jack stand at a time, remove said jack stand, and then lower the vehicle using the jack. Now that the vehicle is completed and on the ground, throw away your gloves and properly dispose of the old hardware and brake pads. Clean the area and prepare to bed in the new brake pads.
Bed-in Procedure
An often overlooked but vitally important part of a brake job is making sure that the new pads have been bedded in properly. This is essentially like braking in an engine or warming up before a workout. Follow the instructions that came with the brake pads. The instructions normally entail some basic driving followed by several moderate speed stops to make sure the brakes are up to snuff. Find a safe place to complete the bedding-in procedure.
Enjoy Your New Brakes
Replacing brake pads is one of the easiest and most straightforward procedures you can do on a vehicle, and it is a simple way to keep your car safe on the road. That said, it is also one of the least expensive procedures you can have done at a shop. Here at Check Engine, we always encourage DIY auto maintenance but never be afraid to leave it to the professionals if you feel like a project might be too much for your skills.