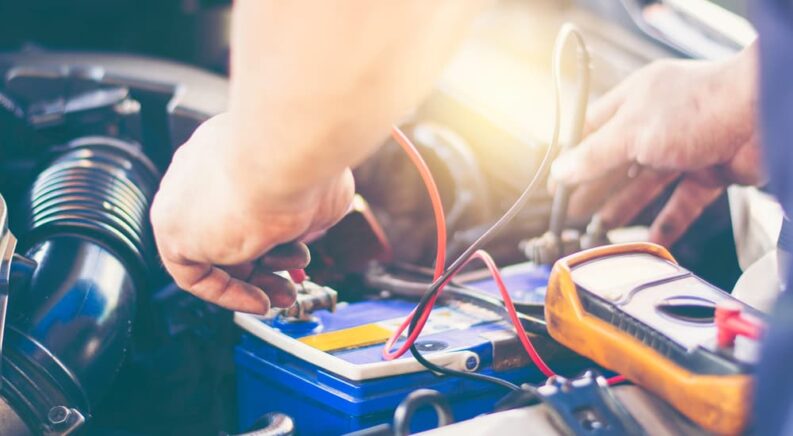
From dim headlights and slow starts to corrosion and even the dreaded ‘check engine’ light, there are lots of ways to tell if your vehicle’s battery might be on its way out. Failing to notice these signs can throw a wrench in your daily routine, leaving drivers to fiddle with jumper cables, call roadside assistance, or, in the most dire cases, end up searching the internet for wholesale car battery replacement.
The 12-volt battery found under the hood of any car, truck, or SUV isn’t quite as delicate as the large—and expensive—lithium-ion battery packs found in today’s EVs. While EV drivers need to develop good charging habits, avoid fast charging, and be wary of high and low temperatures, 12-volt car batteries are relatively low-maintenance by comparison.
That said, there are a few tips and tricks to keep in mind if you want to keep your 12-volt battery in good working order. From removing corrosion and refilling unsealed batteries to trickle charging and rehabilitating a seemingly dead battery, let’s review some of the best practices in auto battery care…
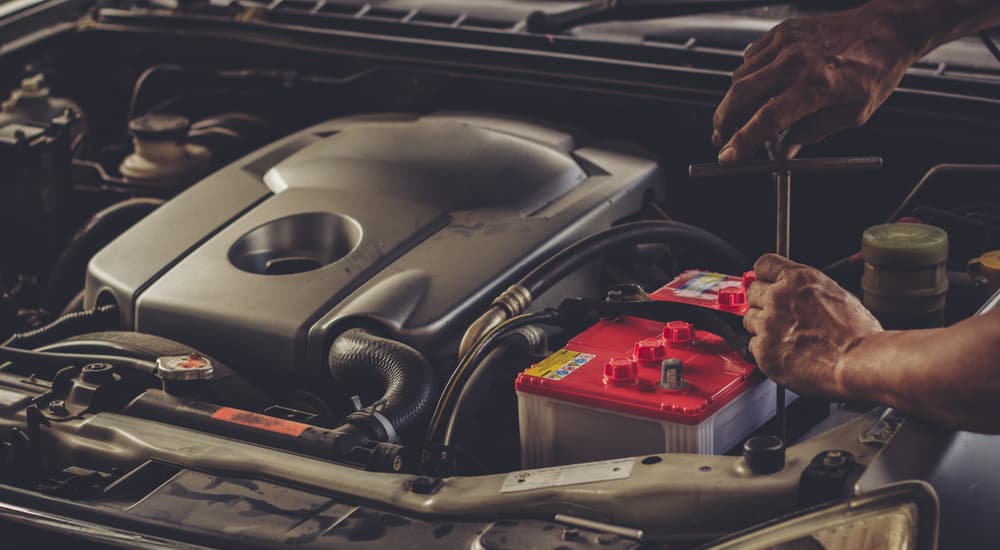
Corrosion Control
Corrosion is one of the most obvious battery-related maladies. If you’ve ever noticed white, blue, or green crystals coating your car’s battery terminals, you know exactly what we’re talking about. Corrosion is caused by hydrogen gas being released from the battery, which, when exposed to the surrounding air and moisture, results in a chemical reaction that creates this crusty coating.
There are a couple of reasons a battery might experience corrosion. Age is one of the most prevalent, but overheating and leaking battery fluid can also play a part. It’s a pretty inevitable phenomenon, but there are some easy ways to protect your battery from the worst outcomes.
First off, try hitting your battery terminals with a healthy dose of battery terminal protector of dielectric grease. Available for as little as $10, a can of battery terminal cleaner is a cheap way to head off corrosion before it starts.
Overcharging and undercharging your battery can also accelerate corrosion. If your voltage regulator is on the fritz, it could be feeding a little too much juice to the battery as the vehicle is running. If corrosion only appears on the battery’s negative terminal, it’s a pretty good indication that undercharging might be your problem. To prevent this sort of one-sided buildup, try to avoid short rides where power-hungry electronic systems and accessories might put undue stress on the battery.
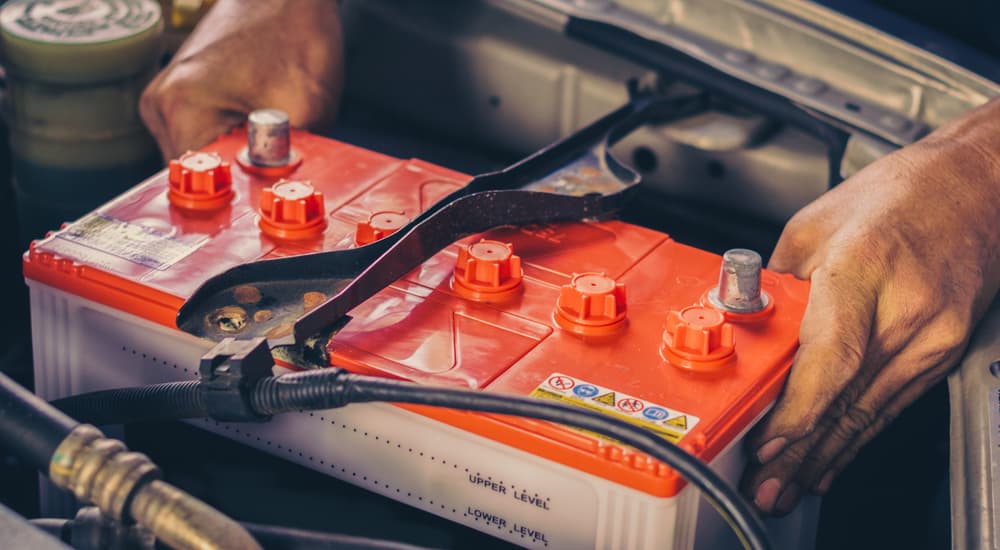
If corrosion does hit, the solution is as easy as grabbing a wire brush and a box of baking soda. A little elbow grease and a wire brush will cut through corrosion with ease, but there are some important safety tips to keep in mind.
Before you start pouring water on your battery, throw on some gloves and goggles, disconnect the battery (starting with the negative terminal), and completely remove it from under the hood. While you’re at it, take some time to inspect the battery cables; if they’re frayed, corroded, or otherwise compromised, invest in a new set before reinstalling the battery.
Use the wire brush to scrub any corrosion off the battery terminals, then hit them with battery terminal cleaner to neutralize any remaining corrosion. Alternately, mix up a one-to-one solution of baking soda and water to treat the battery terminals. Dip a clean rag into this solution, then apply it to the terminals.
Pouring the solution directly onto the battery might seem like a good idea, but if any of that baking soda and water mixture finds its way into the battery, it could cause some real issues by neutralizing the sulfuric acid. Give the terminal ends a similar treatment with the wire brush and neutralizing spray or solution, then wipe down the battery with a cloth, and you’re ready to reinstall.
Refilling Unsealed Batteries
The lead-acid batteries found in today’s vehicles break down into two basic categories: sealed and flooded. Sealed batteries will only discharge at a rate of 1-3% per month and don’t require much in the way of care, which is why they’re also commonly referred to as “maintenance-free” batteries. Flooded or “wet” batteries are a whole different story, discharging by as much as 15% per month during normal use.
So why would a driver choose a flooded battery over the relatively worry-free sealed variety? Sealed batteries can’t match flooded batteries when it comes to energy density, don’t last quite as long, and don’t perform quite as well in high temperatures. Sealed batteries do have their upsides, however: their spill-proof nature means they’re easier to transport, and they do have one big advantage when compared to flooded batteries, in that they don’t need to be watered.
While this might seem like a line out of a gardening blog, let us explain… Flooded batteries are filled with an electrolyte solution composed of water and sulphuric acid. As the battery goes through its charging and discharging cycles, some of this water can be lost, resulting in oxidation that can damage the battery’s lead plates. This is why it’s so important to make sure you always keep a flooded battery topped off with clean water.
Start by grabbing gloves and eye protection, then pop off the caps to get a look inside each individual cell. Ideally, the refilling process should be performed on a fully charged battery. If your battery isn’t fully charged, check to make sure there’s at least enough water to cover any exposed lead plates before recharging.
Once the battery is recharged, open the caps and fill each cell with distilled water until it reaches 1/8 of an inch below the bottom of the vent well. Some higher-end flooded batteries are designed with a maximum water level indicator, letting you know precisely how much to refill each cell, but it’s not the norm.
Remember: the only thing you should be adding to a flooded battery is water. While sulphuric acid is an important part of the electrolyte solution, drivers should avoid the DIY approach when it comes to this caustic chemical. After refilling each cell, replace the vent caps, and then you should be good to go. Check your battery’s water level every few weeks, and be aware that a battery will tend to go through water a little more quickly as it ages.
Trickle Charging
Batteries aren’t designed to sit around. Every time you take your vehicle out for a spin, the alternator kicks into action, recharging the battery while also supplying power for the various electrical systems. When a vehicle isn’t used for an extended period of time, the battery isn’t being topped off and, over time, will start to lose its charge. That’s where trickle chargers come in.
Also known as battery maintainers, trickle chargers can be found for as little as $20 at your local auto parts store. If you’re putting your summer ride away for the cold winter season, taking an extended vacation, or just temporarily taking your vehicle out of service, a trickle charger will go a long way toward ensuring a smooth start when you’re ready to end its hibernation.
Before connecting the trickle charger, you want to find a dry, well-ventilated place to store your vehicle. A lead-acid battery tends to produce hydrogen gas while it’s being charged, which could lead to an explosion if not properly dissipated.
Ensure the key is removed from the ignition and that the trickle charger is unplugged and set to the appropriate voltage, then connect the red clamp to the battery’s positive terminal. Next, find a good place for the negative (black) clamp under the hood. An unfinished part of the frame or engine block is usually a good bet, but no matter what you do, don’t attach the negative clamp to the negative battery terminal.
Then, simply plug one end of the trickle charger into a common wall socket, and you’re good to go. The trickle charger’s amp meter will show the battery’s current voltage and then feed it just enough energy to maintain the ideal charge. Trickle chargers can also be used to bring a dead battery back to life, which is why they’re also referred to as battery reconditioners. When being used for this purpose, a trickle charger will slowly feed a steady supply of power, following a gradual charging curve to breathe new life into a battery that’s been thoroughly discharged.
Take note that not all trickle chargers are created equal. Some can be safely attached to a battery for months on end, while others are designed for short-term use, so give its manual a once-over to see which type you’re working with.
Strong Batteries, Smart Practices
When properly maintained, a sealed lead-acid battery will typically last for between three to five years. Flooded batteries are typically a little heartier, but it all depends on how well they’re taken care of. While we’ve only touched on sealed and flooded lead-acid batteries, they’re far from being the only two options on the market.
A newer design—known as absorbed glass mat (AGM) batteries—has become an increasingly popular choice as of late, combining some of the best attributes of sealed and flooded batteries to deliver consistent, long-lasting performance. They’re more expensive than the two old-school designs mentioned here, but they might be worth the investment if you’re looking for an alternative.
No matter which battery you choose, make sure to follow all the recommended maintenance procedures, promptly address corrosion, and use a trickle charger during extended periods of inactivity. Follow these simple battery care best practices and you’ll enjoy a smooth start every time you turn the ignition.