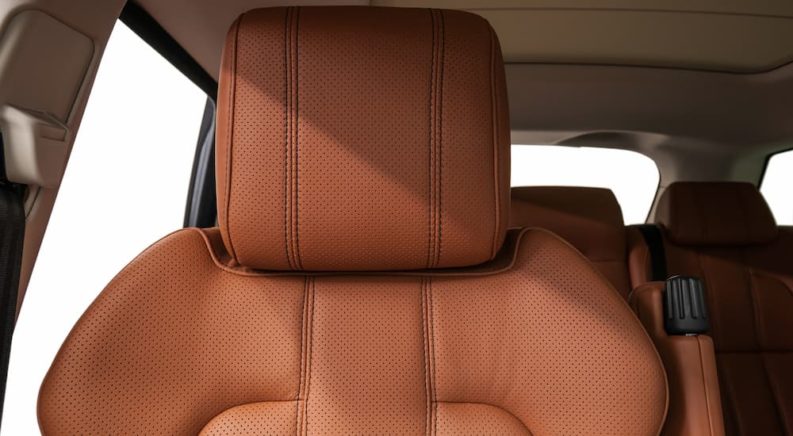
Leather upholstery and trim can add a touch of class to any vehicle’s interior, but it can also require its fair share of upkeep. From rips and tears to fading and stains, there are plenty of things that can go wrong when it comes to keeping your leather upholstery looking its best. Luckily leather repair isn’t that tricky, and there are also some easy steps you can take to prevent your upholstery from getting to the point where it needs repair in the first place, so let’s dive in.
First off, the bad news: no matter how careful you are when it comes to fixing the leather on your vehicle’s upholstery, there are going to be some tell-tale signs that a repair was performed. For drivers seeking to start anew, there’s always the option of getting the seats completely reupholstered by a professional, but this can cost a pretty penny, with cloth or vinyl replacement starting at around $200 and a full leather replacement costing as much as $750 per seat. That sort of price point might make sense if you’re talking about a rare classic car or high-end luxury vehicle, but most drivers find that a simple repair job is a better fit for their budget.
There are a couple of choices when it comes to leather repair, and they largely depend on the size of the damage. For smaller spots, liquid leather compounds provide a quick and easy fix, though they’re not necessarily a long-term solution. Likewise, leather patch kits make the repair process fairly easy and straightforward but lack the seamless appeal of a full leather repair kit. For drivers seeking the best possible results, these leather upholstery repair kits are unmatched. They might require a little more time and elbow grease, but with enough patience, the results can be downright impressive. Let’s take it step-by-step and see how leather repair kits can transform unsightly cracks and tears into little more than bad memories.
Step-By-Step
For larger jobs, a leather repair kit provides drivers with all the tools and materials they need to breathe new life into old, cracked leather upholstery. This typically includes leather adhesives and dyes, liquid leather compounds, sandpaper, applicator tools, mixing cups, and more. Each type of leather repair kit might differ slightly in its approach, so it’s important to always read through the instructions thoroughly before tackling a project, but let’s walk through some of the basic steps.
Start by choosing a leather repair kit that matches the specific color of your leather upholstery. Many kits are designed to match the specific colors and textures of leather found in various auto brands, so start your search there. If you can’t find a suitable match, it’s easy enough to mix your own dye, but a brand-specific kit will make everything a whole lot easier.
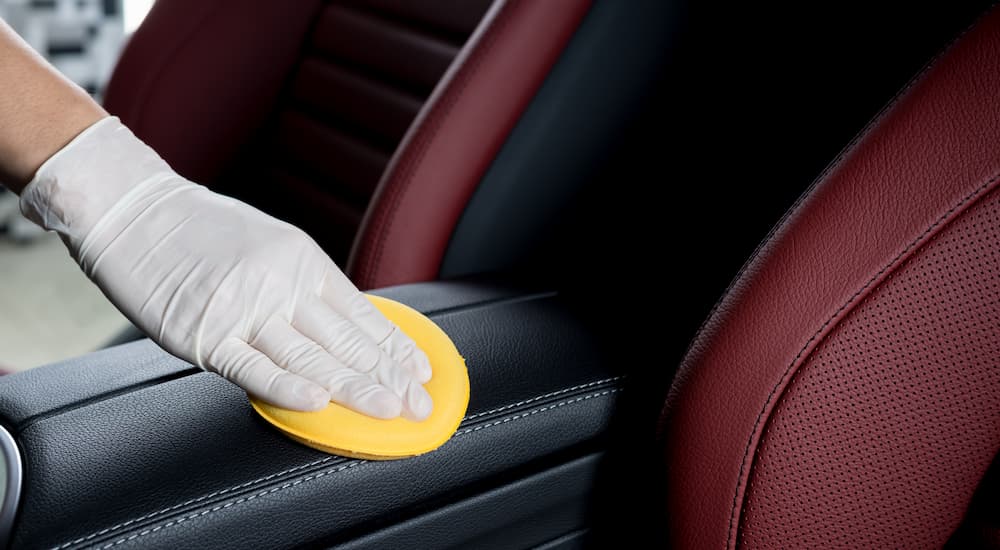
Before beginning the repair process, use a damp rag and gentle soap to clean the area around the damage. Let the upholstery dry completely before the next step, which involves trimming ragged, excess fabric from around the edge of the tear. Remove as little material as possible, but focus on any leather that’s beginning to fray or curling up, as it will be more resistant to the repair process.
Next, take the canvas or backing cloth that comes with the leather repair kit and use the applicator tool to slide it inside the tear itself, then apply a small amount of glue to the edge of the tear. The backing fabric will give the leather filler you apply next something to adhere to instead of the foam cushion of the seat itself.
Now it’s time to apply the leather filler. This will be a gradual process, with layers slowly building up until the filler protrudes slightly above the surface of the leather itself. Go slowly and allow each layer to dry completely before adding more. When the filler is dry, you can hit the whole area with fine-grit sandpaper, sanding until the leather filler is flush with the seat itself. When sanding is done, use a damp cloth to dry the area and let it dry completely before moving on.
Lastly, it’s time to do the color matching. This should be a fairly straightforward process if you were able to find a repair kit that’s specific to your make and model, but if not, it could require some experimentation with color mixing. Once you’ve got a hue that you’re happy with, use a cloth to apply the leather dye to the leather filler. Again, take your time and let each layer dry completely until you’ve got a good match. Before you finish, hit the area with some leather sealant, which will prevent the leather dye from rubbing off on your clothes.
Preventing Damage
Leather repair can be an annoying and time-consuming task because no matter how well it’s cared for, it’s bound to degrade over time. This is true of all types of seating materials, but especially leather, which typically lacks many of the wear-resistance properties of vinyl, cloth, and some of the new proprietary fabrics that auto manufacturers always seem to be coming out with. Sure, it imparts a classy look to any vehicle’s interior, but there’s a reason that it’s fallen out of favor as the go-to choice for automotive upholstery. Still, there are some simple steps you can take to protect your vinyl upholstery from the ravages of time, wear, and other environmental factors.
Keep It Shady
While it has been treated, dyed, and otherwise transformed to serve its role as upholstery, leather is still just essentially a type of animal hide. As such, it’s uniquely susceptible to the sun’s UV rays, which any sunburned beachgoer will tell you can turn on you in a hurry. Just like you wouldn’t head out for an afternoon of sunbathing without the proper UV protection, you should be mindful of how often your vehicle sits around soaking up the sun. Such exposure can not only make the leather more brittle and lead to cracking and tearing, but it can also wash out the upholstery as the dyes used in the coloring process start to fade in the sun.
The easiest way to combat this type of UV exposure is to limit the amount of time your vehicle sits in direct sunlight. Park inside whenever possible, or find a shady parking space with plenty of tree cover. Expandable sun shades are a great alternative when there’s no shade to be found, folding out over the windshield and blocking your seats from UV rays. This can be quite effective in the front seats, but light coming in from the side windows, sunroof, or rear windshield can present its own issues. If you live in a particularly sunny area, consider investing in a window tinting treatment. In most areas, this service can be performed for as little as $60 per window, with a full, all-over treatment ringing up in the $350 to $600 range. It’s not cheap, but when compared to the cost of reupholstering your entire vehicle, it’s almost a bargain.
Whether leather, vinyl, or cloth, your vehicle’s upholstery does more than just tie the cabin together; it also plays an important role in protecting your seats from harmful UV rays. If your upholstery becomes cracked or torn and the seat foam is exposed to direct sunlight, it can start to break down, creating obnoxious gaps or soft spots that can have a major impact on your comfort behind the wheel. This can turn what was once a purely aesthetic issue into one of comfort and performance, so the less time your vehicle spends catching some rays, the better.
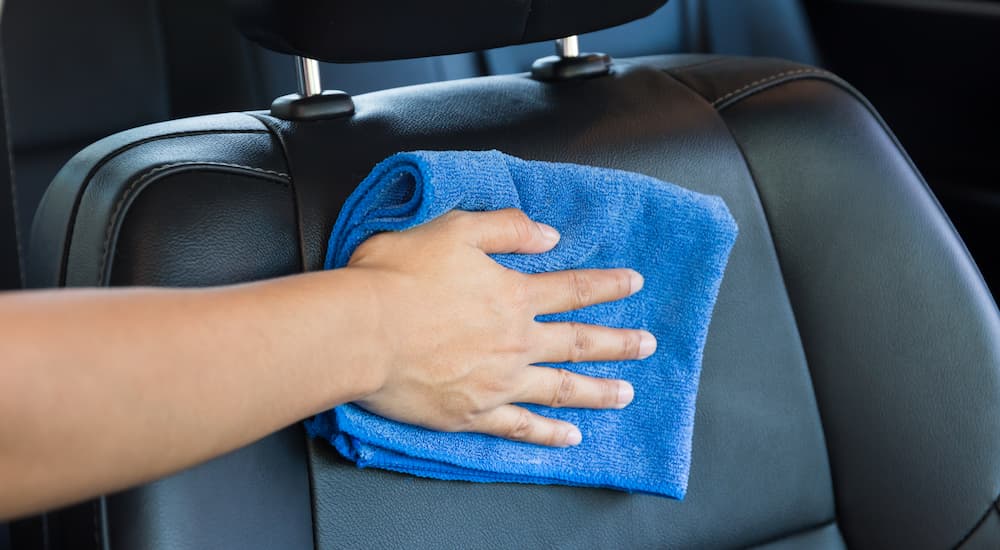
Condition Regularly
Conditioner: it’s not just for hair anymore. The drier leather is, the more prone it is to cracking, which makes regular conditioning of your leather upholstery a vital money-saving task. While there are some tried-and-true products out there for conditioning leather, like saddle soap and mink oil, they’re not always up to snuff when it comes to automotive applications, given the intense UV radiation, humidity, and fluctuating temperatures found in the average vehicle interior.
Your vehicle’s leather upholstery is best served by using a specific automotive leather conditioning product such as Weiman Leather Conditioner, Meguiar’s Gold Class Leather Cleaner, or Chemical Guys Leather Conditioner. When applied every three to six months, these leather conditioning products will keep your upholstery supple while also imparting some valuable UV protection. There are lots of options on the market when it comes to leather conditioners, from standalone products to ones that double as leather cleaning solutions. Available as creams, oils, and waxes, these leather conditioning products can rejuvenate your leather seats, restoring that showroom look for as little as $15 per bottle.
Dull It Down
UV radiation and the normal wear-and-tear that comes with constantly sliding in and out of the driver’s seat can cause some real issues over time, but there are also many more immediate threats to the integrity of your leather seats. Sharp objects like pocket knives, tools, and even keys can lead to punctures which can easily mar a vehicle’s interior, and if left untreated, these punctures can quickly turn into much larger, more unsightly problems.
We tend to think of leather as a particularly hardy material. While this might be true when it comes to the thick, rawhide leather used in boots, saddles, and the like, automotive leather is a different story. Chosen primarily for its soft, luxurious feel, automotive leather isn’t nearly as resistant to puncture damage, so it’s important to be mindful when transporting any sharp objects. Even things that might not seem very sharp, like the corner of a particularly heavy moving box, can easily puncture leather upholstery when a vehicle brakes or accelerates too quickly. Transport sharp objects in the trunk or on the floor of the vehicle, or lay down protective blankets if something needs to be placed directly on the seats themselves. Move pocket knives or other sharp accessories to a front pocket, or stow them away in the dashboard storage cubbies.
Take Care to Make Your Leather Last
With a little preventative care, your leather upholstery can stay looking buttery soft for years to come. Sure, it takes a little planning and potentially a whole lot of time spent folding and unfolding a reflective sun visor, but it’s an investment that will pay off down the road, especially if you ever decide to sell or trade-in the vehicle. Well-maintained leather upholstery can add some serious curb appeal to any vehicle, lending an air of refinement and letting potential buyers know that the vehicle was well cared for over the course of its service life. If a rip, tear, or crack does happen, there are plenty of products out there that make repair leather repair a breeze, allowing drivers to bring lightly damaged seats back from the brink. If the damage is more extensive, a professional repair or full-on reupholstering might be in order, but again, consider the vehicle’s future use and value before making such an investment.