For those in colder climates, winter weather can wreak havoc on a vehicle. Not only are there snow flurries and slick roads to deal with, but between frost heaves, sub-zero temperatures, and road salt taking its toll, you might start to wonder if your vehicle is going to make it until spring. Corrosion is one of the most common ailments in vehicles that regularly weather tough winters or salty coastal conditions, rapidly eating through the metals and potentially compromising their structural integrity in the process.
Advancements in automotive technology and design mean that today’s vehicles don’t corrode like they once did, thanks to the use of rust-resistant materials such as plastic, aluminum, and magnesium, but rust can still take a very real and expensive toll. While most vehicles are treated with rust-resistant undercoating during the manufacturing process, this protective barrier wears away over time, leaving the undercarriage susceptible to corrosion. So what is undercoating anyway, how does it differ from rustproofing, and what else can you do to prepare your vehicle for winter conditions?
Undercoating
There are several options available when it comes to undercoating your vehicle. If you’re buying a new car, truck, or SUV, most dealerships will offer undercoating as an add-on service at the time of sale. Applying an undercoating to a vehicle fresh out of the showroom is ideal, but it can also cost a pretty penny, with dealerships charging as much as $1,000 for the service. Like most add-ons at the time of purchase, this can usually be negotiated, but as always, the DIY route is often cheaper.
Sedan owners can usually perform their own undercoating at home for as little as $100, while truck and SUV owners are looking at a modest bump into the $150 range. However, it can be a time-intensive job depending on how much prep work needs to be done beforehand. Those seeking a middle route have plenty of options to choose from with third-party undercoating services like Car Salon and Ziebart, which charge between $250 and $500 for the same service. Just be careful to read the fine print as these deals often come with their fair share of caveats. For example, the Ziebart service might seem like a steal at $250 and does include a ten-year warranty, but it requires annual check-ups costing around $50 a pop to keep the warranty active.
The first step in any undercoating project is settling on which type to use. There are three leading options on the market today, with each offering its own pros and cons when it comes to cost and effectiveness.
Polyurethane
The first option is a polyurethane undercoating, which fills in even the smallest cracks and displaces rust-causing salt and moisture in the process. While it’s very effective against rust, it can be a pain to apply as polyurethane undercoating requires extensive prep work to the undercarriage beforehand. This usually involves lots of sanding and applying an etching primer to bare metals, though on the upside, it can be easily sanded and painted over in the future.
Rubberized
Rubberized undercoating is the go-to choice for many drivers thanks to its easy application and effectiveness. Unlike polyurethane undercoating, rubberized formulas are a lot softer, allowing road debris to bounce off the surface instead of creating small knicks and dents that can quickly turn into a rusty issue of their own. It can also be easily painted over, though removal is a bit more difficult and requires a specialized spray. The rubberized undercoating doesn’t involve extensive prep work and can be used on various areas of the vehicle, from the wheel wells to the quarter panels. Bonus: the thick layer of rubberized spray also provides some sound-damping properties, making for a quiet, smooth ride inside the cabin.
Paraffin or Wax-Based
The cheapest option of the three is also one of the least effective. Like polyurethane undercoating, paraffin or wax-based options do an excellent job of filling in small cracks, but they don’t last nearly as long. While they might be better than nothing, their relative affordability is tempered by the fact that they usually need to be reapplied every year.
Undercoating Step-By-Step
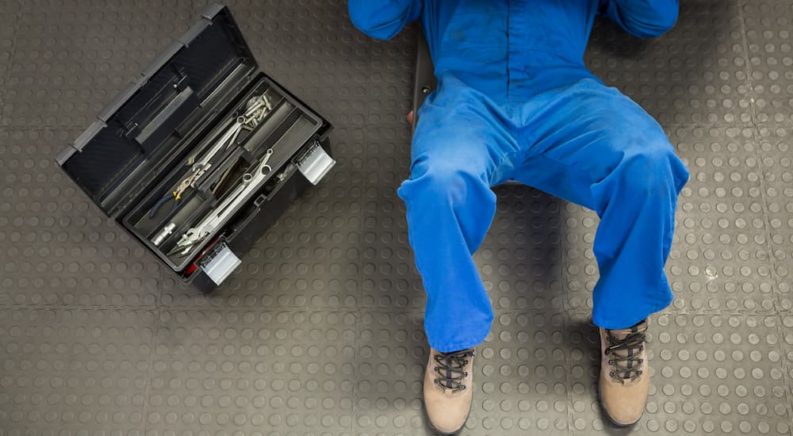
Undercoating isn’t the most technical automotive task you’ll ever be asked to perform, but it does take time and patience. The project doesn’t require many specialized tools or supplies aside from the undercoating itself, though an angle grinder will speed up the process considerably. You’ll also want a hydraulic jack and car blocks so you can easily work underneath the vehicle, as well as a degreaser, primer and paint, paintbrush, towel, and metal sandpaper.
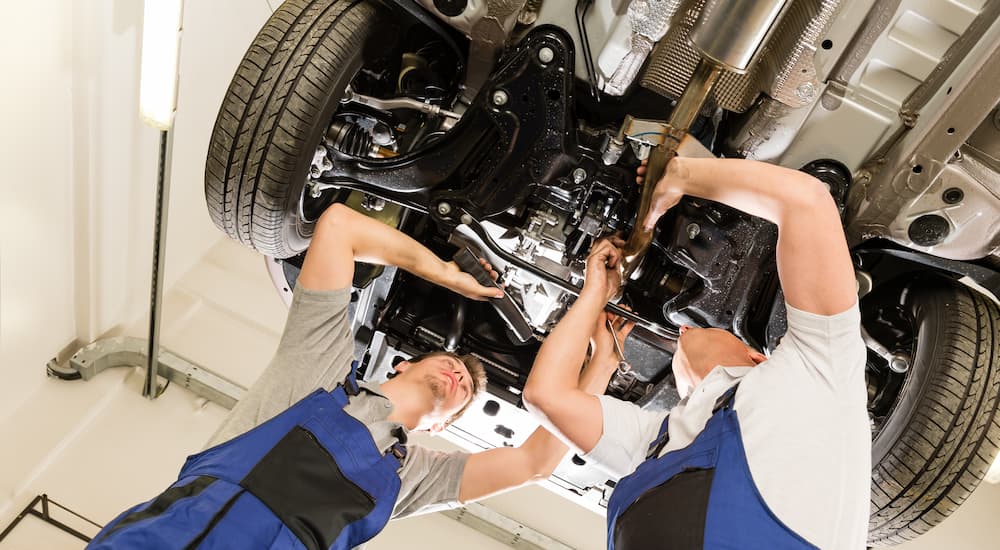
The first step is getting the vehicle up on blocks so you’ll have more room to work. Use a hydraulic jack to lift the vehicle, then set it on blocks under the frame of the chassis. Also, make sure to choose your location carefully and keep in mind that the whole undercoating process can take quite a while, depending on how much prep work is required. For this reason, it’s usually better to perform the task in your garage or somewhere protected from the elements in case some bad weather rolls through, or you end up blocking the driveway for the whole weekend. Just make sure to keep the garage door open to improve air circulation as there’s lots of painting to be done.
This is where the prep work begins. Start by applying degreaser to the undercarriage and carefully wiping away built-up gunk that you don’t want getting trapped between the undercoating and surface of your vehicle. Once the undercarriage is thoroughly degreased, it’s time to turn to the angle grinder. This will be used to remove the brunt of the rust from the undercarriage and is by far the most time-intensive part of the job. Lastly, tackle any hard-to-reach spots where you couldn’t fit the angle grinder with some sandpaper until the underside of the vehicle is completely devoid of any frame-eating rust or corrosion.
Before you can apply the undercoating, it’s time to flex your inner Picasso. Applying primer and paint offers an extra layer of protection between the undercoating and undercarriage, providing a last line of defense should water, salt, or any other corrosive elements work through the protective barrier. Start by applying primer and after it’s dry, follow up with black automotive paint. Make sure each layer has adequate time to dry between coats and avoid the temptation to rush.
Now comes the actual undercoating itself. Depending on which type you settled on, it may be applied using either a paintbrush or spray gun, so make sure to read the label. Apply generous amounts of the undercoating across the entire undercarriage, then let it dry for an hour. After it’s had some time to cure, come back and hit it with a second coat before leaving it to dry fully. One night is usually enough time to do the trick, but make sure to inspect the undercoating to make sure it’s completely dry before taking the vehicle out on the road.
Undercoating vs Rustproofing
While they might seem like interchangeable terms, undercoating and rustproofing are actually two distinct tasks. Undercoating, as the name would imply, is more focused on preventing corrosion on the underside of the vehicle. Rustproofing, on the other hand, is focused on specific parts of the vehicle’s body that might be susceptible to rust and corrosion, such as the fenders, rocker panels, tailgates, door panels, and upper body panels. Since these components have less to do with a vehicle’s long-term performance and more with its appearance, rustproofing is often not thought to be quite as important as undercoating when it comes to actual protection.
That said, it can be much easier and quicker to perform than undercoating, which can take as long as an entire weekend depending on how much prep work is involved. Rustproofing is more of a spot treatment that can be done whenever you have a little extra time and usually takes the form of a protective wax that can be sprayed in trouble areas around the vehicle. It seals the joints and seams between different components and stops water and oxygen from working their way into recessed areas where they can fester away and turn into rust.
Winterization Tips
Undercoating and rustproofing are the first line of defense when it comes to protecting your vehicle from cold, wet weather, but they’re only a small part of the equation when it comes to winterization. Here are a few bonus tips that’ll ensure that when the thermometer starts to drop, your vehicle won’t be left out in the cold.
Check Your Battery
Batteries don’t like low temperatures and tend to get a little finicky when winter weather rolls in. A battery that’s already having trouble starting in the sweltering heat of July is not going to fare well in January, so if your battery is on its last legs, it might be time to consider putting a replacement on your holiday shopping list. Automotive batteries are rated for temperature using a metric known as Cold Crank Amps (CCA), with most standard batteries falling into the 300 to 500 CCA range. If you’re looking for a new battery going into winter, consider investing in something in the 600 CCA range or higher if you live in a particularly frigid climate.
Switch Out Tires
The right set of winter tires can make all the difference when navigating snowy roads. Winter tires are made of a softer rubber compound than their all-weather counterparts, improving traction as the temperature starts to drop. They’re also designed with wider grooves in the tread, which are perfect for slinging snow, ice, and water away from the wheels. Once the winter tires are installed, make sure to regularly check the pressure, as low temperatures can cause tires to lose pressure rapidly––as much as 1 PSI for every 10 degrees by some estimates. If you’re reinstalling last year’s set of winter tires, make sure they have enough tread before switching them over.
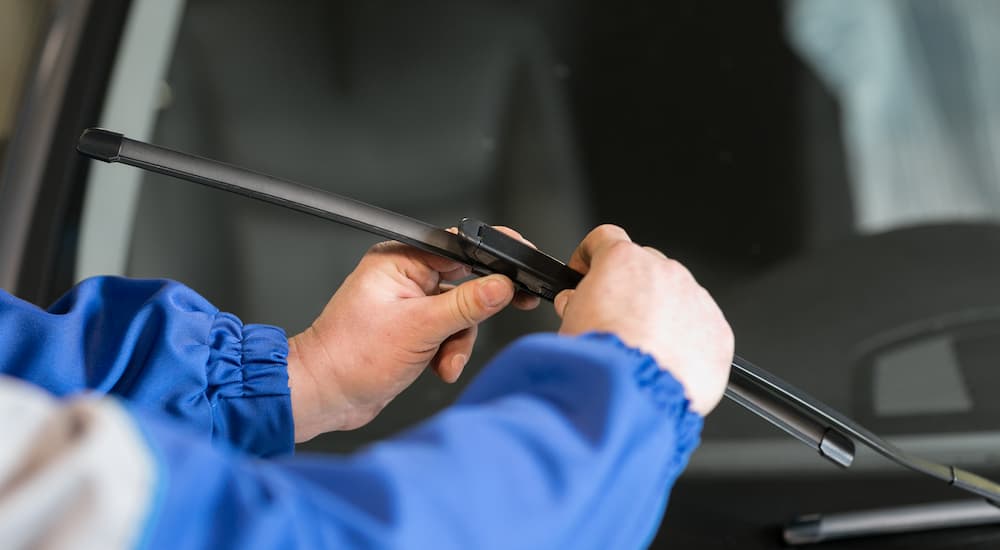
Replace Wipers
A new set of wipers can be a solid investment going into the winter when snow and heavy rain can make visibility a safety issue. There are plenty of wiper blades out there designed specifically for winter conditions, but if you live in a particularly cold climate, consider purchasing a set of wipers with a heating element. Likewise, if you live in an area where winters mean more rain than snow, a pair of wipers with a hydrophobic coating might be in order. These will cause water to bead up upon contact with the windshield and go a long way in improving visibility.
Replace Cabin Air Filter
There’s nothing like sitting in a freezing-cold vehicle waiting for the windshield to defrost enough so you can begin your morning commute. While there’s not much you can do about the weather, replacing your cabin air filter could have a noticeable effect on the amount of time it takes for your defroster to do its thing. This is a very cheap and simple fix that could go a long way in improving your morning commute and will provide fresher, cleaner air to boot.
Change Oil
Using a lighter-weight motor oil is another quick fix when it comes to starting your vehicle on a colder winter morning. Cold weather tends to make oil thicken up, requiring more energy to get it flowing and making for some rough starts that can take their toll on the starter and battery. Check your vehicle’s owner’s manual for recommended oil weight, and consider using a thinner formula when the mercury starts to drop.
Protect Your Vehicle From the Elements
Winterizing your vehicle can pay dividends when it comes to ensuring long-term performance. Not only will taking steps like undercoating and rustproofing protect your vehicle from the type of corrosion that can take years off a vehicle’s life, they can also go a long way in helping it to retain its value and keep it looking its best.
Before you dive into your own undercoating project, make sure you have all the right tools and plenty of time to give the job the attention that it needs. A rushed undercoating job isn’t worse than skipping the task altogether, but all it takes is one unprotected spot for corrosion to take hold. Rustproofing is a good supplementary step to the undercoating process, and while it’s quicker and easier, it doesn’t always provide the same comprehensive protection. Whether undercoating and rustproofing or getting a new battery, tires, wipers, or air filter, preparing your vehicle for winter will ensure it doesn’t flake out on you when the snow starts to fall.