Getting started doing DIY work on your car is a great way to save money and better understand your vehicle. However, you will need some tools to get started. A full mechanic’s toolbox with all the latest tools can quickly cost you thousands of dollars, but if you shop smart and stick to the basics, you can get everything you need for under $500. This kit will set you up to handle all the basic DIY tasks and serves as a solid foundation to start expanding your tool collection in the future.
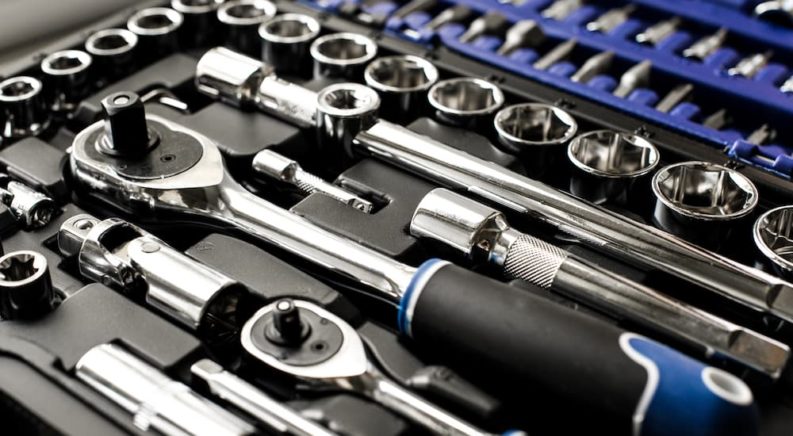
Ratchet Set – $50
The single most important tool in any mechanic’s toolbox is a ratchet set. Just about every part of a caƒr is held together by nuts and bolts, and a ratchet is the best way to get most of them off. While you can easily spend hundreds of dollars on a top-shelf ratchet set, the good news is that you can find a starter set for under $50, and it will serve you perfectly well for basic DIY jobs. However, narrowing down which set is right for you can be overwhelming if you don’t know what you are looking for, so here are some tips.
First off, look for a ⅜-inch drive. Other common automotive options include ¼-inch and ½-inch, and they both have their place in a well-stocked toolkit, but ⅜-inch will be able to handle just about everything, keeping costs down for beginners. Still, make sure your ratchet set has ¼-inch and ½-inch adaptors for the ⅜-inch drive so that you can use other sockets.
Second, make sure the set includes a good range of socket sizes. Most cars these days use Metric fasteners, so having SAE sockets isn’t usually necessary, but they can still come in handy. Most fasteners will fall in the 8mm to 22mm range, so try to find a set with sockets in between, but you won’t need every single number. You may see sockets advertised as “deep wall” or “impact rated”––those have their place, but you can skip them for now.
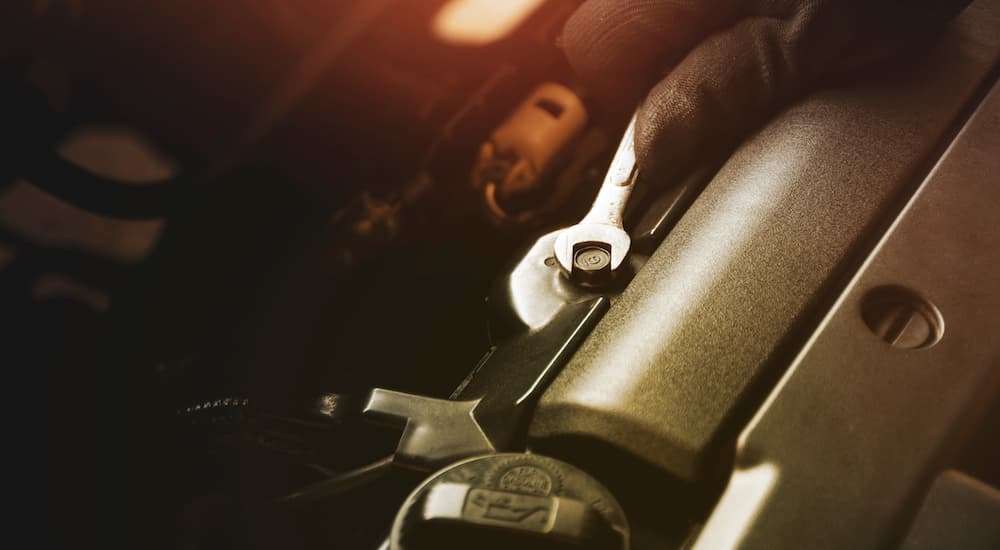
Combination Wrench Set – $50
A ratchet and socket is the easiest way to remove most fasteners, but sometimes you will find an oddly placed nut or bolt that you just can’t reach with a ratchet. In those cases, a combination wrench set will save you. A combination wrench has an open crescent wrench head on one side and a closed box end on the other, making it the most flexible option. Ratcheting box end wrenches can make jobs even easier, but they are much more expensive, so stick with the standard combination wrenches for now to get a set for under $50. As with sockets, you will probably be okay with just Metric wrenches, but SAE can come in handy.
Breaker Bar – $25
All too often, fasteners will be rusted, over-torqued, or just difficult to loosen. This is where a breaker bar will save you. This tool looks like an oversized ratchet and is designed to provide increased leverage to remove difficult nuts and bolts. Look for a breaker bar that is at least 12 inches long to get the force you need. This will usually mean a bar with a ½-inch drive, so make sure you have a ½-inch to ⅜-inch adaptor, so you don’t need a new socket set to go with the breaker bar. Avoid anything fancy, and you can find a serviceable breaker bar for under $25.
Work Light – $50
This is an easily-overlooked tool, but it is a vital part of your tool kit. Having a bright light to reveal what you are working on will make everything much easier and reduce frustration. While you can try to get things done with your phone light or that cheap flashlight you have stuffed in the back of the kitchen door, it is worth it to invest in a proper work light. There are a lot of different options out there, so you should be able to get a good work light for under $50. The important things are that it’s bright, has a stand of some sort to support itself, and is preferably battery powered so you don’t have to worry about extension cords.
Torque Wrench – $50
You might not have heard of a torque wrench before, but it’s not something you want to leave out of your toolbox. A torque wrench isn’t really a wrench––it’s an instrument designed to measure how much torque has been applied to a fastener. Most of them resemble ratchets, but they should only be used to apply the final torque to make sure the nut or bolt is tightened down properly. If you check the service manual for your car, you will notice that every fastener has a torque spec. Too much torque can break parts, while too little torque can result in bolts backing out as you drive. This is why you need a torque wrench.
There are several different types of torque wrenches available, including digital adaptors that fit to your ratchet. However, to keep costs low, it is best to look for a “click-type” torque wrench. You will want something with a torque range around 10 to 100 ft-lbs with a ⅜-inch drive to match your socket set. Torque wrenches are most accurate in the middle of their torque range, so ideally, you want a couple of different wrenches with overlapping ranges, but to start out, a 10 to 100 ft-lb wrench will handle most DIY tasks.
Floor Jack – $200
The biggest investment in your starting tool kit should be a floor jack. While you theoretically can use the spare tire jack that came with your car, you really don’t want to. The emergency jack is not intended for serious use, so invest in a proper hydraulic floor jack. The exact type of jack you get will depend on your vehicle, but you should be able to find one for under $200, especially if you shop sales. The most important thing is that the weight rating of the jack is sufficient for your vehicle. You will want a jack rating that is at least ¾ the total curb weight of the vehicle, and it isn’t a bad idea for the jack rating to exceed the vehicle’s total weight.
A second factor to consider, especially if you are working on a car that is lower to the ground, is that the jack will fit underneath it. Small sedans and sports cars will likely need a low-profile jack. If you plan on using the jack points along the side of a unibody vehicle, then make sure to get a pinch weld jack saddle adaptor so that you won’t bend the pinch welds on the car.
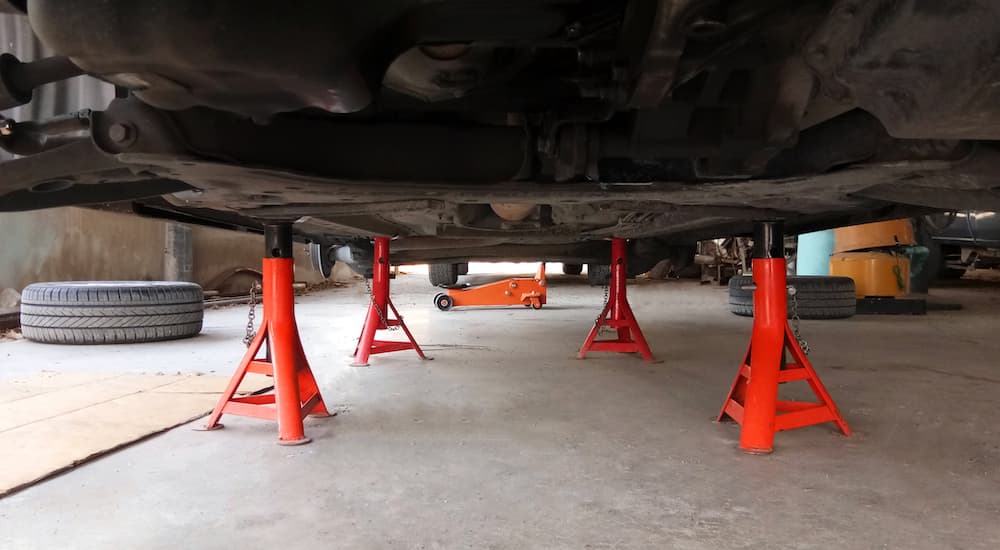
Jack Stands – $50
If you are working under a car (and that includes working in the wheel wells), you should never trust a jack alone. Always support the vehicle with jack stands to be safe. The good news is that even cheap jack stands are reliable, so you don’t have to spend more than $50 here, although it is always a good idea to spend more on safety equipment if you have the budget. Like jacks, jack stands have a rated load limit, so make sure it is high enough for your car. Note that jack stands are usually sold in pairs, and the rated load is for both of them (i.e. a 2-ton set of jack stands can each support 1 ton). Also, like jacks, make sure your jack stands have an adaptor for pinch welds.
Wheel Chocks – $25
The final piece of equipment needed for working under a car is a set of wheel chocks. Cheap rubber chocks cost less than $25 and keep the vehicle from rolling away. The only thing to watch for here is to make sure the chocks are tall enough that the wheel won’t roll right over them, but that is really only a concern if you have a truck or SUV with particularly large tires.