When you look inside the engine bay of a car, it’s easy to spot the red positive cable connecting the battery to the electrical system. However, it is easy to overlook the black negative cable trailing off to the side. This is an essential ground wire, but it isn’t the only one; many of the components in your vehicle have much smaller ground wires of their own. If any of these are damaged, the result will be difficult-to-troubleshoot electrical gremlins that will ruin your day.
Ground wires operate quietly in the background and are not part of any common maintenance schedule. For these reasons, you might not even suspect a broken ground wire until after you have tested or replaced the majority of your car’s electrical system.
What Is a Ground Wire?
The electrical system in a car runs on Direct Current (DC). That means the electricity flows through a complete circuit, starting at the positive terminal of the battery and ending at the negative terminal. Simple enough, right? However, car designers used a trick to cut the amount of wiring needed in half: They used the steel body of the car to conduct electricity.
Because cars are isolated from the earth by their rubber tires, the entire car effectively acts as a closed circuit. After the current flows out of the battery to where electricity is needed, it flows back to the battery through the chassis of the car itself. Yes, your entire car is a hot circuit. And yes, it is completely safe.
Ground wires are needed to make sure that every component of your vehicle that is receiving a positive current is connected to the chassis and can complete the circuit. This is particularly critical for the engine, which requires electricity to start and run, but is usually suspended from the chassis on rubber engine mounts. Nearly every electrical part of your vehicle will have a ground wire of some sort. If you ever install electronic accessories in a vehicle, you will not only need to connect them to a positive wire from the battery; you will also need to ground them to the chassis.
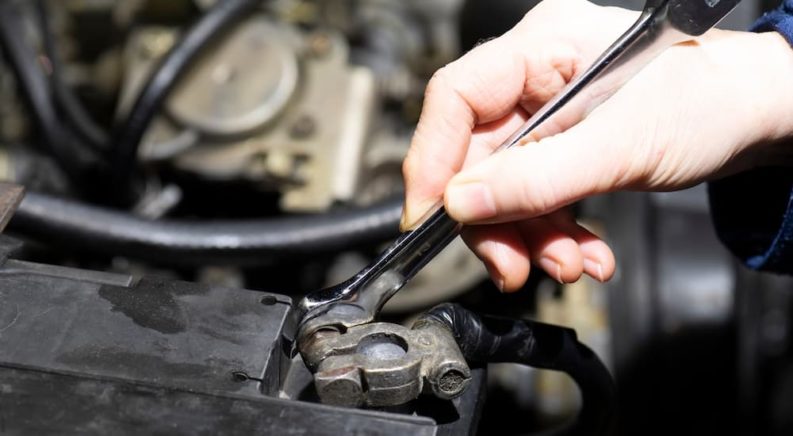
Because ground wires need to handle very different levels of electricity—depending on the system they are attached to, they take several different forms. The most important ground wire is, of course, the thick cable connecting the negative battery terminal to the chassis. This is easy to find for any DIY mechanic, and it is always a good idea to periodically make sure both ends have tight and clean connections. The engine ground wire is the second-most-important. It usually takes the form of a thick cable—like the negative battery connection—or a flat copper braid, and is commonly located near the bottom of the engine.
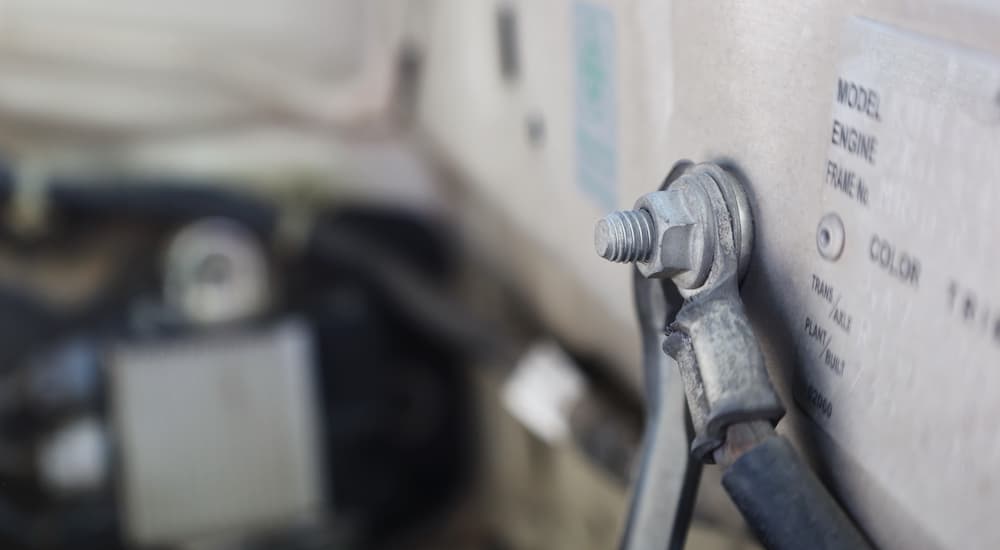
Smaller components will usually have a thin, insulated ground wire connected to a small bolt or screw in the chassis, and multiple ground wires are often secured to a single ground point. These are often hidden behind trim pieces or cabin panels, making them somewhat difficult to find if you don’t know where to look. Finally, some parts of the wiring harness will include ground wires. For instance, most exterior lights use a single multi-wire plug that includes positive and negative leads. Whenever possible, the best way to find ground wires is to locate a complete wiring diagram for your vehicle.
Ground Failure
A ground failure can manifest itself in a variety of different ways, depending on the nature of the failure and where it is. If the negative battery cable isn’t properly connected, then your entire car will likely experience seemingly random electrical issues. The engine ground wire failing can cause what appear to be mechanical issues, ranging from the engine not turning over to the transmission not shifting properly. Issues with minor ground wires are usually not as catastrophic, but any electrical system that relies on that ground will stop working properly.
Ground Wires and Troubleshooting Electrical Problems
When you start experiencing electrical issues with your vehicle, the natural inclination is to start troubleshooting or replacing the system that is not working properly. After all, if something isn’t working, there must be a problem with it, right? However, it is always a good idea to first make sure that the system is correctly grounded and actually receiving a proper current. The good news is that testing for a ground is a simple and straightforward procedure that requires nothing more than a basic multimeter.
Ultimately, a ground is nothing more than an uninterrupted connection to the negative battery terminal. To check if something is grounded, first set your multimeter to test for resistance (Ohms). Disconnect the negative battery terminal to break the circuit, and then connect one multimeter lead to the disconnected negative battery cable. This is where you want the ground circuit to end. Connect the other lead to the ground of the malfunctioning system. If the ground connection is working properly, your multimeter should register almost no resistance.
If you do find resistance, it is time to find where the interruption in the ground is. Trace the ground circuit, checking step by step as you work your way down the circuit to the negative battery cable. When the resistance disappears, you have moved past the interruption and know where to start looking for loose connections or worn cables. As you check connections, be sure to jiggle wires to make sure that they aren’t hiding an intermittent failure. Cars have a lot of vibration when they are running, and an imperfect connection may not reveal itself when stationary.
In some cases, a multimeter may not be the best way to diagnose an intermittent ground issue. If a problem only manifests itself when the car is running, there is still a safe way to identify it is indeed a ground issue: Simply take a set of jumper cables and use them to create a secondary ground connection. Clip one end of the cable to the malfunctioning component and the other to a good ground point on the chassis. Be sure to use a multimeter to confirm that you have established a solid ground and that the cable isn’t in danger of snagging on anything.
Then, go for a drive. If the electrical issue vanishes, you’ve confirmed that the ground was to blame and can continue isolating the problem.

Fixing a Ground Issue
Ground failures can be frustrating to identify and isolate, but once you find the issue, they are usually simple to fix. In most cases, the problem will be caused by nothing more than a loose bolt or corroded wire, making repairs a straightforward matter. If the problem is with an aftermarket system that was either installed poorly or is overloading an existing ground wire, then you may have to install a larger ground wire—or find a more reliable ground point. Still, these are not difficult repairs and should be a breeze for any DIY mechanic with basic tools and a basic understanding of electricity.
Like many electrical issues, dealing with ground wire failures is almost entirely a matter of diagnostics. If you are comfortable using a multimeter and are reasonably familiar with the wiring in your vehicle, then resolving the problem simply becomes an exercise in patience. However, if you are among the many DIY’ers who regard electricity as a mystical force, then you might want to let a certified mechanic handle the problem for you. But, even if you don’t like dealing with electrical problems yourself, being aware of the importance of ground wires and the symptoms of a bad ground can save you a lot of time and headaches.