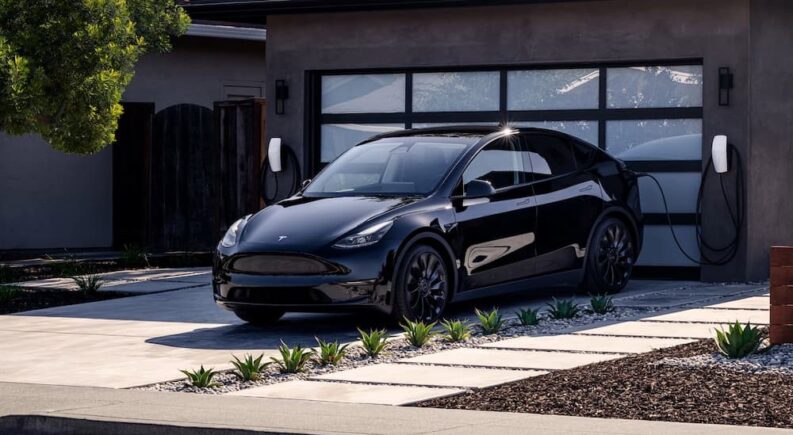
Most EV and PHEV owners rely on a home charger for at least some of their vehicle battery replenishing. Data from ChargeLab estimates that 86% of EV owners have a permanent charger, with the US Department of Energy putting the number at around 80%. Either way, that’s a lot, and it makes sense when you consider the many benefits of home EV charging. It’s more convenient to plug your vehicle in at home than find a public charger, it costs less per kilowatt, and even a basic home charger provides more than enough juice for most everyday driving needs.
However, while using home EV chargers is straightforward, installing them can be more complex than your typical AA battery charger. In this guide, I’ll go over the basics of EV home charger installation, including what equipment you need, the steps in the process, and special considerations. I’ll start by discussing Level 1 and Level 2 charging, as this determines whether you need an at-home charger.
Level 1 vs Level 2 EV Charging
Almost every EV sold today comes with a basic charging system known as Level 1. EV owners can use this or upgrade to Level 2 charging. A Level 1 charger is the simplest charging option and the cheapest upfront. These systems don’t require any installation. Just plug the charger into a 120VAC outlet. If your vehicle doesn’t include a charger, you can buy a compatible one for as little as $200. The downside is that Level 1 chargers aren’t efficient. They typically add three to five miles of electric range to your vehicle battery per hour. This means 30-50 miles from 10 hours of overnight charging, enough to go to work or do errands, but not much else.
Level 2 smart chargers can use a 208/240VAC power outlet or be hardwired directly into your household electrical system. They cost anywhere from $300 to $2,000 for the charging unit, accessories, and installation. The advantage of these added costs is that it charges much faster, with 15-30 miles of range per hour in most cases, depending on the vehicle and the charging unit. The most powerful Level 2 chargers can add more than 70 miles of range per hour to compacts and sedans.
As such, people who drive a lot should strongly consider installing a Level 2 charger at home. These chargers may also qualify for special energy rates or state and federal rebates. (At this time, Level 3 DC fast chargers are only available at public and commercial charging stations.)
What You Need for an EV Home Charging Station
The next step is to get all the equipment. Depending on the existing setup, you may need some or all of the following:
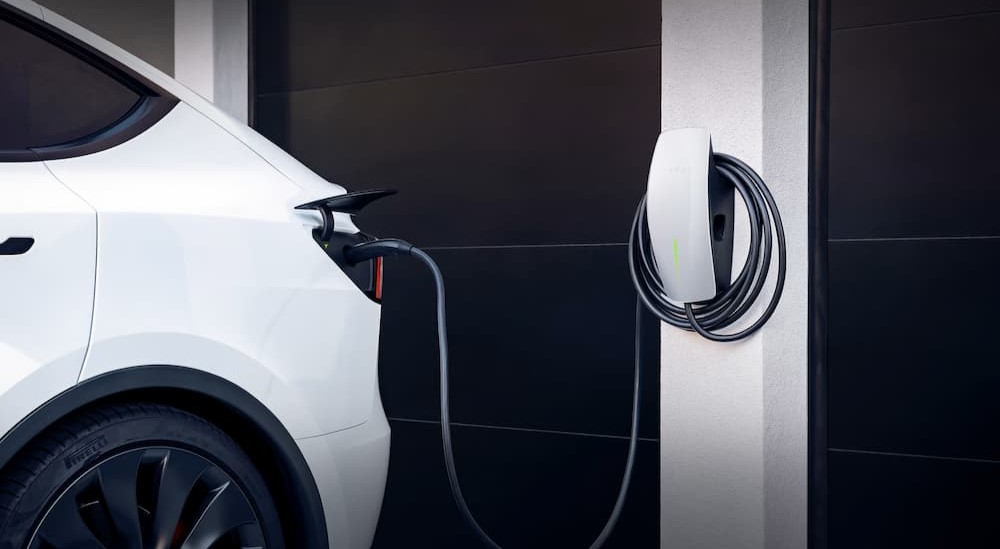
- A Level 2 EV charging unit certified for major safety standards, such as UL, IEC, and NEC.
- A 240-volt AC outlet to plug the charger in and a matching double circuit breaker.
- Mounting brackets and a cable holder for the charger, plus mounting hardware and tools.
- An optional power meter or demand charge controller, if you want to limit the charger’s power draw. This will reduce the risk of the main breaker tripping due to excessive load.
- A meter collar if you want to draw the charger power directly from the electric meter without wiring into the panel. This is useful if you have no available breaker slots and don’t want the hassle or expense of a new panel.
Planning the Layout
Before installing the charger, you should have a design plan in place. Many seemingly perfect installation spots are too far from the charging port to connect the vehicle, and plugging into a non-compatible outlet can create an electrical catastrophe. Here are a few suggestions:
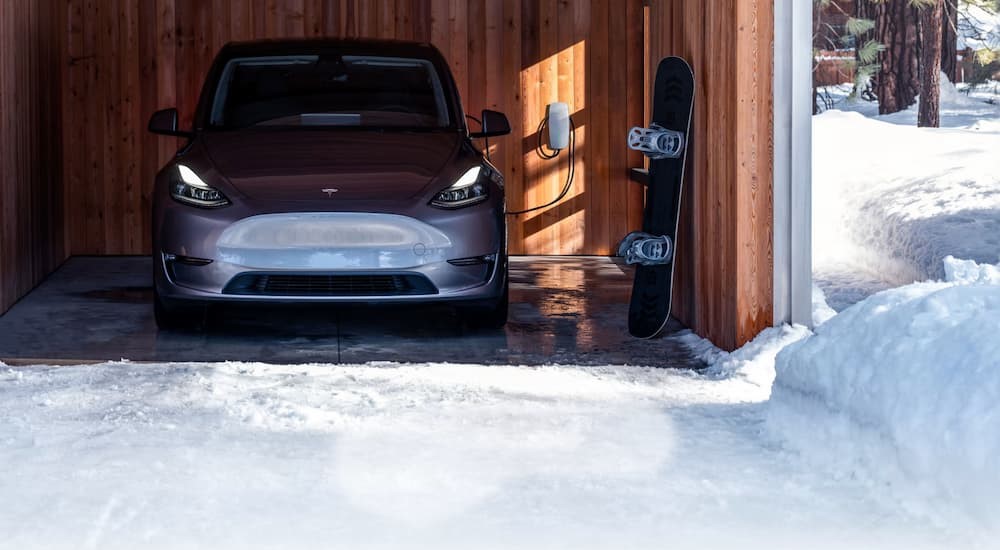
- Place the charger within 15-20 feet of the vehicle charge port and three to four feet of the outlet, which will minimize the amount of wiring and cords.
- Confirm there is still enough clearance to park and get in and out of your car.
- Check if the electrical panel and service wires support the charger. While modern homes and garages usually have 240VAC, some only have 120VAC, so you would need a new circuit or breaker panel for a Level 2 charger.
- Keep the charger at least 18 inches off the floor to reduce the risk of tripping or flood damage.
- Mount the charger within range of your Wi-Fi network or run an Ethernet cord to it since an internet connection is necessary for smart charging.
- If you have two EVs, choose a mounting location where both can access the charger.
Applying for Permits
Most states and municipalities require a permit for any new electrical work. If you’re plugging into an existing 240V outlet, this isn’t an issue. To install a new 240V outlet/circuit breaker or hardwiring into the panel, though, you’ll need a permit. Furthermore, a building permit may be necessary if you need to make any alterations to your garage to accommodate the charger layout, such as adding or removing walls. Failing to secure proper permits will leave you liable to the town, local utility provider, and homeowner’s association if something goes wrong. It can even void your home insurance.
The permit application and approval process vary based on the area. Specific electrical and building codes also vary, but at minimum, everything must meet National Electric Code (NEC) standards, such as having GFCI and overcurrent protection. Talk to the local town office or zoning board to get started.
Wiring and Mounting
After the planning and permitting are completed, it’s finally time for the installation. The main challenge will be wiring a new 240V outlet and circuit breaker. Most Level 2 home EV chargers are 32 or 40 amps. 8 AWG cables will be sufficient for this unless you need to reach farther or plan to run other 240V tools and appliances. (For a 48-amp charger, use a 6 AWG cable.) Run the cable through the ceiling and walls or place it in a PVC conduit for protection from the elements. You’ll also need to attach the mounting brackets and charger cable holder to the wall. Try to attach them directly to a stud for maximum holding power.
If you already have 240VAC power, someone with basic DIY electrical stills should be able to install and mount the charger. However, I recommend hiring a licensed electrician should you need a 240VAC circuit or a new electrical panel added. This will ensure the highest quality work at an approximate cost of $200-400. Talk to a professional in advance, as they may have recommendations on which charging unit to buy.
Testing the Charger
Once everything is wired and connected, plug the charger into the outlet (unless it’s hardwired). Flip the circuit breakers and turn the charger on. Confirm its operation and follow any steps needed to connect to the local internet. If everything is in order, connect to an EV and start charging.
Keeping Vehicles Charged Up
Adding a home EV charger is an investment that’s worth it for frequent drivers, especially in regions where the public charging infrastructure is still underdeveloped. The time and money spent installing the charger will eventually be offset by reducing your recharging costs. More importantly, nothing beats being able to plug in and go on with the day. Some chargers even have timers to take advantage of lower utility rates during off-peak hours. Remember to take all these factors into account before purchasing and installing a charger for the smoothest experience.