Some people don’t care about audio quality in their vehicle, and that’s fine. But for others, it is very important to enjoy amazing sound quality when driving. The vast majority of sound quality comes down to your car speakers. Your factory speakers probably aren’t amazing – unless you have a really high trim of certain models, the factory speakers are designed to just be “okay.”
While you can have a professional service install new speakers into your vehicle, it’s also something you can do yourself. One warning: this is not the easiest do-it-yourself task and requires a number of tools and a fair amount of experience to do well. Depending on the speakers, you might have to cut into the interior of your vehicle, and if this makes you nervous, then that’s what professionals are for.
Also, every vehicle is different, so this guide is going to offer pretty broad strokes. Always get information specific to your year, make, and model to ensure you’re doing things properly. But, that being said, here’s what you need to know about installing new speakers into your car.
Getting Started – Budget and Overall Plan
Before you start doing any kind of installation, you’re going to need new car speakers to install, and it’s a good idea to consider a couple of things. For starters, get a sense of your budget. There is an insane number of car speakers available from many different manufacturers in a lot of different configurations. So the options can be overwhelming.
With a budget in mind, however, you can narrow down your options a bit. Also, form an overall plan for what you want your car audio to be like. You might only be able to afford a couple of speakers right now, but your plan might be to have an 8-speaker sound system with an amp and a subwoofer. Before you buy any speakers, figure out what you want to get in the end because you may be able to buy it one or two parts at a time, upgrade as you go, and have them all work well together.
Without a plan, you can end up wasting time and money on units that don’t work well together. So get a sense of what you want to have before you get started, then you can budget yourself and either get everything you want at once or build your dream car speaker system over time.

Before you Begin
I’m not going into details on choosing the right speakers, as that’s a whole other topic and requires a lot of other decisions. We’ll assume you’ve worked it out, have a plan, and got some speakers that you want to install. Before you get started, however, I strongly suggest you find a guide or installation instructions for your specific vehicle. Speaker manufacturers and other services offer these kinds of sheets that can make a huge difference in ensuring you don’t damage your vehicle and get your speakers installed properly.
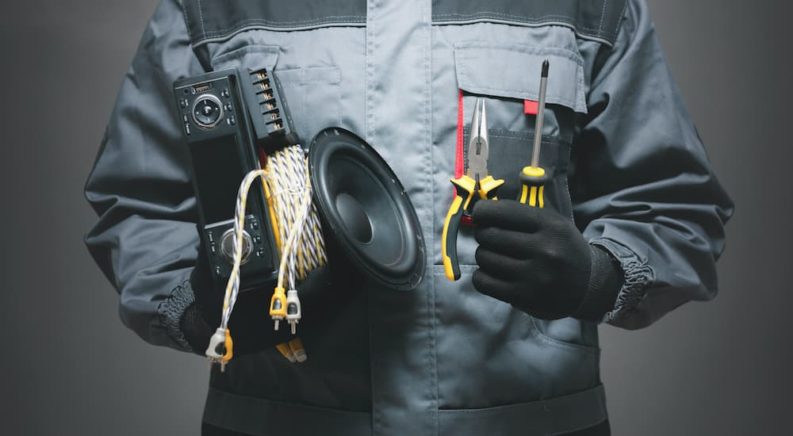
Also, before you start doing anything else, get ready to install and make sure you have everything you need. Lay out all of your speaker parts to ensure you have everything, and get your tools together. You’ll probably need a couple of different types of screwdrivers, as well as Torx drivers and bits, and Allen wrenches. Have a drill with large bits to cut holes with, a wire cutter/stripper tool, crimping tool and connectors, and a panel removal tool. You should also have electric tape, a hobby knife with a sharp blade, and some other items specific to your setup.
Finally, before you do anything else, when you’re going to install new car speakers, make sure your vehicle is on even ground and that your parking brake is on. Then, disconnect the negative terminal of your car battery. This will ensure you don’t short circuit anything and avoid draining your battery while having your car door open and working on the installation.
Remove the Old Speakers
Now, before you can install new speakers, you will likely need to remove the old ones. The way you do this depends on a number of factors: the location of the speakers, the way they were installed, and how many you’re replacing. You might be replacing speakers on the front dashboard, in your vehicle’s doors, in the rear area behind your back seats, or some combination of all of the above.
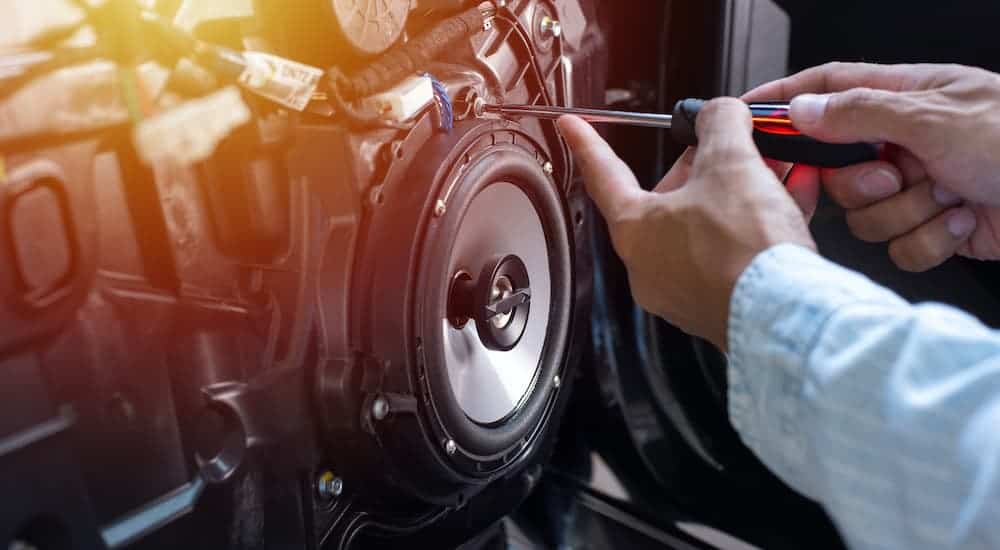
Front dashboard speakers can be pretty easy to remove, usually requiring nothing more than the removal of the grilles covering them. These are typically held in place by screws or friction fittings. A screwdriver will get the screws out, and you can use a panel tool for popping off the grille if it uses friction fittings. Then remove the old speakers, and pay attention to the polarity of the terminals connected to them.
Removing door speakers takes more work, and you often need to remove the door panel to get to the factory speakers. If you have a manual window with a crank, you’ll need to start by removing the hand crank – it will usually have either a screw or a spring clip holding it in place, and you’ll want to use a retaining clip tool to remove it. For a power window, you’ll probably need to disconnect a cable before removing the panel, though this depends on your vehicle.
Once you have done that, there will probably be a few screws or retaining clips holding the panel onto the door. Remove these, and then use a trim panel tool to pry the panel off your door. This isn’t particularly difficult, but be sure to take your time to avoid damaging the panel. Then you can remove the factory speaker in much the same way as the one in your dashboard; just look for screws and other connectors holding it in place.

Install the New Speakers
This is the tricky part, and where you’ll want to make sure you absolutely know what you’re doing. It’s really best to have a guide for your specific make and model. You might be able to install your new speakers where the old ones were, but this depends on many different factors. If you’re installing additional speakers, like replacement woofers and new tweeters, you may need to drill a large hole in the door panel for the new speakers to install into.
Be sure you watch for anything in the door that can get in the way, and you’ll want to plan this out before doing any cutting. It’s a good idea to get baffles to install behind your speakers to avoid unwanted vibration and improve overall sound quality. Once your speakers are properly in place and installed, then do one more thing before you put it all back together.
Make Sure it Works
It’s easy to forget about this, but you can save yourself a lot of headache by ensuring everything is connected properly before reassembling all the trim pieces on your car. Start your car (remember to reconnect your battery) and listen to your new system. Don’t worry about fine-tuning settings or anything, but make sure the speakers are working properly.
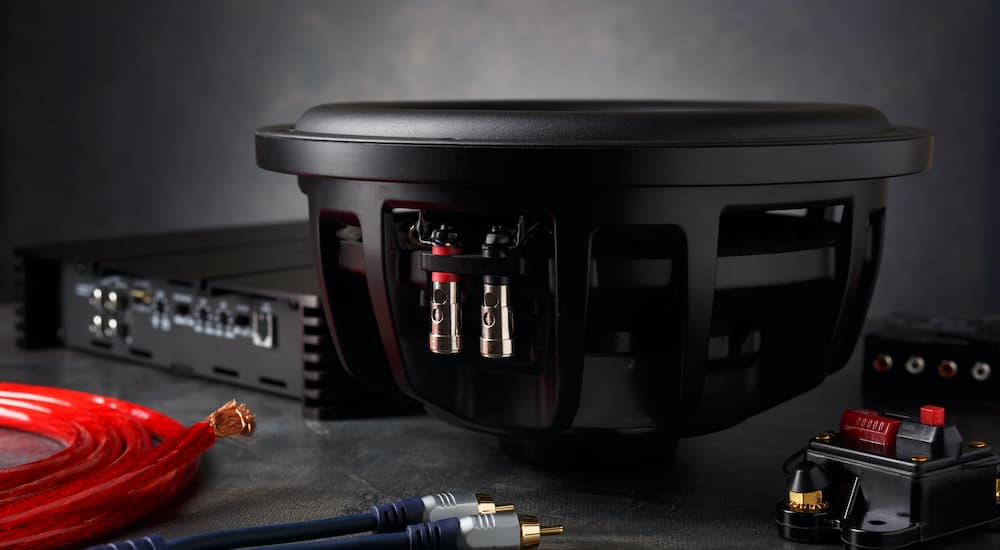
Then disconnect your battery again, and replace the door panels or anything else you removed during installation. If you are adding a subwoofer to your vehicle, this process can be quite simple since you’ll often keep it in the rear seating area or trunk. Just remember to get a high-quality subwoofer enclosure, or have a professional make one custom for your setup. This will improve your bass sound and make for a much more enjoyable, richer listening experience.

