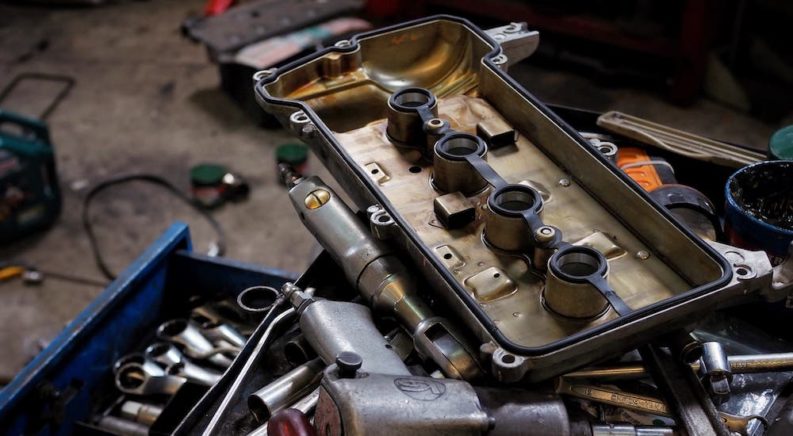
A leaking valve cover gasket could be caused by the gasket itself failing or other causes such as excessive oil pressure. In this case, we will be looking at how to change said valve cover gasket as part of Toyota Camry Service, which will usually solve any leaking issues. Depending on the year and trim level of your Camry, your car could either have one or two valve covers and thus one or two valve cover gaskets. Generally speaking, cars with V6 engines such as the older Camry’s VZ or MZ engines will have two heads, each containing the valvetrain for a separate bank of cylinders. The same is true of the more recent 2GR series of V6 engines that continue to power modern Camrys. Inline-four engines, by contrast, have a single head and thus a single valve cover, making this operation potentially much easier. In any case, the valve cover is the topmost part of the engine, excluding any plastic cover pieces on modern engines.
Possible Causes
Why a valve cover gasket might be leaking could be due to a few problems, ranging in severity. On a vehicle like an older Toyota Camry approaching 200,000 miles or more, it is entirely possible that the gasket has simply worn out after decades of service. While not an engine death knell, the valve cover does protect your vehicle’s valvetrain, which opens and closes the valves that allow the engine to run. This area not receiving the proper oiling will cause more damage over time, so any valve cover gasket leak is best addressed as soon as possible. In some cases, a leak could be caused by something as simple as a bolt on the valve cover coming loose, but more often than not, the gasket should be replaced.
Tools
Simple hand tools are all that is required for a valve cover gasket replacement, and the area to be worked on is very easily accessed via opening the hood. The specific tools generally required for this task are a ratchet set, a plastic scraper, and a rubber mallet. If available, a torque wrench will ensure everything is perfectly torqued to spec when the new gasket has been installed, and the job is done. The ratchet set will be the primary tool, undoing the bolts holding the valve covers on, allowing the gasket to be changed. The rubber mallet will come in handy to loosen and unseat the valve cover during the removal process, as any part that hasn’t been removed in decades has likely more or less fused onto the engine. A plastic scraper could also come in handy to remove the sealant and debris left from the old gasket.
Parts
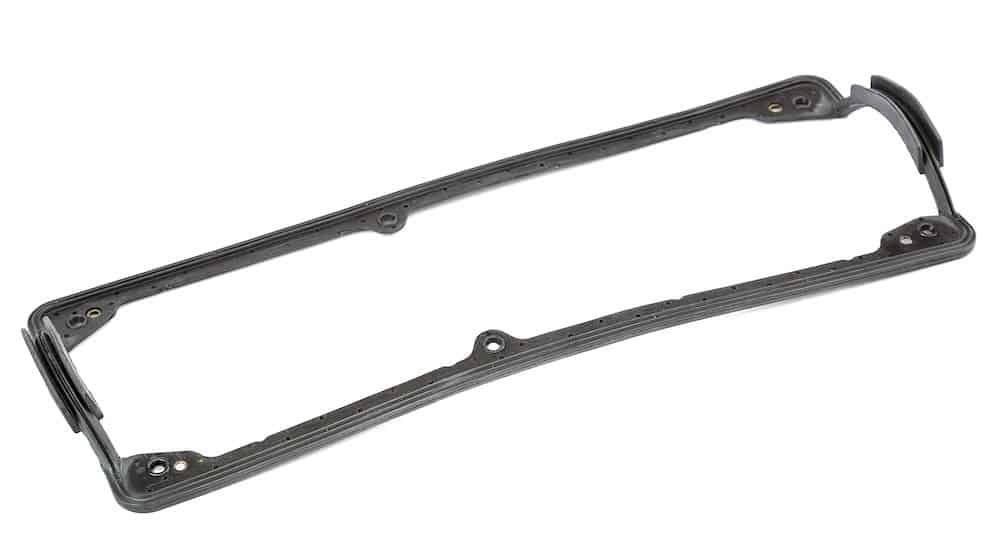
The parts for this operation are just as simple and easy to find as the tools. The required parts are a new valve cover gasket and sealant when applicable. A service manual, which you can easily source online, will give specific instructions on this operation and tell you exactly what is needed to complete it. A new gasket or gasket set for any model year Camry should be easy to find via an autoparts store or an internet search and is the primary part that needs to be replaced when the gasket is leaking. The sealant will seal the new gasket and keep it from leaking, though it should only be applied per the service manual instructions.
Preparation
To prepare, first make sure the engine is cool. Do not, under any circumstances, attempt this operation when the Camry in question has been running recently. Gather the required parts and necessary tools, and make sure to go through the steps of the operation through the service manual beforehand. Naturally, the service manual’s advice takes precedence over other information, but if you can find videos or photos of someone working on your exact engine, then it can be a big help in making the procedure painless. This is especially true for an older Toyota that may require more effort to remove and install parts. While safety glasses are not necessarily required for this operation, gloves would be a good recommendation, especially those with some amount of protection in the fingertips. While not an overly dirty job, replacing the valve cover gasket will leave your hands coated in old and new oil, and gloves can both protect from sharp metal edges and simple grime.
Removal
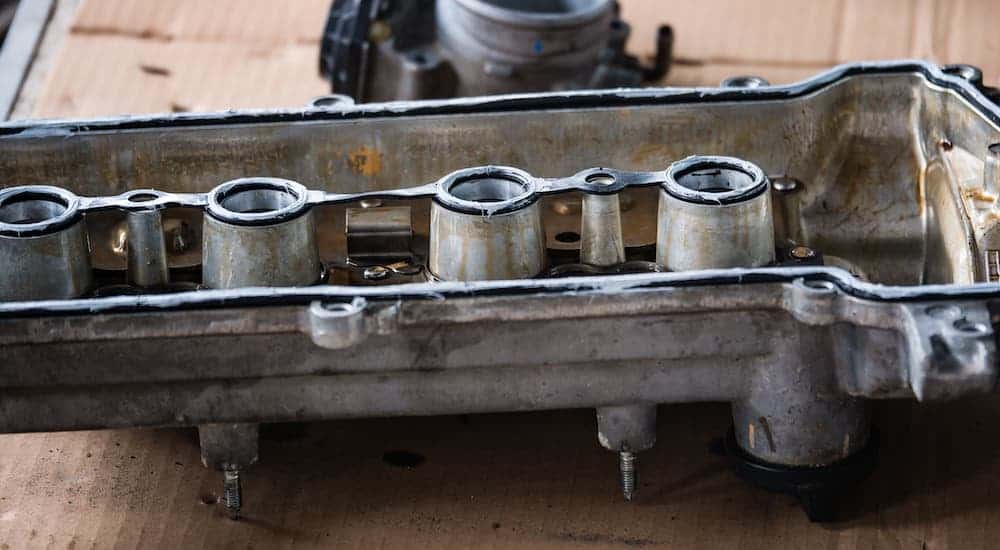
After thorough preparation, open the hood and begin following the service manual’s instructions. For Camrys with V6 engines, these steps will need to be performed on both heads of the engine. Find the bolts holding on the valve cover, and loosen them with the ratchet set. Once loosened, remove them and set them aside in a safe and easy-to-find location, as they are required to put everything back together. Use a rubber mallet to tap the valve cover loose and remove it by hand. The valvetrain and cams will appear underneath, and the gasket will be the thin seal resting on the perimeter of the head. Remove this by hand, using the plastic scraper if it does not want to be removed easily. Scrape away any previous sealant as well, making sure that there is nothing but clean metal remaining. Leaving any sort of debris can prevent the new gasket from sealing correctly.
Replacement
Following the instructions of the service manual, apply sealant and install the new valve cover gasket. Once this is done, reattach the valve cover itself, and put the bolts back in place, but only finger tight. If a torque wrench is available, torque down each bolt to the specified torque listed in the manual in the order the manual prescribes. If a torque wrench is not available, simply follow the same procedure and tighten the bolts manually. The use of a torque wrench is strongly advised, as there is always a risk of over-torquing the bolts and damaging the valve cover if they are tightened manually.
Testing
Once the bolts are tightened, allow the sealant to solidify according to the instructions. Only after that is complete can you start the car and check to see if the newly installed gasket has sealed properly. It should remain as clean as a whistle. Top off the car’s oil to counteract any that was lost due to the previous leakage, and close the hood. The operation is now complete.
Cleanup
Put away your tools, clean the workspace, and properly dispose of the previous gasket. Now your Camry is once again right as rain and will no longer leak oil through a compromised gasket. This overall operation should be quite straightforward, despite it technically being engine work. A replaced valve cover gasket can help keep your Toyota Camry’s engine going for years to come, thanks to better lubrication and less leakage.
Conclusion
While a leaking valve cover gasket can be caused by a large number of potential factors, the process of replacing it is pretty straightforward. Whether your Camry is old enough to have a distributor or new enough to have a plastic cover over the actual engine, the overall steps to replacing the valve cover gasket remain largely the same. More complex maintenance items like this can be daunting, but doing them yourself leads to a certain amount of pride in your skills and potentially even in your vehicle. Because while it takes parts and tools to keep a car running, it also takes a person.