When it comes to vehicles, one of the essential components of operation is the battery. Although it is not the only factor required for the vehicle to start, it is one of the simplest parts to change. It is recommended that a car battery be changed at about every three years, which adds up quite a bit over time. When you bring your vehicle to a mechanic, you’re not only paying for the part, but for the labor as well. You could save a lot of money by learning how to change a battery at home.
You will need a few different tools in order to change your car’s battery, but they are common tools you may already have. You will need either a socket wrench with various-sized sockets, an adjustable wrench, or a set of wrenches that can maneuver in the space around the battery terminal. You may also need a set of adjustable pliers and a hammer for tough to remove bolts. The most common size nut used on battery terminals is a 10mm, though plenty of manufacturers use different sized nuts and bolts for the battery, so it is safest to get a set. You will also want to wear gloves and safety glasses whenever handling a car battery as they can be dangerous. Once you have all the necessary tools, you can begin changing the battery.
Before You Start
Always check your owner’s manual before working on your vehicle. Some vehicles have batteries that need to be changed by a professional or require special care. Large, diesel trucks normally have two batteries, which should be changed at the same time as to not drain the new battery. Keep in mind that three years is a suggestion, and many batteries last well beyond that. You can always test the battery with a multimeter (often available to rent from auto parts stores) to see if it has some life left and simply needs to be jumped or charged. Another component to check would be the terminals themselves, which may need to be cleaned. Signs of build-up or corrosion can be remedied with a simple baking soda and water solution. If you know your battery is dead, you may want to clean the terminals anyway, so your power source will be in tip-top shape.
#1 Remove Keys From Ignition
Chances are, you probably attempted to start your vehicle with no luck, or had the keys in the ignition to test the battery’s voltage. If you haven’t already removed the keys from the ignition, please do so, as you don’t want any power transferring.
#2 Locate the Battery
The next step in changing your battery would be to locate the battery. In most vehicles, the battery is located in one of the corners in the engine bay. Either in the front behind one of the headlights or in the back on either side against the window. In many modern vehicles, it’s usually inside of a rectangular plastic box. However, there is a possibility that it may not even be underneath the hood at all. Some foreign vehicles design their vehicles with the battery in a different location, such as underneath the rear seats or even in the trunk. The owners’ manual can help you if you are having trouble locating it, and if a professional is required. It is a good thing to remember to wear clothes that you would not mind getting dirty, as well as figuring out your car radio’s code if it has one. Some cars will reset the radio when the battery is disconnected, requiring the code to be entered when it is turned back on.
#3 Disconnect the Battery Terminals
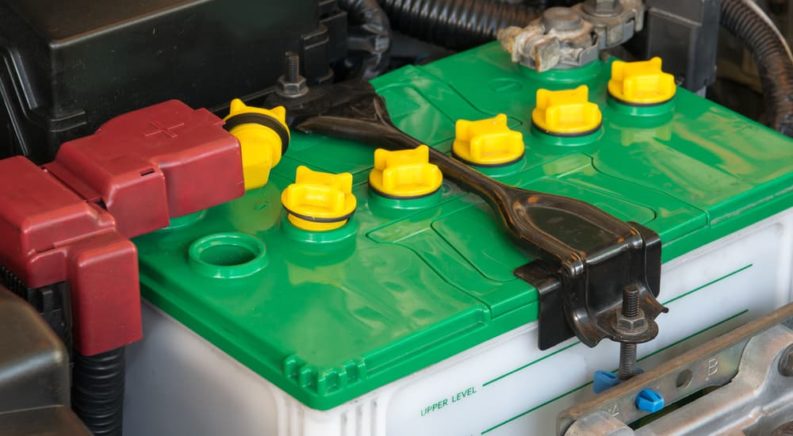
With the battery located and insight, you can begin cleaning the terminals and then disconnecting it. Take the baking soda and water solution and brush it on the terminals, then wipe it off with a rag. Hard to remove sulfate deposits can also be gently tapped with a hammer. A special terminal cleaning tool is also available for brushing away the corrosion.
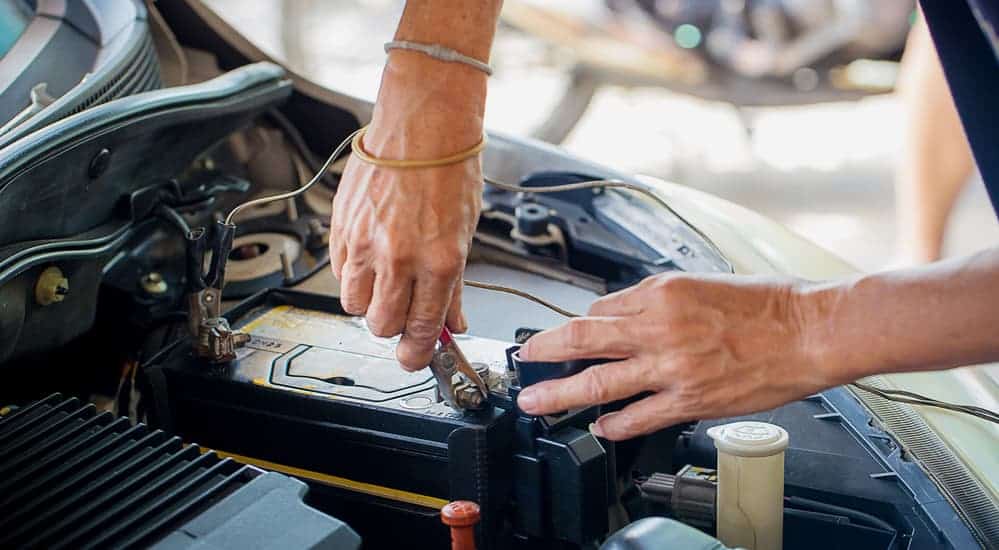
Just like a regular AA or AAA battery, a car battery has a positive and a negative post. These two posts are typically on either the top of the battery or the side of the battery. Each terminal has a bolt that must be loosened for the clamps to come off. It is advised to start with the negative (-) terminal first. The negative side is typically black and the positive red. Loosen the nut from the bolt in a counterclockwise direction while holding the head of the bolt with the pliers if necessary. It is important to avoid touching both terminals at the same time, especially with one of the metal tools, as this can cause electrocution. The best practice, especially when removing the terminal clamps, is to keep tools and nuts/bolts in a tray on the ground. Next, move the negative clamp off to the side, and proceed to do the same for the positive side. While you are removing the positive side, make sure that the tool doesn’t touch any sort of metal on the car, as this could cause the current to travel through you. Once the positive terminal is loosened, it can be removed, just like the negative terminal.
#4 Remove the Plate/Holding System
Most vehicles have a plate or bar that is used to hold the battery in place. This must be loosened and removed. If you are lucky, the var or plate goes over the battery will have the same size nut or bolt as the terminals and can be easily loosened with a wrench and removed. If you’re even luckier, it will be held on with a wingnut you can unscrew by hand. However, some vehicles place the bolt for the holding system on the underside of the battery harness. If this is the case, you are going to need a skinny and long socket extender. Once the bolt is loosened enough, the plate can be moved out of the way.
#5 Remove the Battery
Once the plate has been removed, the battery should be able to be pulled out. Keep in mind that the battery is relatively heavy could be leaking fluid. Battery fluid is very corrosive and can destroy clothing and burn your skin. Be sure you’re wearing your protective gloves and glasses. Once the battery has been removed, it is a good idea to clean off any remaining residue and grime with the baking soda mixture. After you have finished cleaning, it is imperative to let everything dry out before installing the new battery, as water and electricity do not mix well.
#6 Place the New Battery

With the terminals nice and clean, you can go ahead and place the new battery in. Be sure to match up the positive and the negative sides, which are color-coded red and black, respectively. Wiggle it around a little bit to ensure that it is centered, and then replace the bar or plate. If it goes over the top, swing the center bar around, then secure the loose screw. As a final test, give it a few good wiggles to see if it moves at all and tighten it more if it does.
#7 Reattach the Terminals
Once the battery is tightly secured, the terminals can be placed back on. Most new batteries will have small colored plastic caps over the posts. You must remove these before attaching the terminals. It is also advised to apply a little bit of anti-corrosive spray to the battery posts, as this will help protect against future corrosion. Next, reattach the terminals one at a time, starting with the positive (+) terminal first. Once the positive terminal is securely attached, the negative (-) terminal can be replaced. Make sure you did not leave any tools in your work area before you close the hood.
#8 Start the Ignition
The easy part is here because it’s time to start up your engine. Your clock and radio settings may need to be reset, or a password entered. If the vehicle still does not start, there are other potential causes that can be checked out. One final step is to dispose of the battery properly. The store you purchased the battery from may take in the old one, or certain service stations will dispose of it for a fee. That’s all there is to it. Now you can change your car’s battery from home and avoid another trip to the mechanic.