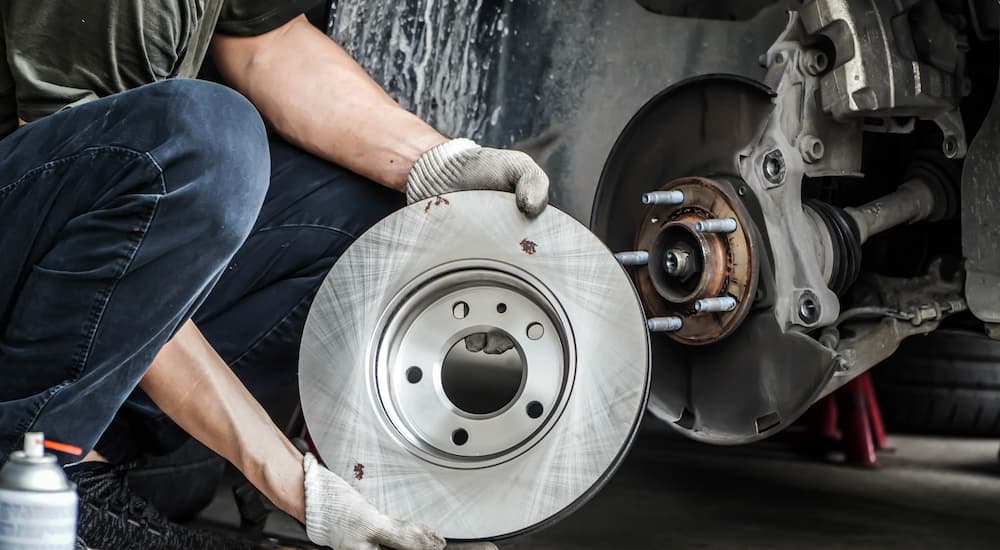
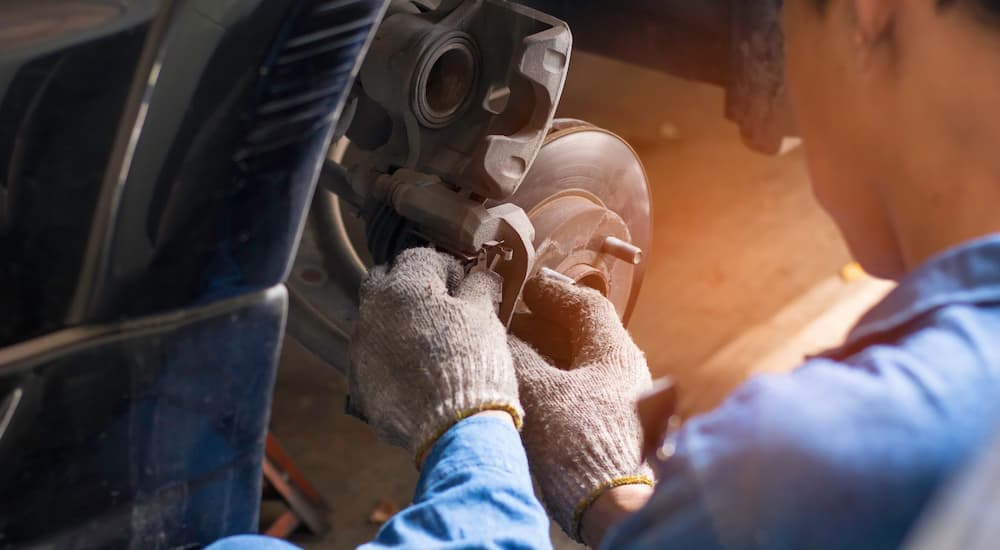
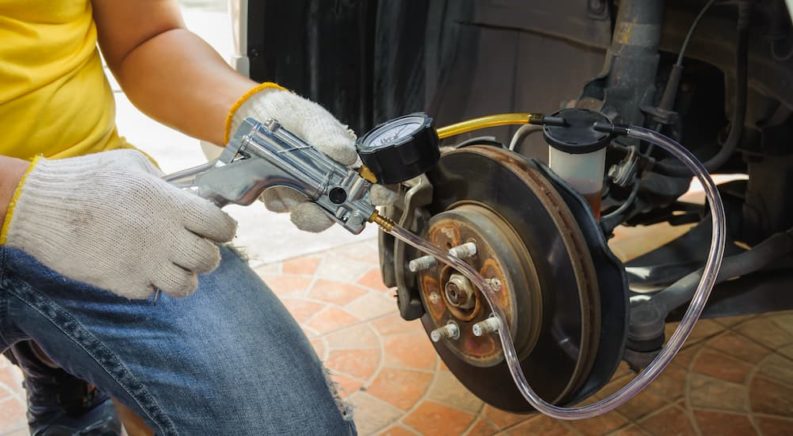
Given their role in bringing your two-ton car, truck, or SUV to a stop, you can really never be too careful ensuring your brakes are in good working order. We all know the standard maintenance checklist when it comes to the brakes—keeping an eye on brake fluid, replacing brake pads every 20,000 miles, and brake rotors every 60,000 miles—but surprisingly few drivers have even heard of one of the most important brake-related tasks: brake bedding.
Also known as breaking in, conditioning, or burnishing, brake bedding is an integral part of ensuring your new brakes are ready for the road. While some drivers choose to break in their new pads and rotors through the course of their daily driving, skipping brake bedding could land you in a sticky situation that’ll have you searching the web for “brake service” from the breakdown lane.
So why is brake bedding so important, how is it done, and when should the procedure be performed? We’ll discuss all that and more as we discover how a few minutes spent pumping the brakes can really pay off in the long run.
What Is Brake Bedding?
So, what is brake bedding in the first place? To answer that, we’ll have to take a moment to get into a little Braking 101…
Every time you step on the brake pedal, hydraulic pressure causes the brake calipers to compress. This movement brings the brake pads—which are attached to the calipers—in contact with the brake rotors, which are attached to the wheels themselves. The resulting contact creates the friction responsible for bringing your vehicle to a stop.
But brakes don’t always perform their best when they’re fresh out of the box—and that’s where bedding comes in. Brake pads are built with a thin film known as a transfer layer that’s deposited onto the surface during the last stages of production. The transfer layer plays an important role in the braking process, designed to bolster the friction-inducing properties of the pads and rotors. Brake bedding is all about getting this film to properly transfer from the brake pads to the surface of the brake rotors, which not only improves overall performance but also extends the lifespan of the brakes themselves.
While the specific steps vary between brake pad manufacturers, bedding usually entails a series of moderate and aggressive brake applications; this process allows heat to build up within the rotors and brakes, creating the ideal conditions for the transfer layer to partially melt off of the pads and adhere to the rotors. Once this process is complete the brake pads and rotors should be perfectly mated, ensuring a seamless, even grip in even the toughest braking conditions.
Why Is It Important?
If you’ve been getting by with the natural breaking-in process, you might be a little dubious about brake bedding, but there are some concrete benefits that every driver should be aware of before skipping out on the procedure entirely.
First off, brake bedding simply allows brakes to reach their full potential. Brake pad and rotor manufacturers design their products to be conditioned via the brake bedding method, so if you’re looking to take advantage of any of the performance or safety advantages listed on the box, it’s important not to skip this step. Failure to follow the proper brake bedding procedure can cause all sorts of performance issues, from poor stopping power and increased noise to uneven pad wear and more.
Simply jamming on the brakes at the first couple stop signs you pull up to after a recent pad and rotor replacement is not enough. In fact, running the brakes too hot or overtaxing them shortly after installation can cause the transfer layer to stick to the rotor a little too well, creating a bumpy, undulating surface that results in the dreaded “brake judder” vibrations.
This sensation will often flow right up through the suspension and steering wheel, resulting in distracting vibrations that let you know the brakes need a little TLC. Brake bedding also goes a long way toward improving overall pedal feel, extending the life of the pads and rotors and reducing the grimy brake dust that can quickly mar a shiny set of wheels.

How Is It Done?
So, how exactly is brake bedding done? It’s not about slamming on your brakes as hard as possible; rather, it’s a slow, gradual process that’ll see you perform a range of mild and aggressive stops from various speeds ranging from 45 to 60 mph. Read on as we take you through this process step-by-step and learn how easy it is to get the most out of your brakes.
1) Before you begin the brake bedding process in earnest, you’ll want to find a good, clear stretch of road without any traffic. This can be hard to come by in some more populated areas, but when in doubt, find a nice empty parking lot. If performed correctly, brake bedding shouldn’t result in sudden brake failure, but it’s best not to take any chances on the open road.
2) To start, perform three to four moderate stops from 45 mph. In these early stages, your braking should be slightly more aggressive than the stops you’d perform under normal driving conditions, but you certainly don’t need to slam the pedal to the floor. This approach will gradually bring the brake rotors up to the proper temperature, preventing the sort of sudden thermal shock that can result in failure. Don’t worry about coming to a complete stop every time you break (dropping to 10-15 mph should be fine), and then move on to the next step.
3) Now it’s time to really give your brakes a wake-up call. Make eight to ten aggressive stops from 60 mph, but not so aggressive that the wheels lock up and the ABS is activated. Avoid coming to a complete stop after each pass, too; rather, slow to around 15 mph and then immediately accelerate back up to 60 mph. These sudden, high-speed stops will cause the brake pads and rotors to reach a high temperature and allow for the sort of transfer of pad material that you’ll be looking for. It can also cause some noticeable vibrations and uneven braking, so be careful.
4) As you work through these aggressive stops, you might notice a little brake fade starting to occur; this should dissipate over time, but it’s important to be extra careful when braking under such conditions. Brake fade—which essentially describes a temporary and sudden reduction in braking power—can be scary, but it’s all part of the process. Brake bedding will certainly lead to improved performance over the long term, but at this stage, it can make for some less-than-convincing stops.
5) Once you’ve completed eight to ten aggressive stops, it’s time to let things cool down and adhere. The brakes are going to feel a little soft, so keep coasting for five to ten minutes and try to use the brakes as little as possible.
6) When you’re dealing with an entirely new set of brake pads and rotors, one brake bedding cycle should be sufficient. If, however, you’re running old brake pads and new rotors—or old pads with new rotors—you might want to give the whole process another go-around. That said, most experts advise replacing brake pads and rotors at the same time; this not only ensures optimal performance but prevents worn pads from prematurely aging new rotors and vice versa.
7) After the bedding procedure is complete, pull over and take a look at your freshly conditioned brakes. In many cases, there might be a noticeable blue tint of transfer film on the rotors, which is a good sign that the parts reached a sufficiently high temperature during the brake bedding process.

Commit Yourself to Regular Brake Bedding
According to a 2015 study from the National Highway Traffic Safety Administration (NHTSA), as much as 22% of all collisions can be attributed to brake-related problems. That adds up to more than 300,000 brake-related accidents every year, which is a sobering reminder of just how important proper brake maintenance can be.
We’re not saying that all of these incidents could have been prevented by following the correct brake bedding procedure, but when you’re regularly flying down the road at 70-plus-mph, it’s important to give yourself every advantage in the book to improve your safety.
Brake bedding is a free and relatively quick process that will pay some concrete dividends, maximizing braking performance while also extending the life of your pads and rotors. Less than thirty minutes spent carefully applying the brakes and various speeds is a small price to pay for peak performance and will set you up for success every time you step on the pedal. Once you learn how to properly bed your brakes, you’ll never again lose sleep over your vehicle’s stopping performance.

