Any DIY mechanic would agree that self-reliance is an important life skill. The ability to be able to handle some car repair jobs for yourself helps you gain a better understanding of the condition of your vehicle and can save you money. While there are some repairs on your car that you may want to let a certified mechanic address, there are more common, smaller issues that pop up over the course of vehicle ownership. With a little bit of knowledge and the right tools, you can handle these maintenance jobs yourself. Changing your brake fluid is one such job. This way, you can save yourself a little bit of time and money and save the big jobs for the experts. Here are the tools you will need to get the job done right.
Siphon Pump & Brake Fluid
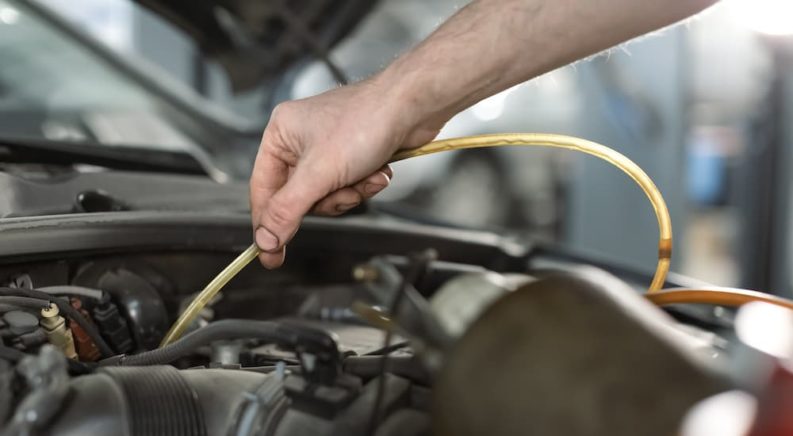
The first tool you need to procure when embarking on the quest to change your vehicle’s brake fluid is a siphon pump. This is utilized to empty the brake fluid reservoir as a precursor to a process known as “flushing your brakes,” where you drain the brake fluid from your brake lines. Emptying the brake fluid reservoir ensures that no more old brake fluid from the reservoir flows in as you bleed the lines. To do this, simply stick the siphon hose into the brake fluid cylinder underneath the hood of your car and use the pump to drain it all out.
Now there are some DIY experts that will say that you can use a simple turkey baster in place of a siphon pump. Technically this is true. However, utilizing a simple tool like a turkey baster makes it difficult to clear all of the brake fluid from the cylinder, leaving you with more work and more mess. When it comes to DIY automotive repair, it is important to do the job the right way, using the right tools in order to achieve the right outcome every time.
Once all the old brake fluid has been siphoned from the reservoir, you will need to refill the car with fresh brake fluid. There are a few different types of brake fluid, so make sure you use the correct type for your car. You should never use a DOT 5 fluid in any car that was designed for DOT 3 or DOT 4 fluid as it can interfere with ABS systems. DOT 4 fluid can be used in a car that had DOT 3 and may improve braking performance, but DOT 3 fluid should never be used in a car that was designed for DOT 4 fluid.
Jack and Jack Stands
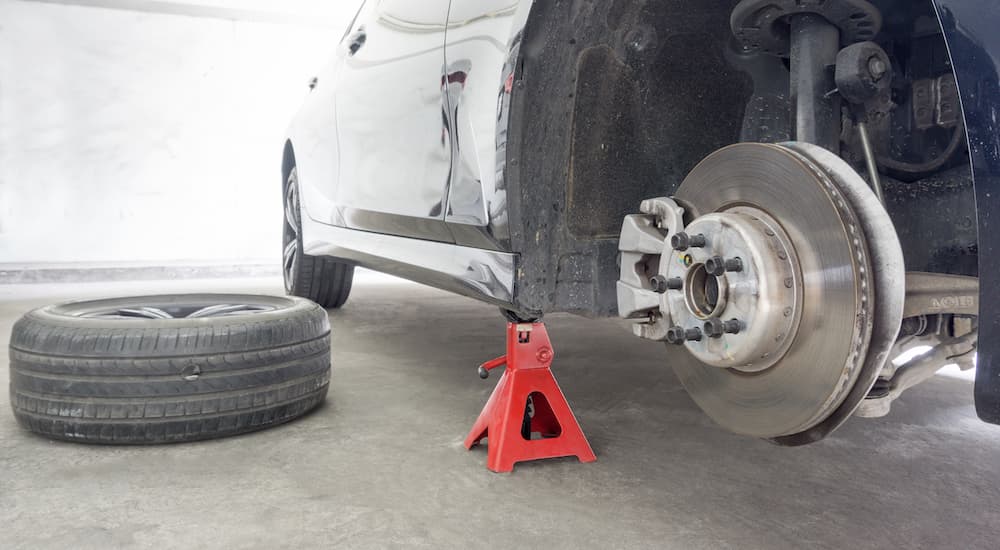
After you have emptied the reservoir of brake fluid, the next step is to flush the brakes. To begin, you must locate the bleeder screws on your vehicle’s calipers. However, in order to access these screws, you will need to remove your wheels. The first step is to secure a jack under the frame and lift the car in order to remove each wheel. (Pro-tip: slightly loosening each lug nut before using the jack makes the process of removing the tires easier.) While a simple bottle jack will do, hydraulic floor jacks are highly recommended due to their maneuverability and ease of use.
Each wheel has a caliper, which connects to a different brake line. Each brake line must be bled in a specific order according to the manufacturer. Generally, you want to bleed the caliper that is furthest from the master cylinder first and then work your way closer. However, be sure to consult your model’s service manual to determine which order to bleed your lines. Once you have determined this, jack up the first corner of the car and support the vehicle on jack stands. Never support a vehicle with a jack alone, and it is not a bad idea to stick the wheel you removed back under the car as an additional failsafe.
Wrench, Rubber Hose, and Bottle
Once the reservoir has been refilled, the bleed order has been determined, and the first wheel has been removed, you are ready to begin bleeding the lines. While there are ways to do this solo, it is much easier and doesn’t require as much specialized equipment if you have a second person to help you.
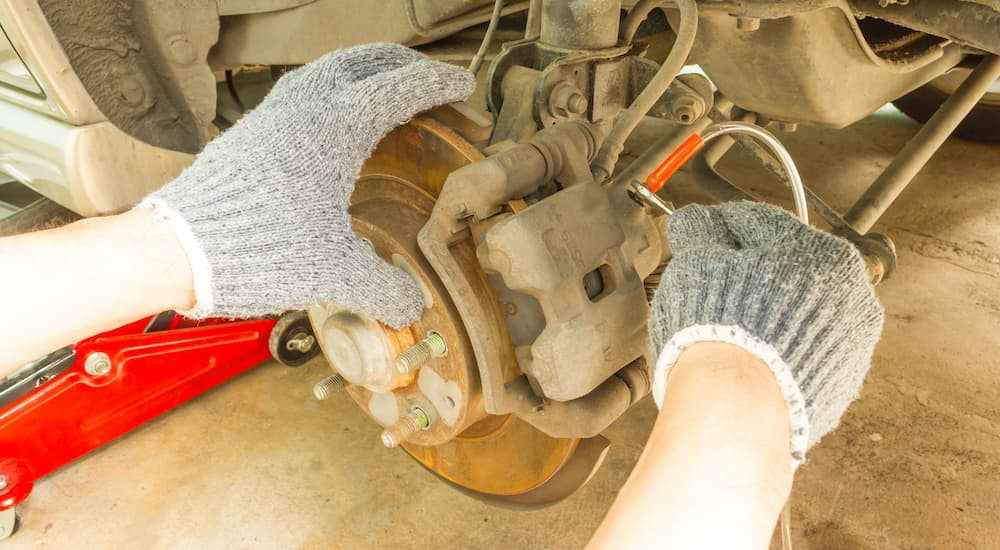
Place the end of a clear rubber hose over the bleeder screw. This will catch the fluid as it runs out. Run the other end into a catch basin or something that can hold fluids, like a water bottle. The person helping you should now gently pump the brakes a few times until the pedal gets stiff. While they hold the pedal down, you use the wrench to loosen the bleeder screw. Once you do this, the fluid will begin to run from the bleeder screw, through the rubber hose, and into the catch basin. The old fluid will be a dark brown color.
Good communication is key for making this as expedient as possible. If your partner notifies you just before the brake pedal bottoms out, you can tighten the bleeder screw and reset the brake to repeat the process. It is also important to keep an eye on the brake fluid reservoir as you do not want it to drain past its “minimum” level. If this happens, you can get air in your brake lines and will have to start the whole process over again. You also must pay attention to the color of the fluid being pumped through the hose and into the bottle. Once the dark brown liquid running through the hose is replaced by a much lighter color liquid, you have successfully flushed out all the old fluid.
Once you have flushed the brake line, you are ready to put the wheel back on and lower the car off the jack stands. You can now repeat this process on every remaining wheel in their specified order. Once you have done this, you will have successfully changed the brake fluid in your automobile.
Final Inspection
Once you have changed out your brake fluid, it is important to do a thorough inspection of the final result. Walk around to each individual wheel and check the lugnuts. Make sure that none of them are loose. Having a loose wheel could cause serious injury and damage, so it pays to be certain that each lug is tightened to manufacturer specifications. After you’ve inspected the tires, ensure that you have refilled the reservoir with fresh brake fluid. While a small detail, it is important to ensure that you double-check. If the reservoir is empty, it will put air into your brake lines, which could cause your brakes to fail or rupture a brake line due to excess pressure.
The final step is to take your vehicle for a short test drive; just up and down your driveway will do. Check your brakes to ensure they are not soft, and ensure that your vehicle stops and that your brakes are functioning properly. Once you put the vehicle in park, look around your tires to ensure no fluids appear to be leaking out. Once you check all of the boxes on the checklist, you will have successfully changed your automobile’s brake fluid.
Just remember, when it comes to auto maintenance, there are a lot of shortcuts and tools that can be used to complete the job faster. Please ensure that the tools you use are the recommended tools for the job. There are lots of places in life where taking a shortcut is acceptable. Servicing your vehicle isn’t one of them.