If you’re an avid off-roader, you know the value of good ground clearance; putting a little extra space between your vehicle and the road can mean the difference between a successful excursion and one that ends in frustration. Coil spring spacers can add between 10 and 12 mm of ground clearance, while a set of upsized tires can give you an extra inch or two of lift—but when it comes to maximizing ground clearance, it’s tough to do better than a lifted truck.
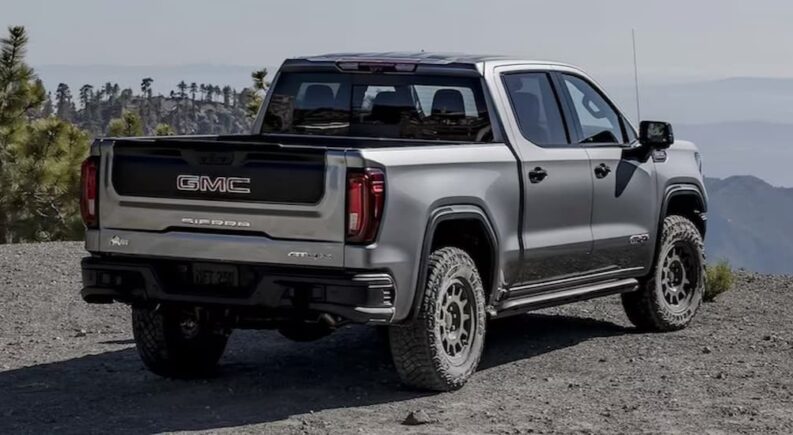
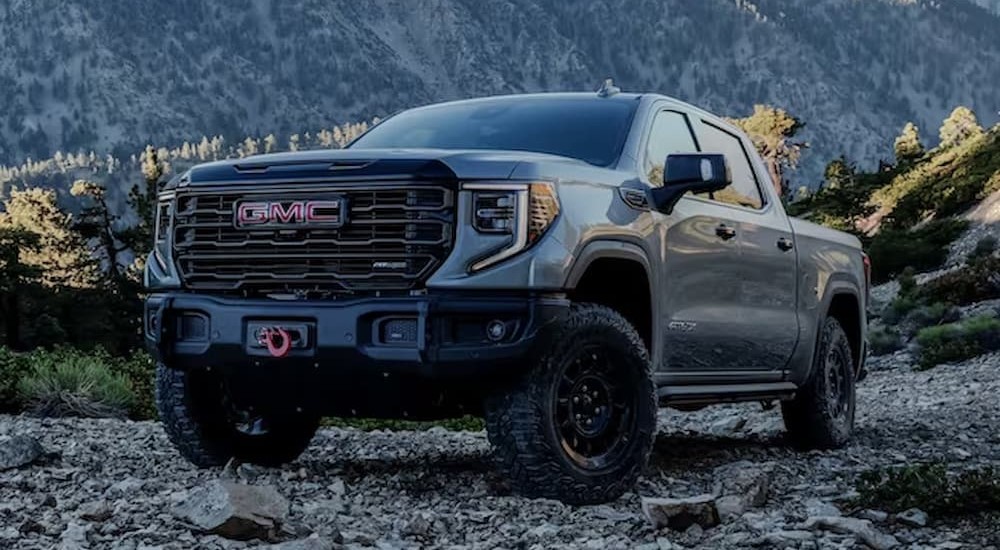
It’s not the easiest modification you’ll ever undertake, but it can go a long way in transforming a stock pickup into the off-roading rig of your dreams. There are plenty of lifted trucks for sale on the market today, including factory-lifted off-road models from some of the industry’s top automakers; take the GMC Sierra 1500 AT4 and AT4X, for example…
Designed with a full arsenal of rugged off-road equipment ranging from Rancho monotube shocks and a two-speed Autotrac transfer case to an automatic locking rear differential, underbody skid plates, and more, these trims transform the already-capable Sierra 1500 into a true off-road contender—but it’s the two-inch factory lift that completes the package.
The AT4 and AT4X trims are part of a growing trend of off-road-focused pickups, but if you’re trying to improve functionality on challenging terrain, you don’t have to wait for auto execs to give your preferred pickup the off-road treatment. Adding a few extra inches of ground clearance is as easy as finding the right lift kit, investing in the proper equipment, and carving out a few hours in the garage. Join us as we review the basics of DIY truck lifting, explore the difference between body and suspension lifts, and cover some of the finer points of the lifted lifestyle.
Body Lift vs Suspension Lift
Generally speaking, lift kits are divided into two categories: body lift kits and suspension lift kits. We’ll start with a body lift kit, which is the least expensive and time-consuming of the two. A body lift kit is essentially just a set of spacers used to elevate the truck’s frame away from its suspension; while this results in a higher truck body, the suspension remains at the same height, which means there’s no actual increase in ground clearance.
A body lift kit might help a truck achieve a more imposing stance, but it doesn’t actually add a whole lot in the way of functionality. A body lift kit can allow a truck to run on larger off-road tires (typically up to 33 inches) and is significantly less expensive than a full suspension lift, with prices ranging between $100 and $500. A body lift will also affect a pickup’s comfort and handling less than a suspension lift, which makes it a more practical choice for those who are still hoping to use their truck as a daily driver.
However, if you’re looking to dramatically improve a truck’s ground clearance, there’s no beating a suspension lift kit; these create more spacing in the factory suspension or simply replace the stock suspension with an entirely new setup. They include all the parts you need to jack your truck well-clear of obstacles, with components ranging from taller coil springs and spacers to torsion bars or keys, lift blocks, shackles, and—in some kits—even new shocks, bushings, and control arms.
A suspension lift kit can elevate a truck far higher than body lift kits, giving it a towering facade and allowing for extra-large tires while significantly increasing off-road performance. Suspension lift kits are the go-to choice for hardcore off-roaders who know the importance of ground clearance and suspension articulation, but they don’t come cheap. Priced between $1,000 and $4,000, a suspension lift kit also represents a significant investment in terms of time, with the typical DIY job clocking in between 15 and 30 hours. A professional can get the job done in as little as eight hours, but you can expect to pay upwards of $6,000 to $8,000 for the convenience.
We’ll also take a moment here to mention a third type of lift kit: a leveling kit. While not as common as suspension or body lift kits, leveling kits come in handy when you purchase a vehicle designed with a noticeable front-to-rear rake (which means that the rear of the truck sits slightly higher than the front); this design is intended to compensate for the rear-end drag a truck can experience when towing or hauling a heavy load, but it can be a bit of a hindrance when it comes to off-road driving.
A leveling kit allows drivers to level out the front of their pickup, which increases the clearance between the front bumper and the road. While these leveling kits are relatively affordable at $200 to $600, they usually don’t provide as dramatic of a lift as you’ll enjoy with a full suspension lift.
Getting Prepped
Once you settle on which type of lift kit you’re going to install, you need to find a kit designed for your specific make and model. Pickups can vary pretty widely when it comes to their design and suspension architecture, so make sure to read the fine print and confirm the lift kit you’re shopping for is going to be a good fit.
Once you have your lift kit in hand, it’s time to gather your supplies and plan your attack. As we mentioned above, a DIY lift kit installation is no small task, so it’s important to carve out enough time to get the job done right. While the 15- to 30-hour timeframe we quoted above might not seem too daunting, we certainly wouldn’t recommend trying to complete the job all in one go.
At the very least, you should carve out at least a full weekend in the garage to complete a full suspension lift, whereas a body lift or leveling kit could conceivably be installed in a few hours. For this article, we’re going to focus on the process of installing a suspension lift kit, as it’s usually the most impactful for improving overall ground clearance.
Installing a lift kit on your pickup doesn’t require a ton of special equipment, so a well-stocked automotive toolbox should be all you need. At the very least, you’ll need to ensure you’re outfitted with jack stands (and a vehicle jack rated for your truck’s weight), a socket wrench, a lug wrench, a screwdriver, and a torque wrench. The last tool is particularly important as there will be a number of components that need to be tightened down to a specific tension.
In addition to these garage basics, you’ll probably want to break out a pry bar and hammer for removing stubborn old parts, extra nuts and bolts, and WD-40 or a similar penetrating oil product to loosen seized joints. Aside from that, a little caffeine and elbow grease—and a lot of patience—should be all you need to get started.
An Installation Step-by-Step
The first step in the lift kit installation process will be to disconnect the truck’s negative battery cable, which will prevent the battery from shorting out should you accidentally complete the circuit while working under the hood. Installing a lift kit will necessitate removing the wheels to gain access to the truck’s suspension, so before you jack it up, loosen the lug nuts to make removing the wheel just a little bit easier.
Once the lug nuts are loose, use the jack and jack stands to get the vehicle off the ground. It’s important not to rush this part of the process because you want to ensure the truck is nice and level; this won’t just make the vehicle easier to work on but safer, too. When your truck is safely elevated to the proper height, remove the wheels and set them aside—then the real fun can begin.
The first part of any suspension lift kit installation is to remove all the old components that you’ll be replacing; this will typically include the U-bolts, stock shocks, and springs. The specific procedure varies based on the design of the suspension and the lift kit you’ll be using, so when in doubt, refer to the instructions that came with the kit itself. Once you have all the old parts removed, it’s time to attach the new U-bolts, shocks, and any other upgraded suspension elements that were included in the kit.
When installing these parts, tighten them to a point where they’re firmly attached, but don’t overdo it. Before moving on, you’ll want to revisit every bolt using the torque wrench to ensure everything is tightened to the correct specifications. The specific tension of each bolt should be listed in the lift kit instructions and should never be ignored; over-tightening a bolt can damage the threads, while under-tightening can cause a vital component to break free at an inopportune time.
Once all the new suspension components are attached, it’s time to reinstall the tires. The improved ground clearance that comes with a suspension lift also allows for the installation of larger tires, so if you really want to maximize your ride height, take this opportunity to fit your truck with some upsized rubber while you’re at it. With the tires installed, use the jack to slowly lower the vehicle to the ground and enjoy the view from your new lifted cabin.
That covers the basics of suspension lift kit installation, but depending on the scale of the job, you might still have plenty of work ahead of you. In some cases, a lift kit might also require the installation of a longer driveshaft, a transfer case, or other components that are appropriately sized for your new setup.
Unless you’re a grizzled DIY veteran, you’ll also want to take your newly lifted truck to a local dealership or service station for a quick inspection from an expert. There’s a lot that can go wrong during a lift kit install, and they’re not the type of mistakes you want to discover for the first time when you’re already miles away from civilization out on your local off-road trails.
Lifting Your Way to Success Off the Pavement
For drivers looking to improve their truck’s off-road performance, it’s tough to do better than a suspension lift kit. While traction-related upgrades like locking differentials, two-speed transfer cases, and knobby off-road tires are all important upgrades, they won’t amount to much if your underbody is constantly bumping up against the trail.
Performing an at-home lift kit installation might seem intimidating, but with enough confidence and little know-how, it should be well within reach of the average driver. The most important part of any vehicle upgrade—whether you’re installing a lift kit, a turbocharger, performance exhaust, tires, or even tinting the windows—is to be honest with yourself about how it’s going to be used.
If you’re a fairweather off-roader who only hits the trails sporadically, a lift kit might not always be the best choice for your daily driver. While there’s something satisfying about being properly outfitted for a task, it’s easy to go a little overboard and end up turning your ride into an off-road specialty vehicle that’s no longer practical.
The factory-lifted trucks on offer from GMC and the like present a great middle-ground for most drivers, giving them all the heavy-duty equipment they need to find success in off-road scenarios without limiting day-to-day functionality. No matter what approach you take, one thing is for sure: every ride is just a little more enjoyable when you’re perched in the cabin of a lifted pickup.