After an hour-long trip to the grocery store, you just finished loading a week’s worth of groceries in the trunk when you get in the driver’s seat and discover your SUV won’t start. Pushing the ignition button does nothing but cause a sinking feeling in your stomach. You know you likely need a battery replacement, but you’re unsure what to do next. It’s not like you can waltz into the grocery store and find a car battery next to the bread and peanut butter.
Fortunately, you’re not entirely out of luck. While you may not have immediate access to a new battery, you can likely jump-start your car and head straight to your favorite dealership to have a new battery installed. So, how do you go about jump-starting your car? Fortunately, it’s quick, easy, and painless.
What You’ll Need
A dead car battery can be a considerable inconvenience, but you can prepare ahead of time for the unthinkable by keeping a set of quality jumper cables in your car. These jumper cables, sometimes known as booster cables, are necessary because they connect your battery to another car’s battery (also known as the booster vehicle when jump-starting). So, as far as supplies, all you’ll need to jump-start your car’s battery is jumper cables and another car with a functioning battery, like that of a kind stranger in a parking lot willing to lend a helping hand and a few minutes of their time.
How to Jump-Start Your Car’s Battery
Dead batteries can (and often do) occur at the most inopportune times; such as leaving you stranded on the side of the highway or in the parking lot of your favorite boutique in the pouring rain. Fortunately, jump-starting your car’s battery is straightforward and typically takes only a few minutes. Moreover, the process is safe if you follow the right steps.
#1 Find Someone Willing to Lend a Hand
Jump-starting your car’s battery requires a booster vehicle: another car, truck, or SUV. In many instances, you may have to reach out to a kind stranger to see if they’re willing to help or call a friend to your location. In either case, the booster vehicle needs to park with its front end facing your car’s front end, as close to the front of your vehicle (or the location of the battery) as possible. This proximity is critical because it ensures the jumper cables can connect to the batteries in each vehicle.
#2 Get the Booster Ready
Once the booster vehicle is in position, make sure it’s safely parked and the engine is off. Since you want as much power to transfer between the booster to your vehicle, make sure any accessories are turned off, like the radio, air conditioner, and lights. Then, it’s time to pop the hood.
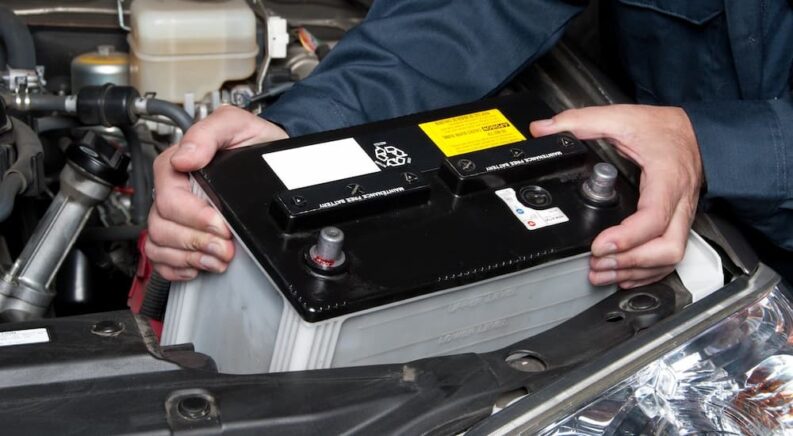
#3 Locate and Inspect the Battery
Most car batteries are under the hood, but some are at the rear. Either way, locate and inspect the battery, looking for signs of corrosion, swelling, leaking, or damage. Corrosion often looks like a green or white substance on the battery, but it’s critical not to remove it by hand as it can irritate your skin. Swelling or damage to the battery means you shouldn’t try to jump-start it and you’re going to need a tow truck instead.
If the battery doesn’t show any physical signs of damage or leaking, then locate the positive and negative terminals. Battery manufacturers make this easy by clearly marking metal posts with a + for positive and a – for negative. Moreover, the terminals are typically color-coded, with the positive terminal in red.
#4 Correctly Connect the Jumper Cables
After you inspect the battery and locate the terminals, it’s time to connect the jumper cables. The jumper cables have a black and red clamp at each end, with one side meant to connect to your car’s battery and the other to the battery on the booster vehicle. The red clamps connect with the red or positive battery terminal, and the black clamps connect with the negative terminal on the booster.
You’ll start by securing the red clamp to the positive terminal on your car battery. Then, you’ll attach the red clamp to the positive terminal on the booster vehicle’s battery. Once attached, secure the black clamp to the negative terminal on the booster vehicle, doing the same for your vehicle. If your vehicle doesn’t have a negative terminal, which is typically a grounding bolt, look for a metal part around the engine that isn’t painted. This can be a bracket or a bolt, as either can serve as a ground.
#5 Start the Engines
Once the cables are secure and away from any moving engine components, it’s time to get in the driver’s seat. Have your friend (or kind stranger) start the engine on their booster vehicle, letting it idle. Then, try to start your vehicle. Sometimes, this initial charge is enough to jump-start the battery, making the process incredibly convenient. However, in other instances, the battery may need more time to build a charge, which can be aided by the other driver lightly revving the engine of the booster vehicle. After a few minutes, try starting your vehicle again.
#6 Disconnect the Cables and Secure the Hood
Once your engine starts, you’ve officially jump-started your car’s battery. It’s important not to turn off the ignition, or you’ll have to start the process over. Instead, leave the engine idling as you exit the vehicle to disconnect the jumper cables.
Start by disconnecting the black or negative clamp from your car, then do the same on the booster vehicle. Then, disconnect the red or positive clamp on the booster vehicle’s battery, ensuring the clamps do not contact one another as you do. Finally, disconnect the red clamp from the battery on your vehicle, close the hood, and return your jumper cables to their proper place in the trunk or under the seat.
#7 Drive Your Vehicle
After the jumper cables are disconnected and your hood is secure, it’s time to get back in the driver’s seat. Since it’s hard to determine the condition of your car battery without the right equipment or the help of a trained mechanic, it’s always a good idea to visit your local service center to have the battery inspected and replaced. However, sometimes that isn’t possible. So, what should you do?
Once your car is running, you may be in a hurry to get to your next destination, whether it’s work for an important meeting or an after-school activity with the kids. Regardless, driving your vehicle or running the engine for at least 20 to 30 minutes is essential to give the alternator ample time to recharge the battery. Sometimes, having to jump-start the battery is a random occurrence, and you don’t have any other issues with subsequent starts. However, it’s always best to err on the side of caution.
As you navigate the next few miles after you jump-start your car’s battery, be mindful of your destination and the parking situation. For example, there’s a chance you might have to jump-start your vehicle again. If that’s the case, you want to park in an open area that’s easy to access and gives a booster vehicle plenty of room to park opposite your vehicle. Ideally, you won’t need the jumper cables again, but it’s best to be prepared.
Be Prepared and Know What to Do
Whether your vehicle is new or has thousands of miles on the odometer, keeping a reliable set of jumper cables on hand for the unexpected is an excellent safeguard that can offer peace of mind down the road. The battery in your car is put to the test every time you turn the ignition, gradually wearing down as it initiates the chemical reaction needed to kickstart your engine and power other critical components. No matter what you do, your battery will need to be replaced eventually, but you can make sure you’re ready for that by having jumper cables and staying on top of routine service for your car. If you need a jump-start, having cables on hand and the know-how to handle the process can lessen the stress of an already inconvenient situation.