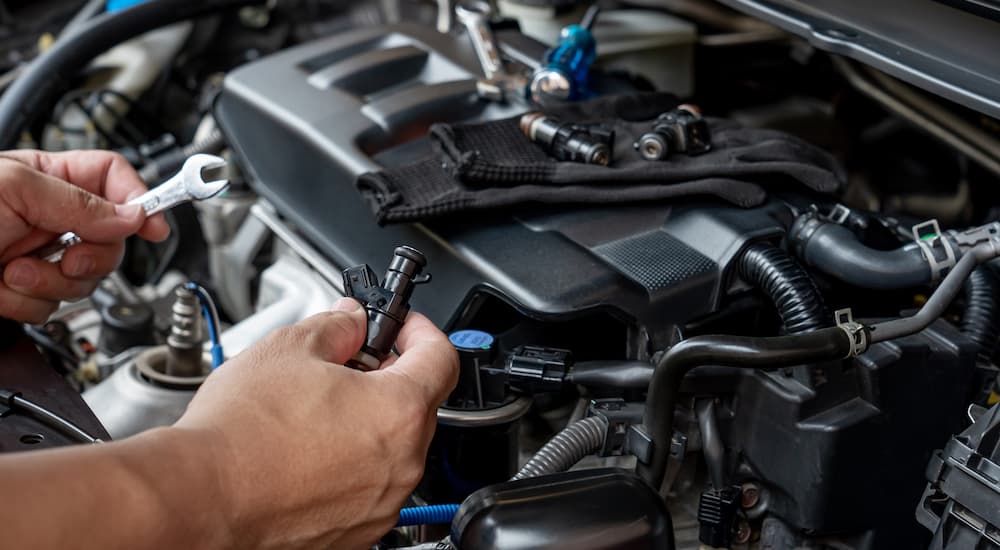
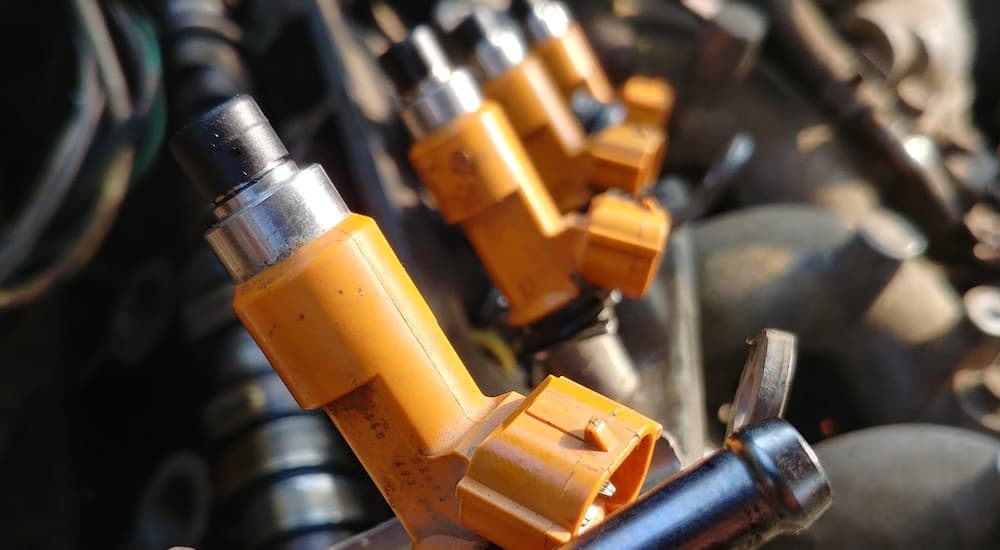
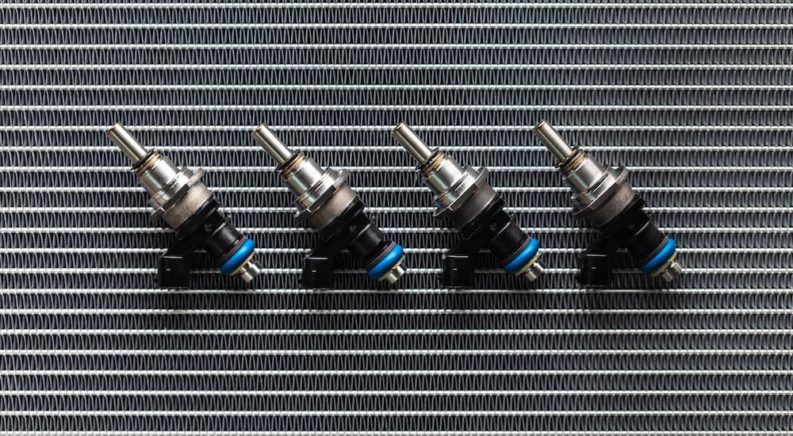
Fuel injectors are a vital part of any gas-powered vehicle. They’re responsible for spraying fuel into the engine’s combustion chamber, which is then ignited by the spark plug to produce the power that gets your wheels moving. While some lucky drivers might go through their vehicle’s entire lifespan without ever needing to replace these vital components, many of us are bound to experience the tell-tale signs of failing fuel injectors at some point. This is a costly fix in some cases, as getting to the faulty components can be a chore unto itself. Fear not, for while the difficulty of the job can vary—based on vehicle design and the type of engine—learning how to change fuel injectors is actually fairly straightforward for drivers with a little mechanical know-how.
I’ll walk you through some of the factors that may shorten a fuel injector’s service life, and detail some signs and symptoms of a faulty or clogged injector. Then, I’ll give you the steps to do the whole repair job from the comfort of your own garage.
What Causes Fuel Injectors to Fail?
In theory, your vehicle’s fuel injectors should last for the vehicle’s entire lifespan. However, the reality is often quite different. When not properly maintained or exposed to certain driving conditions, some fuel injectors will only last between 50,000 and 100,000 miles. Three main factors contribute to fuel injectors giving up the ghost well before their time: driving conditions, debris contamination due to low fuel quality, and lack of maintenance. I’ll examine these factors individually, which might help you determine whether you’re dealing with faulty fuel injectors or another issue altogether.
First off, driving conditions. As is the case with many of today’s vehicles, they like to be driven a certain way. While stop-and-go city driving is an unfortunate reality for many drivers in urban and suburban areas, it’s not doing your vehicle any favors. This style of driving puts increased strain on your vehicle’s engine. This is due in part to the frequency of RPM changes experienced with stop-and-go driving, which can take its toll on a variety of components—including, you guessed it: the fuel injectors. There’s not much you can do to avoid stop-and-go traffic aside from changing your commute to include more high-speed highway driving—but then, most drivers already do that as a matter of course.
The second factor that can dramatically shorten the life of your fuel injectors is debris contamination. This contamination largely comes from the fuel itself, which is filled with contaminants that can easily clog up the fuel injector’s very fine nozzles. Cheaper fuel blends typically contain less detergent than more expensive alternatives, so consider switching to a pricier option if you’re trying to avoid fuel injector-related repairs. Drivers looking to truly maximize fuel injector performance can invest a whole $12 in a bottle of polyetheramine fuel additive, which will give the whole fuel injector and combustion chambers a good scrub from the inside out.
The third contributor to failing fuel injectors is good, old-fashioned, poor maintenance. The main culprit here is usually a clogged fuel filter, which can allow impurities within the gas to quickly clog your injectors. Replacing your fuel filter every 30,000 miles—or roughly every two years for the average driver—will have a knock-on effect on the entire vehicle’s performance, but perhaps nowhere more important than the injectors themselves. On newer vehicles, these filters can last as long as 60,000 miles, but we’d recommend at least using an additive every 3,000 miles. If you need a good reminder, try making it a regular part of your oil change routine.

Signs of a Faulty Fuel Injector
Diagnosing a faulty fuel injector can be difficult because the symptoms are often so similar to many other common mechanical issues. These include rough idling, frequent misfires, engine knocking, and other troubling sights and sounds. Drivers will often notice a significant decrease in fuel efficiency and a strong gas odor emanating from the tailpipe. If your engine simply doesn’t feel like it normally does and you’re prone to any of the factors listed in the section above, consider investigating fuel injectors as a possible culprit.
A vehicle with a faulty or broken fuel injector might have a hard time starting, or fail to start entirely. They might also struggle for power, or fail to produce at higher RPMs. Try putting the vehicle in park and revving the engine as high as you can go. If the power cuts out around the 4,500 to 5,000 RPM mark, it’s a good sign that you’ll need to replace an injector.
While a broken fuel injector is never good news, it’s a good place to start before replacing more expensive components. For example, issues you might tend to ascribe to faulty automatic transmission, such as poor shifting between gears, could well be blamed on the fuel injectors.
Of course, there’s always the dummy light. When the problem has risen to the level that it’s been caught by the onboard computer, you’ll see that Check Engine light pop up in all its anxiety-inducing glory. While this can present in different ways, the most common diagnostic trouble code (DTC) you’ll see is either P0171 or P0174, which indicates a lean fuel condition. This simply means your engine isn’t getting enough fuel mixed with the oxygen in the combustion chamber. Drivers might occasionally see the problem present as a P0172 code—indicating too rich of a fuel mixture—but this is less common.
Which Injector?
Fuel injectors don’t tend to fail as a whole and generally start going one by one (vehicles usually have one injector per engine cylinder). So, a single faulty fuel injector usually doesn’t mean you need to replace the whole system. There are a couple of ways to narrow down which fuel injector needs replacing, but most of them involve a total deconstruction of the system—so you can get eyes on each individual piece. Luckily, there’s an easier, less-invasive method perfect for D.I.Y. mechanics that requires little more than a long screwdriver and functioning eardrum.
Grab a screwdriver or solid metal rod that’s at least 12” long and start up your vehicle. Open the hood, secure the latch, and locate the fuel injectors. On most four-cylinder engines, the four injectors will be located on the side of the engine located closest to the passenger compartment. On V6 and V8 motors, you’ll find six or eight of them located on the left and right sides of the engine block.
Place the metal end of the screwdriver on top of the fuel injector and put the other end up to your ear (don’t forget to tie back your hair and loose articles of clothing). Each injector should make a regular clicking sound if the component is working properly. If you hear nothing at all, or an irregular, intermittent clicking sound, you’ve found the faulty injector. Repeat the process for each fuel injector to make sure you’re not dealing with multiple faulty parts, then proceed to replacement itself.

How to Replace Fuel Injectors
A quick disclaimer: This job might not be that tricky for most run-of-the-mill gas engines, but diesel is another story altogether. While gasoline is injected into the engine under relatively low pressure, diesel is often flowing through the system at pressures as high as 20,000 PSI. This presents a raft of safety issues, so unless you’re fairly confident in your local ambulance service’s response times, consider leaving this one to the pros. Some gas engines might also be a hassle depending on how the engine compartment is laid out and how many components you’ll have to remove to get to the fuel injectors themselves. So, make sure you know what you’re getting into before you get to work.
- The first step in replacing a fuel injector is to relieve the pressure in the fuel system itself. Skipping this step could result in a messy and dangerous project, so refer to your vehicle’s owner’s manual for specific instructions on how to depressurize the fuel system. If the vehicle has been on recently, allow the engine to cool, then locate the fuel pump fuse or the relay that controls the fuel pump. Don’t pull it just yet; start the engine and disconnect the fuse. If all goes well, the engine should sputter out due to a lack of pressurized fuel.
- Many fuel injection systems use a centralized fuel rail to route fuel to each individual injector. This will have to be removed to get to the injectors themselves, so disconnect the main fuel line feeding into the rail. Some systems will have fuel lines at each end of the rail and they’ll both need to be removed in order to proceed. Once this is done, simply remove the bolts or screws and the rail should pop right off. Some vehicles will have an individual fuel line feeding into each injector, which you can remove one by one.
- With the tops of the fuel injectors exposed, it’s now time to remove the wiring harness connected to each injector. In some cases, the wiring will be located on top of the fuel rail itself and should be removed before disconnecting the rail. These harnesses are usually held on by little more than a single spring, which you can pry out with a flathead screwdriver or similar implement. Make sure to hold onto this small metal spring, as it’s all too easy to misplace.
- Now you’re ready to get pulling. Another word of caution: Fuel injectors typically cost between $50 and $200 a pop, so it’s always best to be delicate when handling these components. Of course, in the case of a replacement, the fuel injector you’re pulling is already damaged or broken, but in case you misdiagnosed the specific injector that needed replacing, you don’t want to end up ruining a perfectly good part. It’s also possible for a fragile part of the injector to break off and become lodged in the cylinder should you remove it in too much of a rush, so I’d preach caution here. Auto parts stores will sell you a fuel injector puller kit for anywhere between $50 and $200 if you want to be extra careful.
- After the fuel injector is removed, installation is a walk in the park. Simply lubricate the seals on the new injector, replace it in the same hole you took it out of, and reconnect the wiring harness. Reattach the fuel rail or individual fuel lines, bolt everything down, and replace the fuel pump fuse. Once you start up the vehicle, the fuel system should repressurize itself. With any luck, the engine will be purring like a cat in a sunbeam.
Fuel injectors are hardly the most difficult repair job you’ll come across. The real issue is diagnosing the problem in the first place—and ruling out other potential culprits before you invest $50 to $100 in a new fuel injector. As always, a good DTC reader is the D.I.Y. mechanic’s best friend. Find them for as little as $20 online, or have the codes checked for free at an auto parts store.
Look out for the error codes mentioned above, then use the screwdriver trick to play doctor and narrow down the issue to a specific injector. With a little time and patience, you can easily save between $300 to $600 per cylinder by going the D.I.Y. route.

